
- Catalogs
- Ventive Limited
- Window Installation

Window Installation
Window Installation
Catalog excerpts
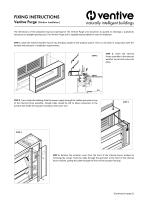
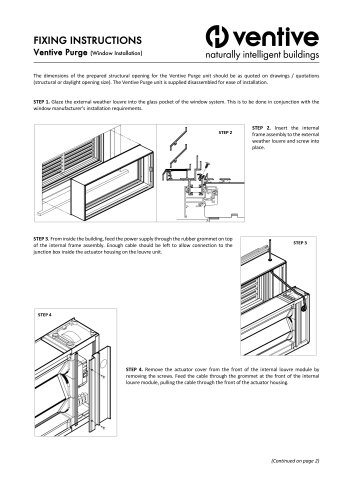
FIXING INSTRUCTIONS Ventive Purge (Window Installation) The dimensions of the prepared structural opening for the Ventive Purge unit should be as quoted on drawings / quotations (structural or daylight opening size). The Ventive Purge unit is supplied disassembled for ease of installation. STEP 1. Glaze the external weather louvre into the glass pocket of the window system. This is to be done in conjunction with the window manufacturer’s installation requirements. STEP 2. Insert the internal frame assembly to the external weather louvre and screw into place. STEP 3. From inside the building, feed the power supply through the rubber grommet on top of the internal frame assembly. Enough cable should be left to allow connection to the junction box inside the actuator housing on the louvre unit. STEP 4. Remove the actuator cover from the front of the internal louvre module by removing the screws. Feed the cable through the grommet at the front of the internal louvre module, pulling the cable through the front of the actuator housing.
Open the catalog to page 1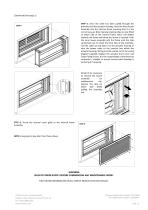
(Continued from page 1) STEP 5. Once the cable has been pulled through the grommet and the actuator housing, insert the inner louvre assembly into the internal frame ensuring that it is the correct way up. Note: Sprung retaining clips are pre-fitted to either side of the internal frame which will deflect towards the frame wall when the louvre is inserted. Push the inner louvre assembly into the frame until the clips spring back out to retain the front face of the assembly. Coil the cable up and place it in the actuator housing or wire the power cable to the junction box within the actuator housing....
Open the catalog to page 2All Ventive Limited catalogs and technical brochures
 OPERATION & MAINTENANCE
7 Pages
 Acoustic design of schools
43 Pages
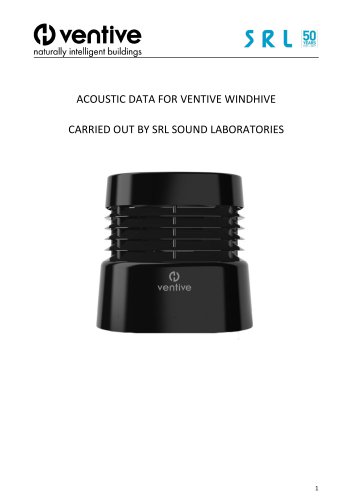 ACOUSTIC
7 Pages
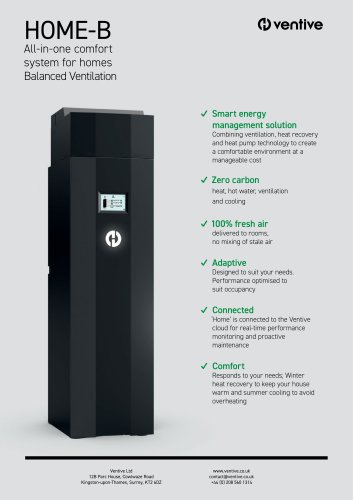 Home-B
2 Pages
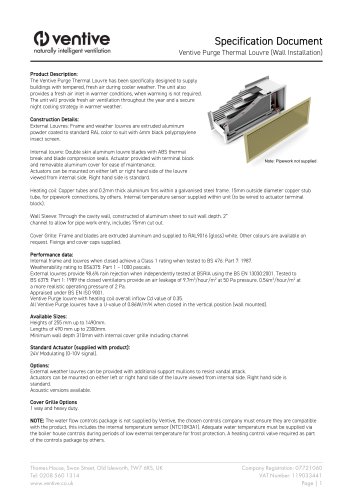 Purge Thermal Louvre
2 Pages
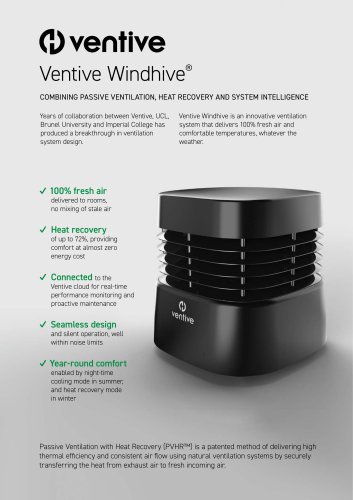 Windhive®
2 Pages

- Industrial heat pump
- Residential heat pump
- Mechanical ventilation unit
- Smart heat pump
- Monobloc heat pump
- Reversible heat pump
- Hot water heat pump
- Dual-flow mechanical ventilation unit
- Industrial air exhaust
- Ventilation system
- Residential ventilation system
- Centrifugal roof extractor
- Decentralized ventilation system
- Home ventilation system
- Exhaust air heat pump
- Commercial roof extractor
- Bathroom ventilation system