Echo Floor Lamp
1 /4Pages
Echo Floor Lamp
1 /4Pages
Catalog excerpts
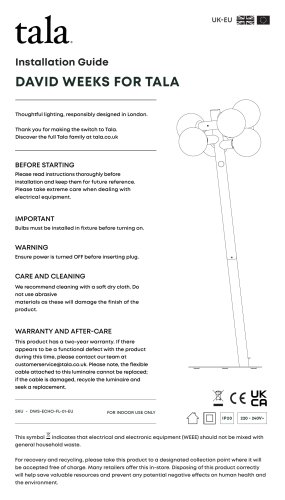
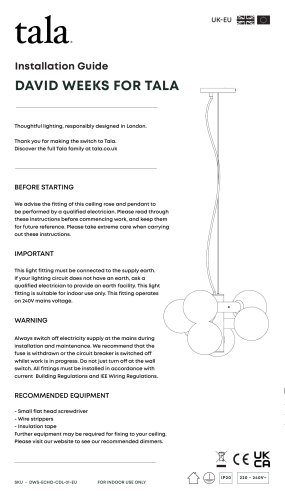
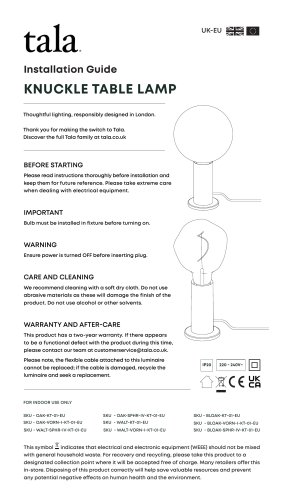
Installation Guide DAVID WEEKS FOR TALA Thoughtful lighting, responsibly designed in London. Thank you for making the switch to Tala. Discover the full Tala family at tala.co.uk BEFORE STARTING Please read instructions thoroughly before installation and keep them for future reference. Please take extreme care when dealing with electrical equipment. IMPORTANT Bulbs must be installed in fixture before turning on. WARNING Ensure power is turned OFF before inserting plug. CARE AND CLEANING We recommend cleaning with a soft dry cloth. Do not use abrasive materials as these will damage the finish of the product. WARRANTY AND AFTER-CARE This product has a two-year warranty. If there appears to be a functional defect with the product during this time, please contact our team at [email protected]. Please note, the flexible cable attached to this luminaire cannot be replaced; if the cable is damaged, recycle the luminaire and seek a replacement. This symbol indicates that electrical and electronic equipment (WEEE) should not be mixed with general household waste. For recovery and recycling, please take this product to a designated collection point where it will be accepted free of charge. Many retailers offer this in-store. Disposing of this product correctly will help save valuable resources and prevent any potential negative effects on human health and the environment.
Open the catalog to page 1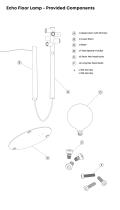
Echo Floor Lamp - Provided Components x1 Upper stem with Dimmer x7 Tala Sphere IV bulbs x3 Short Hex head bolts x3 Long Hex head bolts
Open the catalog to page 2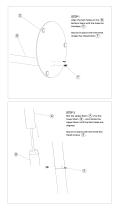
Align the bolt holes on the B Bottom Stem with the holes on the Base C . Secure in place with the three longer Hex Head bolts F . Slot the Upper Stem A into the Lower Stem B , and rotate the Upper Stem until the Bolt Holes are aligned. Secure in place with the three Hex Head screws E .
Open the catalog to page 3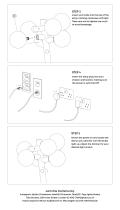
Insert your bulbs into the top of the lamp, rotating clockwise until tight. Take care not to tighten too much to avoid breakage. STEP 4 Insert the lamp plug into your chosen wall socket, making sure the power is switched off. STEP 5 Switch the power on and rotate the dial on your dimmer until the bulbs light up. Adjust the dimmer for your desired light output. Join the Community Instagram: @tala | Facebook: talaHQ | Pinterest: TalaLED | Tag: lighttoliveby Tala Studios, 25B Vyner Street, London E2 9DG | [email protected] Tala Europe B.V, Bertus Aafjeshove 40, Nieuwegein 3437JN, Netherlands
Open the catalog to page 4All Tala catalogs and technical brochures
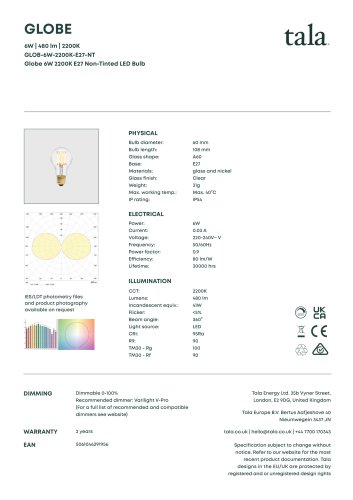 Globe E27 LED Bulb
1 Page
 Echo Chandelier
6 Pages
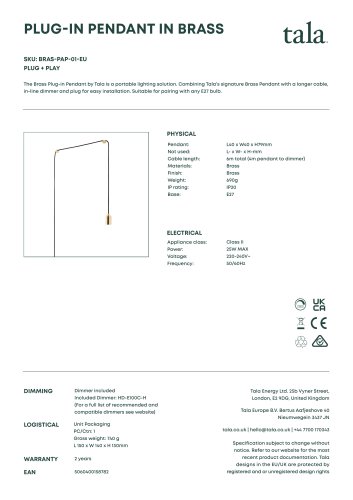 Plug-In Pendant in Brass
1 Page
Archived catalogs
 TALA Catalog 2018
31 Pages