- Catalogs
- SIBU DESIGN
- PROCESSING INFORMATION
- Company
- Products
- Catalogs
- News & Trends
- Exhibitions
PROCESSING INFORMATION
1 /2Pages

PROCESSING INFORMATION
1 /2Pages
Catalog excerpts
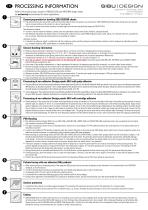
PROCESSING INFORMATION Valid for all product groups, except for SIBUGLAS (SG) and ANTIGRAV design sheets are exclusively recommended for indoor applications Jupiterstraße 8 - 4452 Ternberg - Austria T: +43 (0) 7256.6025.0 E-mail: [email protected] - www.sibu.at Ground preparation for bonding SIBU DESIGN sheets • The ground must be dry and smooth, and free from loose material, dust, dirt, grease, wax and silicone. SIBU DESIGN patterned sheets should never be mounted onto an uneven surface, as this results in a loss of visual quality. • In the case of convex and concave surfaces, the sheet edges must be fixed mechanically (except for MULTISTYLE). . Non-absorbent surfaces • In order to achieve maximum adhesion, always clean non-absorbent surfaces with alcohol (ethanol, isopropyl alcohol). • Self-adhesive (SA) sheets are ideally suited to non-absorbent surfaces such as coated MDF/chipboard, glass, metal, plastic, etc. However, they are unsuitable for use on ceilings. Alternative processing options are available on request. Absorbent surfaces • A solvent-free adhesive, which is suitable for both the underlying surface and the polystyrene material (base material), must be employed on absorbent grounds, e.g. uncoated chipboard, MDF, plasterboard, or smoothed brickwork. General bonding information 2-3mm • Patterned sheets delivered in rolled form must be kept flat for a minimum of 24 hours. Weighing down improves evenness. • Ideal processing temperatures range from + 10 °C to + 30 °C. The design sheets must be acclimatised, i.e. be brought to room temperature prior to processing (avoidance of condensation on the gluing surface and a reduction in sheet expansion due to reduced temperature differences). • A temperature increase of 10 °C will cause our products to expand by approx. 0.7 mm over a length of 1 m. • As a rule, an approx. 2-3 mm expansion joint is to be left along the sheet edges! The product groups NATURE-LINE, ANTIGRAV, and LUXEWALL PANEL COLLECTION are excluded from this. • In the case of high ambient temperatures, or major temperature fluctuations, the expansion gap should be increased, or a smaller sheet format selected. • Remove the paper backing from the reverse side of self-adhesive patterned sheets (SA) step-by-step. Do not touch the adhesive surface and press the sheet onto the ground as firmly as possible. Avoid the formation of bubbles (air inclusions) and use a medium-hard, rubber roller with a width of approx. 170 mm. • Full adhesion will be reached at room temperature after 24 hours. • Whenever possible, SIBU DESIGN products should be processed within 12 months upon receipt of goods (except for PVA pre-treated products). • They are not recommended for use near open fires or sources of intense heat. • Carry out adhesion tests and self-tests before bonding the panels! Processing of non-adhesive Design panels (NA) with putty adhesive PUTTY ADHESIVE • The putty adhesive (solvent-free assembly adhesive without plasticizers) Glutolin UK and Bostik Ardaflex® Multi are perfect if you want to glue a non-adhesive design panel (NA) directly to an absorbent substrate. This is simply applied to the substrate with a spatula and the design panels are glued, taking into account an expansion joint. Select the tooth spatula size depending on the substrate and structure depth: A2 or B3. • Area of application: Putty adhesive Glutolin UK and Bostik Ardaflex® Multi (tooth spatula B3) are ideal for bonding SIBU DESIGN products to absorbent, even surfaces such as wood, MDF, plywood, chipboard, plasterboard or smoothed masonry. The processing guidelines for the respective adhesive must be observed. CARTRIDGE ADHESIVE Processing of non-adhesive Design panels (NA) with cartridge adhesive • Strand bonding: On the reverse side of the sheet: vertical positioning of a bead at a distance of 10 mm from the edge of the sheet or the profile leg, then position a mirrored adhesive tape at a distance of 10 mm. It is recommended that the protective strip on the mirrored tape be removed prior to the further processing phases. Apply vertical beads of adhesive to the reverse side of the sheet at intervals of approx. 10 mm to the mirrored adhesive tape. (Depending on the underlying surface, the beads should have a height of at least 4 mm.) Apply the other beads at a distance of 60 mm. Bring the sheet into position without any drying time and then press it down onto the prepared surface by means of vertical strokes with a soft wallpaper roller. The gluing can also be done without mirror adhesive tape! Advantage: The sheet can be positioned much easier.Disadvantage: The sheet has to be temporarily attached until the adhesive beads have cured in order to prevent the plate from slipping unintentionally. • Non-adhesive patterned sheets (NA) from our DECO-LINE, LEATHER-LINE, FABRIC-LINE and STRUCTURE LINE programme (with a few exceptions) can be bonded with standard commercial PVA adhesives. • This type of processing, allows the use of standard plastic, aluminium or wood edging. The PVA adhesive prevents the usual expansion of our design sheets due to the effect of warmth! • In order to be suitable for PVA bonding, depending upon the material thickness on the reverse side, SIBU design sheets either have to be pre-treated by means of an additional production process, or roughened by using a vibration sander (80-grain sandpaper). • When pressing structured design sheets (STRUCTURE-LINE, FABRIC-LINE and LEATHER-LINE), a medium-hard, sponge rubber mat with a thickness of approx. 5 mm should be placed between the pressing plate and the patterned side of the sheet. This provides uniform pressure distribution and prevents undesirable damage to the design. In the case of smooth patterned sheets, it is advisable to carry out pressing without the sponge rubber mat, as this can give the surface an uneven appearance. In order to retain a smooth surface more easily, enquire about our sheets with a 2 mm thickness. • If owing to transport or storage conditions the design sheet no longer has a crease-free protective film, this must be removed prior to the pressing process. The pressure applied should amount to 2 kg/cm² (0.2 N/mm²), the temperature to approx. 45 °C and the pressing time to around 15 minutes. The bonding of the PSbalancing material and the design sheet takes place in a single working process. • During pressing onto an uncoated particleboard with a 16 mm thickness, we have achieved the best results using a 0,8 mm-polystyrene balancing sheet. • Following pressing, allow the sheets to cool in a stack over night (approx. 16 hours). Cover the stack with a roughly 19 mm-plate, in order that the uppermost sheet also remains flat. • Products pre-treated with PVA should be processed within the stated period (Please see the PVA news update at www.sibu.at). Column facing with non adhesive (NA) products • When covering columns, the bending radius of the respective SIBU product must be accounted for (please see the information in the technical table in the OVERVIEW catalogue, or at www.sibu.at). • In order to facilitate sheet mounting, we recommend the use of double-sided adhesive tape in order to fix both ends. • An expansion joint of 2-3 mm is also to be left when covering columns. • It is essential that a mechanical fastening such as a floor transition profile is used as edging. • During column applications involving MULTISTYLE products on absorbent surfaces, we also recommend the use of the recommended filler adhesives. Surface protection • A protective film protects our surfaces against damages. This protective film should be removed only after the application of our design sheets. • Following the removal of the protective film, no adhesive tape, e.g. Scotch, Sellotape should be allowed to stick to the unprotected, decorative surface. Cutting • SIBU DESIGN Deco-Line sheets with less than 2 mm thickness can be easily cut with a wallpaper knife. Simply notch the surface and break about the edge. For all other product lines and for DECO-LINE sheets up to 3 mm thickness the cutting pressure has to be increased. After cutting and breaking our self adhesive (SA) design sheets as well as NATURE-LINE and FABRIC-LINE designs (NA + SA) the foil on the back side has to be cut separately. Always use well sharp knives. For
Open the catalog to page 1All SIBU DESIGN catalogs and technical brochures
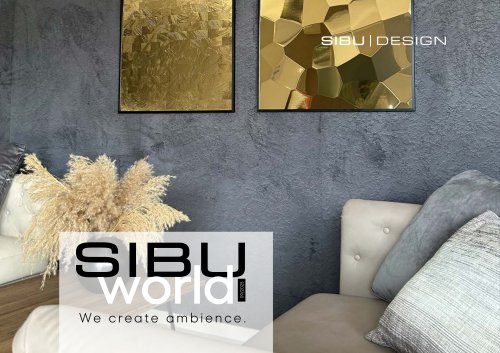 SIBU WORLD
54 Pages
 OVERVIEW V12
158 Pages
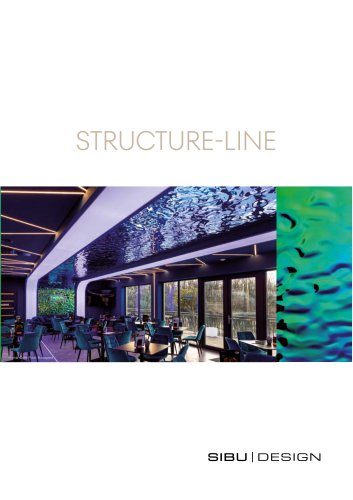 STRUCTURE-LINE
6 Pages
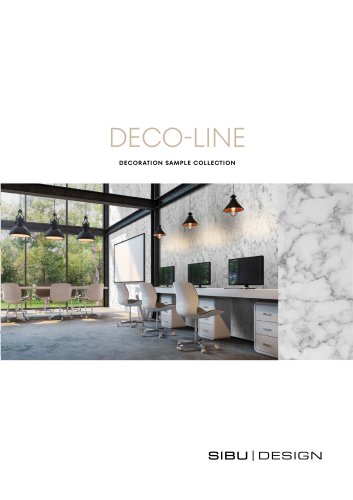 DECO-LINE DECORATION
4 Pages
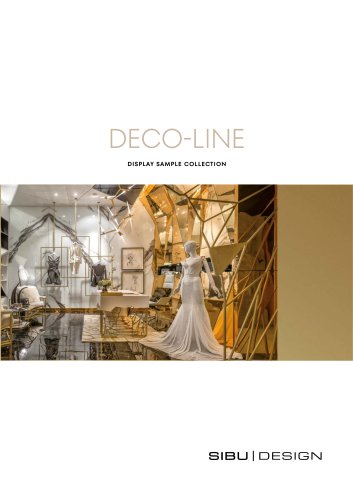 DECO-LINE DISPLAY
6 Pages
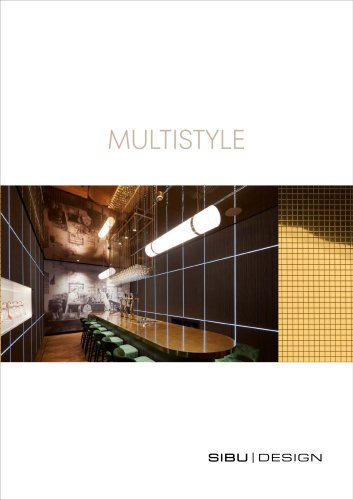 MULTISTYLE
4 Pages
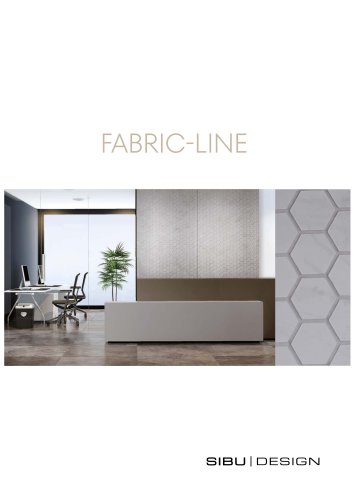 FABRIC-LINE
4 Pages
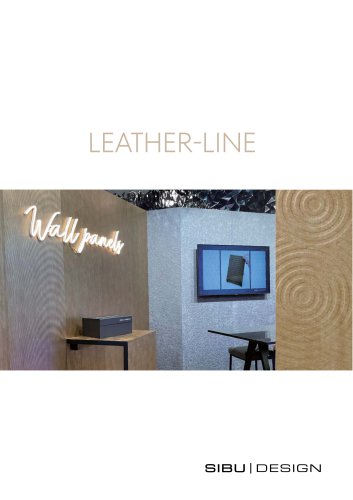 LEATHER-LINE
6 Pages
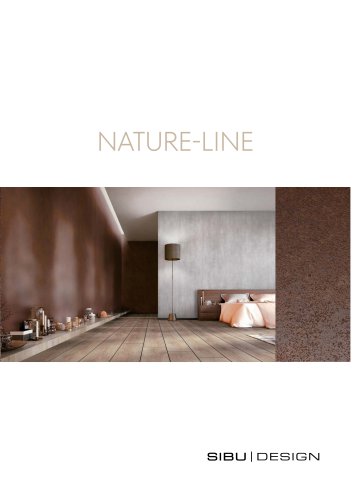 NATURE-LINE
6 Pages
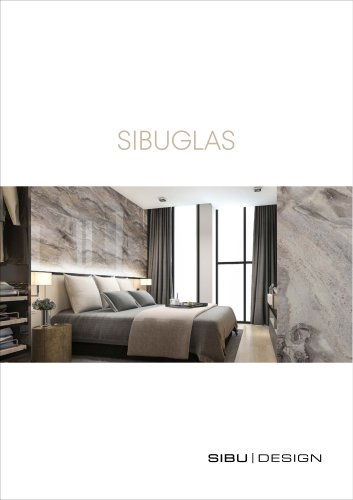 SIBU GLAS
4 Pages
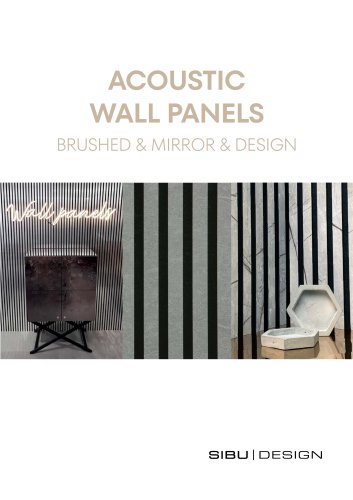 ACOUSTIC WALL PANELS
4 Pages
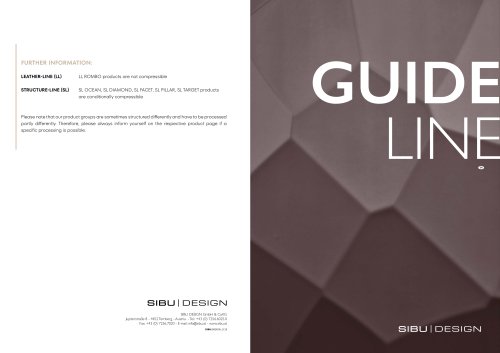 SIBU GUIDELINE
2 Pages
 FLAME RETARDANT
8 Pages
 SIBU DESIGN
36 Pages
- Decorative panel
- Interior decorative panel
- Industrial wallcovering
- Commercial decorative panel
- Wall-mounted decorative panel
- Interior wall-covering
- Domestic use wall-covering
- Home decorative panel
- Cover decorative panel
- Commercial wall-covering
- Decorative wall-covering
- Modern wall-covering
- Textured decorative panel
- Furniture decorative panel
- Plastic decorative panel
- Textured wall-covering
- Roll wall-covering
- High-resistance decorative panel
- Interior panel
- Building decorative panel