- Catalogs
- Rieder Facades GmbH
- öko skin hidden fix installation instruction
- Company
- Products
- Catalogs
- News & Trends
- Exhibitions
öko skin hidden fix installation instruction
1 /8Pages

öko skin hidden fix installation instruction
1 /8Pages
Catalog excerpts

INSTALLATION INSTRUCTION öko skin hidden fix The newly developed concealed fastening system hidden fix for öko skin facade slats enables quick and easy installation. With the concealed attachment, the öko skin slats are even more effective, since the overall appearance is not marred by rivets or screws. Rieder supplies all fastening components as well as the öko skin slats. These are delivered to the site already pre-drilled, whereby the installation effort is reduced. Rieder provides a calculation tool to calculate the exact number of required components. Instruction video at: www.rieder.cc/en/hiddenfi
Open the catalog to page 1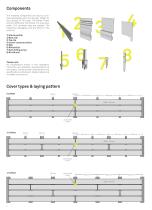
The matched components are sold as complete packaging units. An oko skin hidden fix set consists of 100 clips, 100 Rieder Power Anchors (RPA) and 100 screws. For a oko skin pallet, 6-8 complete sets are needed. The respective packaging units are shown in the price list. 4) Corner connector sheet Please note: AH visualisations shown in the installation instruction are schematic representations of the system. Constructional requirements and specifications and project-related details are not taken into account. Cover types & laying pattern
Open the catalog to page 2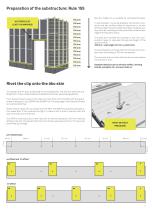
Preparation of the substructure: Rule 155 öko skin hidden fix is suitable for ventilated facades. HAT PROFILE AT LEAST 100 MM WIDE! If wall brackets, mounting brackets (horizontal), insulation and hat profiles (made of aluminium or similar profiles made of wood or steel) have been installed, you may start by installing the starter profile at the bottom edge of the facade surface. The slats are mounted from bottom to top. The computation helps to calculate the optimal height of the starter profile 155 mm = slat height 147 mm + joint 8 mm The starting point is measured from the top of any window,...
Open the catalog to page 3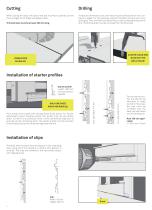
When cutting the slats, the side of the slat must face upwards so that the cut edges do not break and appear clean. If slats are trimmed on site, new holes must be drilled (60 mm min. distance to edge). For this purpose, position the back clip and use it as a drilling jig. Then, the hole is drilled without a clip to the depth stop of the drill. The drilling dust must be removed from the blind hole. Trimmed slats must be at least 200 mm long. ALWAYS CLEAN AND BLOW OUT THE DRILL HOLES! VISIBLE SIDE FACING UP! Installation of starter profiles First fixing of the profile with drilling screw (fixed...
Open the catalog to page 4
ONLY ONE FIXED POINT CLIP PER SLAT! Only one clip per slat is screwed through a round hole (fixed point). The remainder is fixed with the oblong holes (floating points). The fixed point clip should always be in the same place for each slat. Fixed point clip Installation of corner connection sheets 1. The corner connector sheet is pushed into the outermost clip. 2. Subsequently, the slat is bolted to the front end of the clip of the staggered slat. A corner connector sheet is used for the edges. This serves to cover and fix the back clips. The corner connector sheet may be used alternately on...
Open the catalog to page 5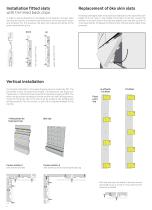
Installation fitted slats with trimmed back clips Replacement of öko skin slats In order to ensure flexibility in the design of the facade, narrower slats can also be used for connections at the bottom, at the top and in doors and windows. For this purpose, the back clip may be shortened at the points marked with a line. down Individual damaged slats may easily be replaced by the specified joint height of 8 mm, even in the middle of the field. To do this, loosen the screws on all back clips of the slat and slightly push the slat up and lift it out downwards. To replace the bottom slat, the slat...
Open the catalog to page 6
Handling instructions Loading Safe, form-fit loading. No more than 4 pallets of the same size may be stacked on top of each other. Do not place larger pallets on top of smaller ones. Do not stack other goods on top of the pallets. The slats must not be stepped on. For container loading, we refer you to the “container information sheet”. Edge protection Safe transport calls for robust edge protection. The number of lashing straps must comply with legal requirements. Load safety must be ensured. Proper unloading A forklift and/or crane must be used for unloading. A standard pallet loaded with 38.1...
Open the catalog to page 7
Rieder Sales GmbH Mühlenweg 22 | 5751 Maishofen | Austria +43 6542 690 844 | [email protected] | www.rieder.cc
Open the catalog to page 8All Rieder Facades GmbH catalogs and technical brochures
 Product Range
2 Pages
 Textures datasheet
10 Pages
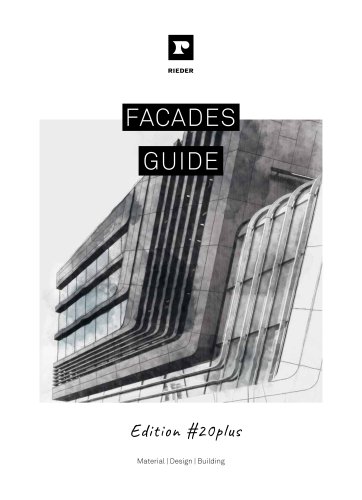 Facades Guide
53 Pages
 öko skin Characteristics
4 Pages
 öko skin
4 Pages
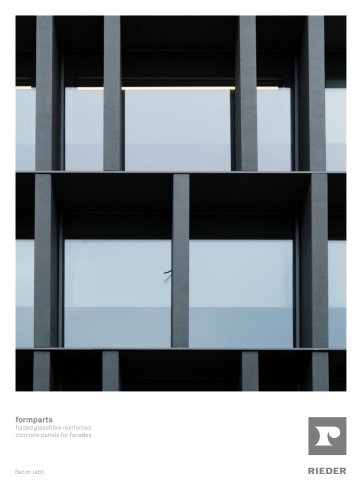 formparts
4 Pages
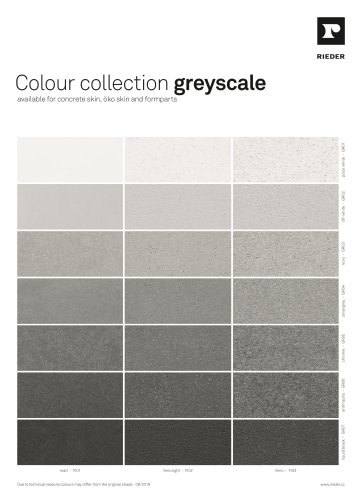 Colour collections
4 Pages
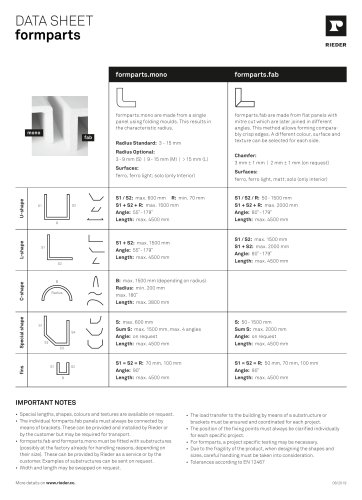 formparts datasheet
1 Page
 LEED v4
8 Pages
 Lookbook 2015
39 Pages
Archived catalogs
 concrete solutions
12 Pages
 Green Initiatives
3 Pages
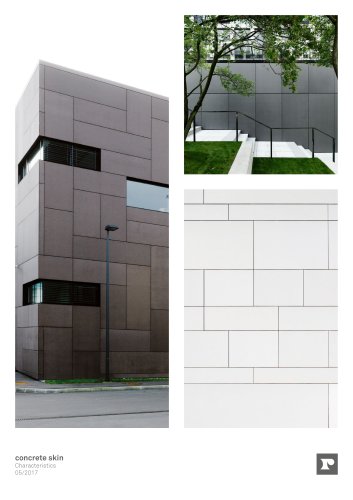
 concrete skin
4 Pages
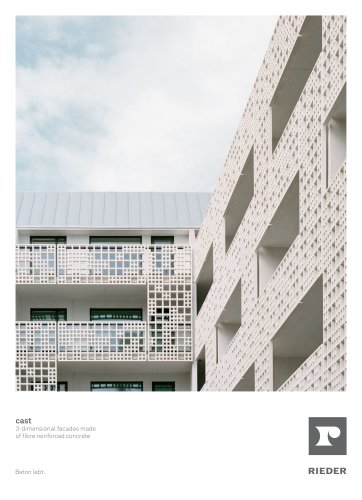 cast
cast4 Pages
 fins
fins2 Pages

- Rainscreen cladding
- Panel rainscreen cladding
- Metal cladding
- Smooth rainscreen cladding
- Decorative cassetta
- Commercial panel
- Gray cassetta
- Home panel
- Sustainable rainscreen cladding
- Cover panel
- Vertical cladding
- Textured cladding
- Sustainable panel
- Ventilated facade rainscreen cladding
- Building panel
- Composite cladding
- Large-format cladding
- Brown cassetta
- Interlocking cladding
- White cassetta