

Accessory LuxR M2 M4 Wall and Ceiling Canisters

Accessory LuxR M2 M4 Wall and Ceiling Canisters
Begin by marking the luminaire position and ensure wiring is terminated at the location with suitable connectors for the M2 or M4 canisters. Use a 51mm or 2” holesaw to cut a precise hole in the panel. Route the wiring through the hole and canister bore, fold the spring wings back, and insert the canister into the hole. The canister will slightly protrude from the wall, which is normal.
Installing the Luminaire:
Insert the M2 or M4 into the canister and push until it is secured by spring pressure.
Remote Driver Wired in Series:
This method involves series wiring where the current follows a single path. The positive of the second LED connects to the negative of the first, allowing a single remote driver to power multiple fittings in a daisy chain configuration, eliminating the need for individual 12-volt drivers.
Integral Driver + Transformer:
In a parallel circuit, all positive connections are linked to the positive output of the LED driver, and all negative connections are linked to the negative output. This setup allows LuxR fittings to be wired in parallel, suitable for installations using a wire wound or magnetic transformer.
Specifications:
The canister is suitable for round styles and large format flanges, recommended for larger flange models. It is designed for interior use only and must comply with local electrical authority regulations. The canister is an anodized aluminium sleeve for fastening M2 or M4 into flat sheets 10-19mm or 3/4” thick.
Catalog excerpts

ALUMINIUM CANISTERS M2 & M4 ALUMINIUM WALL AND CEILING CANISTER INSTALLATION GUIDE 51 (2”) NOTE: THESE INSTRUCTIONS MUST NOT CONTRAVENE YOUR LOCAL ELECTRICAL AUTHORITY REGULATIONS, WITH WHICH ALL INSTALLATIONS HERE IN MUST COMPLY FOR INTERIOR USE ONLY Installation Instructions: Mark out luminaire position and have the wiring terminated at the location ready to receive the M2 or M4 with suitable connectors. The M2 and M4 wall and ceiling canister is an anodized aluminium sleeve that will fasten a M2 or M4 into a flat sheet, 10-19mm or 3/4” in thickness. Using a 51mm or 2” holesaw, cut a neat hole accurately in the painted or similarly finished panel. Route the wiring out of the hole and thread through the canister bore. Fold the spring wings back against the canister and inset into the hole. The canister will be marginally proud of the wall when fully inserted. This is normal and not usually noticeable. SUITABLE FOR ROUND STYLES AND LARGE FORMAT FLANGES. LARGER FORMAT FLANGE MODELS ARE RECOMMENDED WITH THIS CANISTER Installing the luminaire: Insert the M2 or M4 into the canister and push home. The fitting is retained internally by spring pressure. REMOTE DRIVER WIRED IN SERIES INTEGRAL DRIVER + TRANSFORMER Often referred to as series wiring the current in a series circuit follows one path from start-to-finish with the positive of the second LED connected to the negative of the first. Series wiring allows a single driver to be mounted remotely, powering a number of series fittings. Often the most simplest of wiring schemes as each fitting is connected to the next in a daisy chain. It removes the need for a smaller 12 volt driver in each fitting. In a parallel circuit all the positive connections are tied together and back to the positive output of the LED driver and all the negative connections are tied together and back to the negative output of the driver. The integral driver option allows LuxR fittings to be wired in parallel to existing or new installations where a wire wound or magnetic transformer is being used. Copyright 2018 LuxR Limited - V1
Open the catalog to page 1All LuxR catalogs and technical brochures
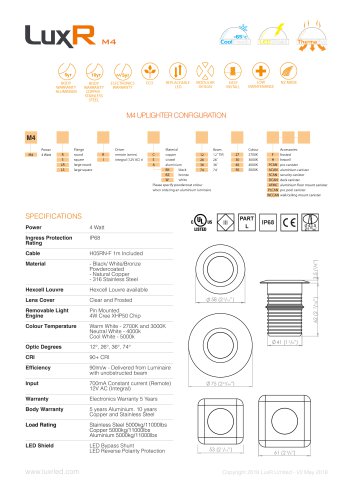 LuxR M4 Uplighter
2 Pages
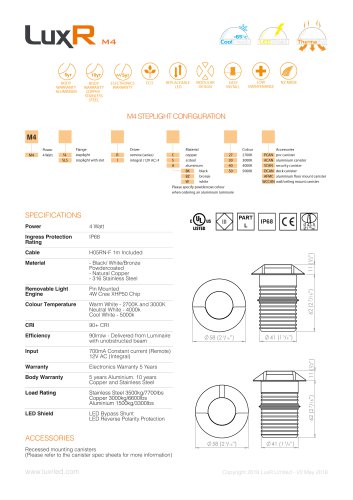 LuxR M4 Steplight
2 Pages
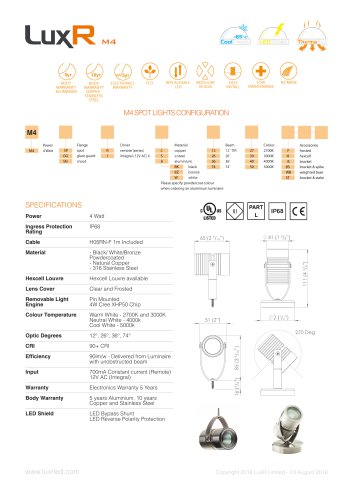 LuxR M4 Spotlight
2 Pages
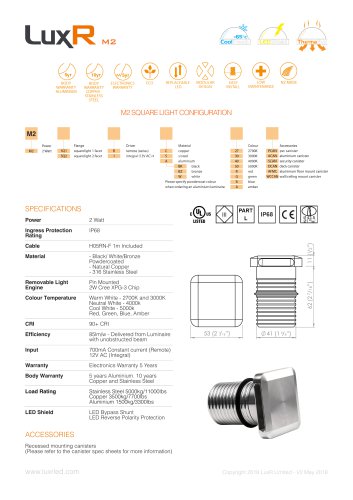 LuxR M2 Squarelight
2 Pages
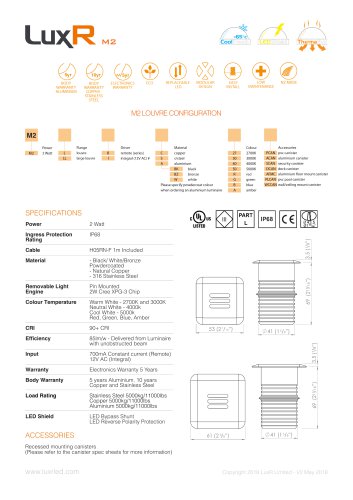 LuxR M2 Louvre
2 Pages
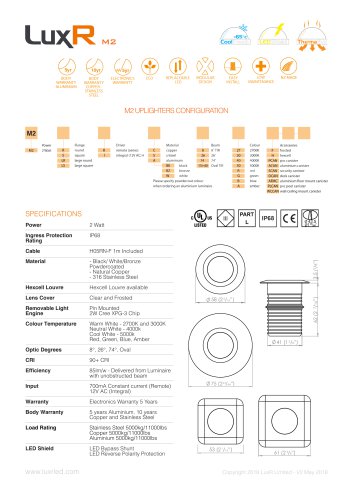 LuxR M2 Uplighter
2 Pages
 LuxR M2 Spotlight
2 Pages
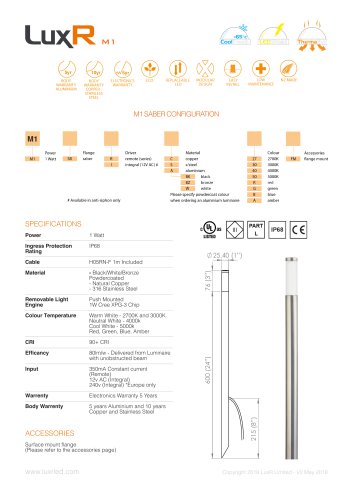 LuxR M1 Saber
2 Pages
 LuxR M1 Uplighter
2 Pages
 LuxR M1 Spotlight
2 Pages
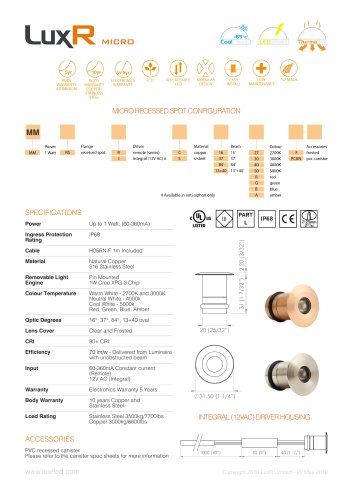 LuxR Micro Recessed Spot
2 Pages
 LuxR V1 Spec
2 Pages
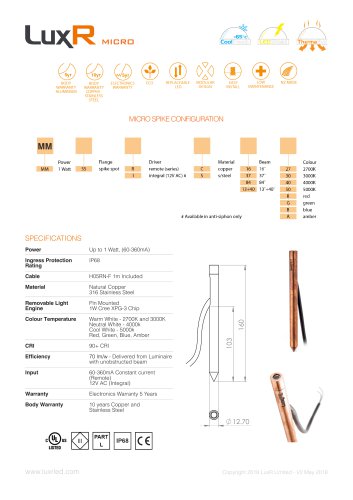 LuxR Micro Spike Spot
2 Pages
 M4 RGBW
4 Pages
 M2 HANGING LIGHT
2 Pages

- Light fixture
- Industrial LED light
- Metal light fixture
- Industrial LED spotlight
- Recessed light fixture
- Dimmable light fixture
- Metal spotlight
- Industrial downlight
- Industrial LED downlight
- Commercial spotlight
- Round spotlight
- Inside downlight
- Outdoor light fixture
- Round light fixture
- Recessed downlight
- Commercial downlight
- Metal downlight
- Light bollard
- Metal bollard light
- Contemporary bollard light