

GW13 22 06 02 - GW13 22 06 03 instruction manual
GW13 22 06 02 - GW13 22 06 03 instruction manual
- Regularly clean the sensor to ensure optimal performance.
- Avoid rinsing the faucet with water to prevent damage to internal circuits.
- Clean the filter net each time the liquid soap is refilled, but do not remove it when adding soap.
- For self-inspection and maintenance, check and clean the filter net inside the bottle and ensure the white liquid tube is not blocked by viscous soap. If blocked, remove the tube joint and clear the blockage.
- Soap Liquid Flow Issues: If the soap liquid flow is not smooth, consider the following solutions:
- Check soap viscosity and use a different liquid soap if necessary.
- Clean the liquid outlet if blocked.
- Ensure the filter net is not blocked and clean it if necessary.
- Carefully pry the filter cover with a tool and rinse the filter net with clean water to remove impurities or viscous soap.
- Avoid scratching the filter net during cleaning.
Catalog excerpts

Manual de instrucciones Instruction manual Español DOSIFICADOR DE JABÓN MURAL CON SENSOR WALL MOUNTED SENSOR SOAP DISPENSER
Open the catalog to page 1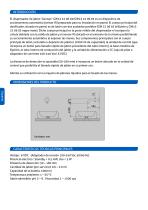
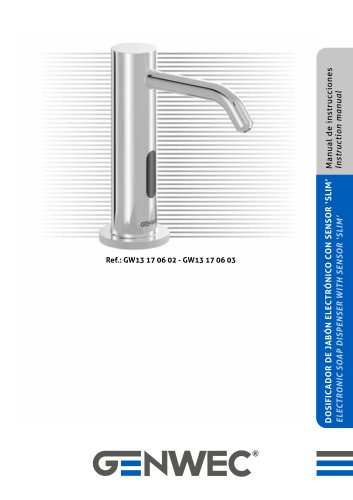
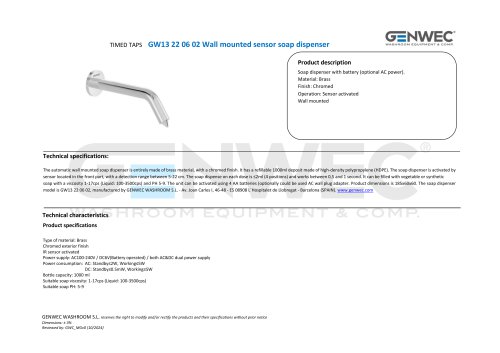
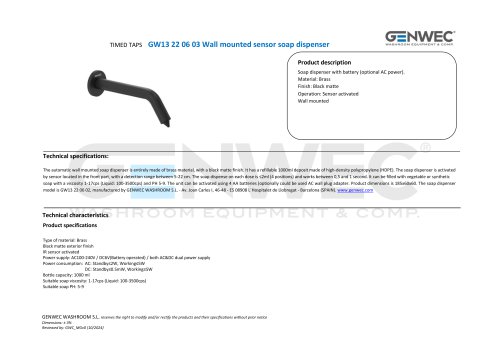
INTRODUCCIÓN El dispensador de jabón ‘Genwec’ GW13 22 06 02/GW13 22 06 03 es un dispositivo de accionamiento automático (sensor IR) preparado para su instalación en pared. El cuerpo principal del dosificador, situado en pared, es de latón con dos acabados posibles (GW 22 06 02 brillante y GW13 22 06 03 negro mate). Dicho cuerpo principal es la parte visible del dispensador e incorpora la cánula doblada con la salida de jabón y el sensor IR ubicado en el extremo de la misma posibilitando su accionamiento automático al exponer las manos. Sus componentes principales son el cuerpo principal de latón,...
Open the catalog to page 2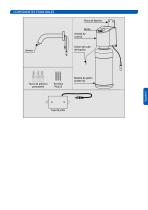
COMPONENTES PRINCIPALES Placa de fijación Botón Unidad de control Unión del tubo de líquido Tacos de plástico para pared
Open the catalog to page 3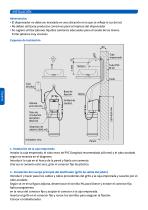
INSTALACIÓN Advertencias • El dispensador no debe ser instalado en una ubicación en la que se refleje la luz del sol • No deben utilizarse productos corrosivos para la limpieza del dispensador • Se sugiere utilizar jabones líquidos sanitarios adecuados para el lavado de las manos. Evitar jabones muy viscosos. Esquema de instalación 80 Caja empotrada Tubo PVC Ø 50 Codo Caja de pilas Válvula anti-retorno Tubo de circulación del jabón (blanco) Depósito de jabón (1000 ml) 1. Instalación de la caja empotrada Instalar la caja empotrada, el tubo recto de PVC (longitud recomendada 400 mm) y el tubo acodado...
Open the catalog to page 4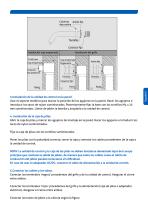
Cubierta Anillo fijo decorativa Tornillos Conector fijo Instalación caja empotrada Caja empotrada Caja empotrada Anillo fijo Conector fijo (plástico) Tornillos Conector fijo 3.Instalación de la unidad de control en la pared Usar el soporte metálico para marcar la posición de los agujeros en la pared. Hacer los agujeros e introducir los tacos de nylon suministrados. Posteriormente fijar la base con los tornillos M4 x 25 mm suministrados. Llenar de jabón la botella y acoplarla a la unidad de control. 4. Instalación de la caja de pilas. Abrir la caja de pilas y marcar los agujeros de montaje en...
Open the catalog to page 5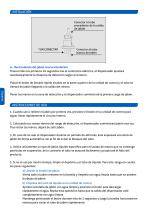
INSTALACIÓN Conectar el tubo procedente de la salida de jabón Conectar al tubo blanco de jabón 6.- Recirculación del jabón tras la instalación Trascurridos los primeros 20 segundos tras el suministro eléctrico, el dispensador ajustará automáticamente la distancia de detección según el entorno. Pulsar el botón de llenado rápido situado en la parte superior de la unidad de control y el tubo se llenará de jabón llegando a la salida del mismo. Español Poner las manos en la zona de detección y el dispensador suministrará la primera carga de jabón. INSTRUCCIONES DE USO 1. Cuando use o rellene el jabón...
Open the catalog to page 6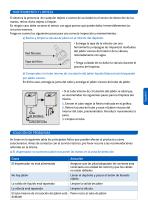
Si observa la presencia de cualquier objeto o rastros de suciedad en el sensor de deteccion de las manos, retirar dicho objeto o limpiar. En ningun caso debe rociarse el sensor con agua puesto que puede danar irreversiblemente los circuitos internos. Tenga en cuenta los siguientes pasos para una correcta inspeccion y mantenimiento. a) Revise y limpie la valvula de jabon en el interior del deposito. • Extraiga la tapa de la valvula con una herramienta y enjuague las impurezas residuales del jabon viscoso del interior de la valvula, reiteradamente con agua. • Tenga cuidado de no danar la valvula...
Open the catalog to page 7
SOLUCIÓN DE PROBLEMAS b) No fluye el jabón con la cantidad habitual Causa Hacer uso de un jabón más fluido La salida de jabón está taponada Limpiar la salida asegurando que no quedan restos de jabón seco La valvula está bloqueada
Open the catalog to page 8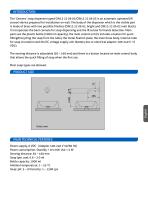
INTRODUCTION The ‘Genwec’ soap dispenser typed GW13 22 06 02/GW13 22 06 03 is an automatic operated (IR sensor) device prepared for installation on wall. The body of the dispenser which is the visible part is made of brass with two possible finishes (GW13 22 06 02, bright and GW13 22 06 02 matt black). It incorporates the bent cannula for soap dispensing and the IR sensor for hands detection. Main parts are the plastic bottle (1000 ml capacity), the main control unit (it includes a button for quick filling&recycling the soap from the tube), the metal fixation plate, the main brass body, internal...
Open the catalog to page 9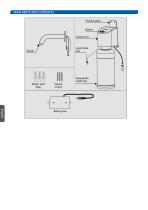
MAIN PARTS AND CONTENTS Fixation plate Button Control unit Liquid tube join Plastic wall plug
Open the catalog to page 10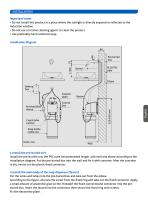
INSTALLATION Important issues • Do not install this product in a place where the sunlight is directly exposed or reflected to the induction window. • Do not use corrosive cleaning agents to clean the product. • Use preferably hand sanitized soap. Installation diagram Elbow Battery box Fixation plate Liquid tube (white) Soap bottle (1000 ml) 1.Install the pre-buried unit Install the pre-buried unit, the PVC tube (recommended length: 400 mm) and elbow according to the installation diagram. Put the pre-buried box into the wall and fix it with concrete. After the concrete is dry, twuist out the plastic...
Open the catalog to page 11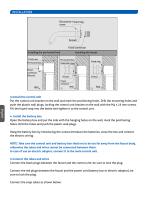
INSTALLATION Decorative Fixed ring cover Screws Fixed connector Installing the pre-buried box Anaerobic glue Fixed connector (Plastic) Fixed ring Fixed onnector Wall 3.Install the control unit Put the control unit bracket on the wall and mark the positioning holes. Drill the mounting holes and push the plastic wall plugs, locking the control unit bracket on the wall with the M4 x 25 mm screws. Fill the liquid soap into the bottle and tighten it to the control unit. 4. Install the battery box Open the battery box and put the side with the hanging holes on the wall, mark the positioning holes....
Open the catalog to page 12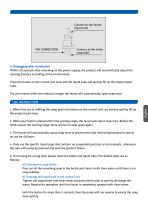
Connect to the faucet liquid tube Connect to the white soap tube 6. Debugging after installation Within 20 seconds after switching on the power supply, the product will automatically adjust the sensing distance according to the environment. Press the button on the control unit once and the liquid soap will quickly fill up the empty liquid tube. Put your hands within the induction range; the faucet will automatically spew soap once. 1. When first use or refilling the soap, press the button on the control unit can achieve quickly fill up the empty liquid soap. 2. When your hand is placed within...
Open the catalog to page 13All Genwec catalogs and technical brochures
 CATALOG 4.0
198 Pages
 BATHROOM ACCESORIES BROCHURE
24 Pages
 GW13 01 06 02
1 Page
 GW13 02 06 02
1 Page
 GW13 03 06 02
1 Page
 GW13 04 06 02
1 Page
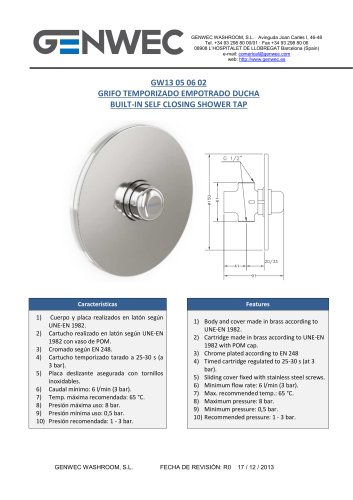 GW13 05 06 02
1 Page
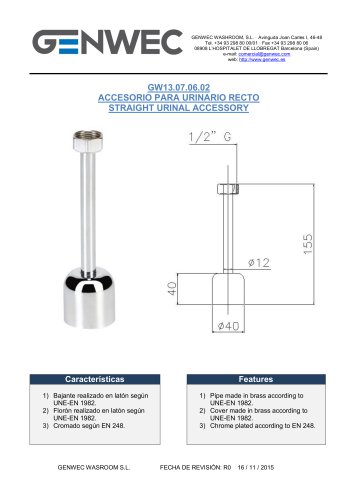 GW13 06 06 02
1 Page
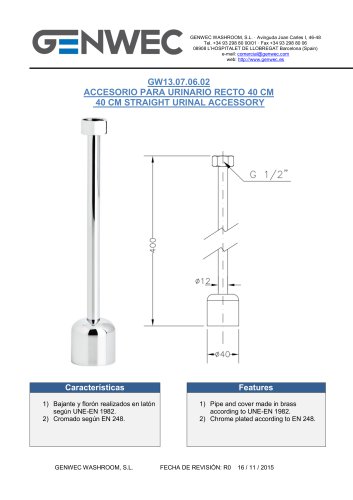 GW13 07 06 02
1 Page
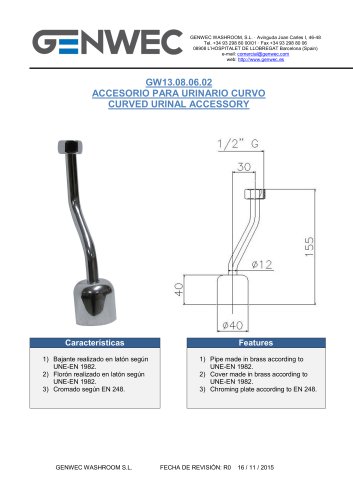 GW13 08 06 02
1 Page
 GW13 09 06 02
1 Page
 GW13 12 06 02
16 Pages
 GW13 10 06 02
5 Pages
 GW13 11 06 02
7 Pages
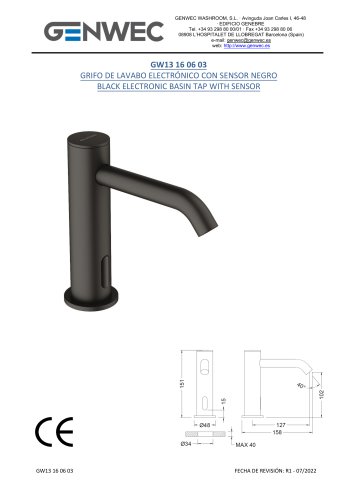 GW13 16 06 03
6 Pages
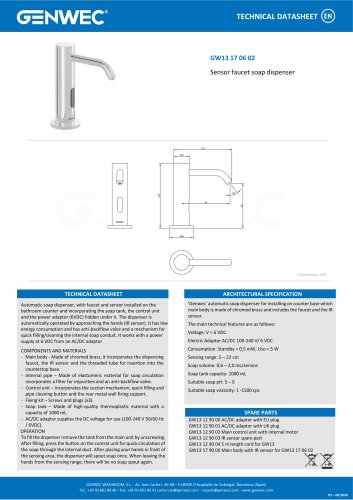 GW13 17 06 02
1 Page
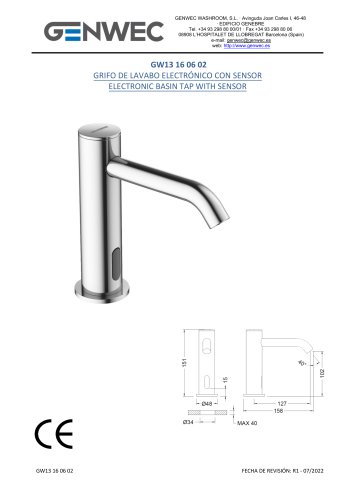 GW13 16 06 02
6 Pages
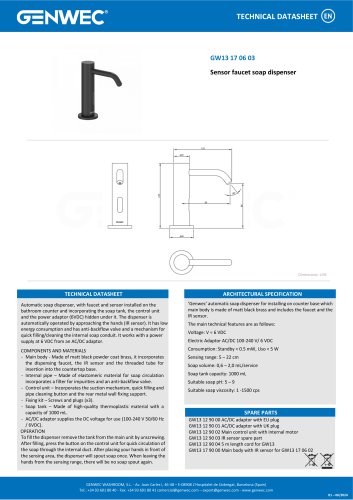 GW13 17 06 03
1 Page
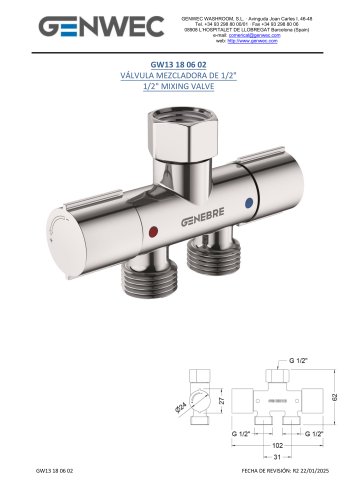 GW13 18 06 02
5 Pages
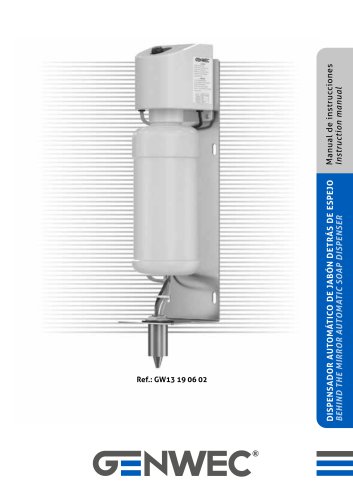 nstruction manual GW13 19 06 02
12 Pages
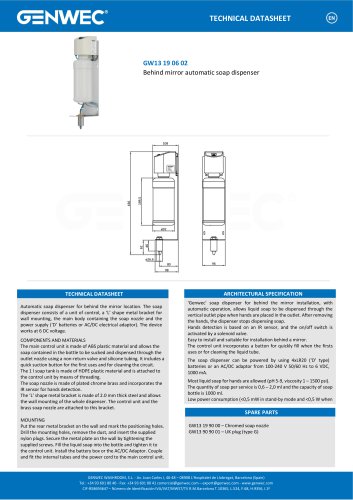 GW13 19 06 02
1 Page
 GW13 20 04 01
12 Pages
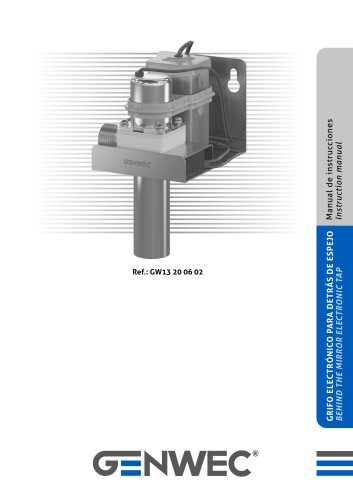 GW13 20 06 02
8 Pages
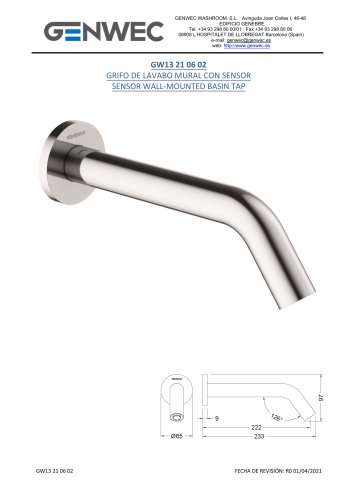 GW13 21 06 02
6 Pages
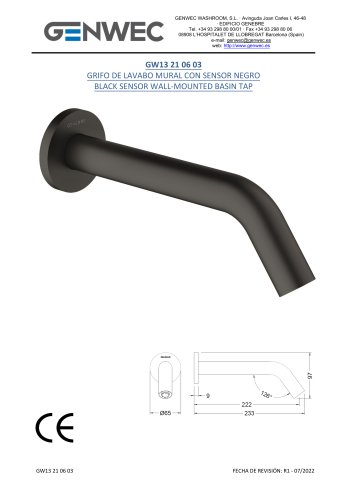 GW13 21 06 03
6 Pages
 GW12 01 04 05
8 Pages
 GW12 02 04 05
8 Pages
 GW12 02 03 05
8 Pages
 GW12 03 03 05
8 Pages
 GW12 03 04 05
8 Pages
 GW12 04 03 05
12 Pages
 GW12 04 04 05
12 Pages
 GW12 05 03 05
12 Pages
 nstruction manual GW12 05 04 05
12 Pages
 GW11 01 300mm grab bar
1 Page
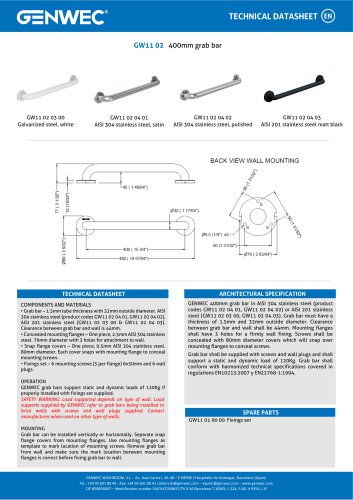 GW11 02 400mm grab bar
1 Page
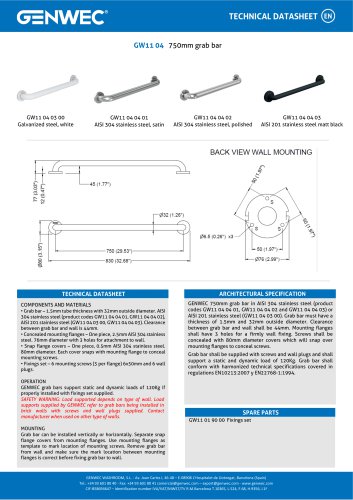 GW11 04 04 03
1 Page
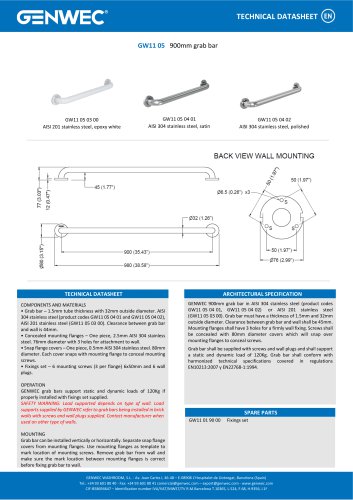 GW11 05 900mm grab bar
1 Page
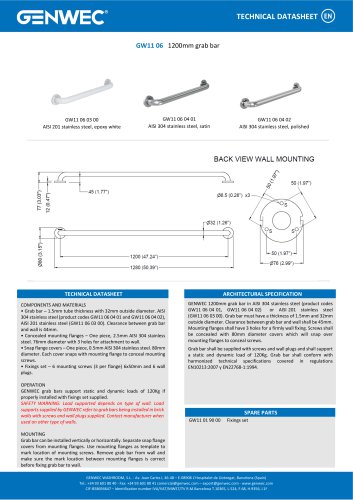 GW11 06 03 00
1 Page
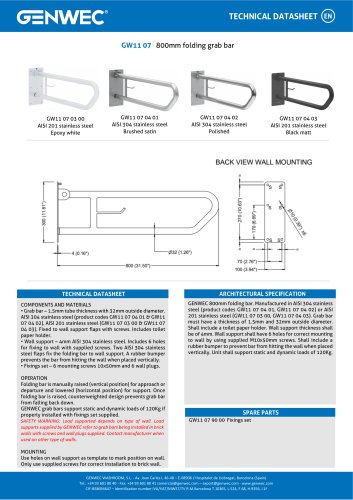 GW11 07 04 02
1 Page
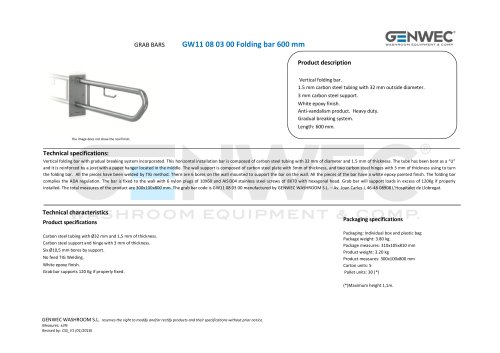 GW11 08 03 00
3 Pages
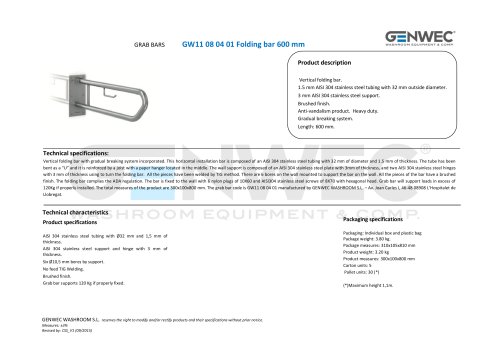 GW11 08 04 01
3 Pages
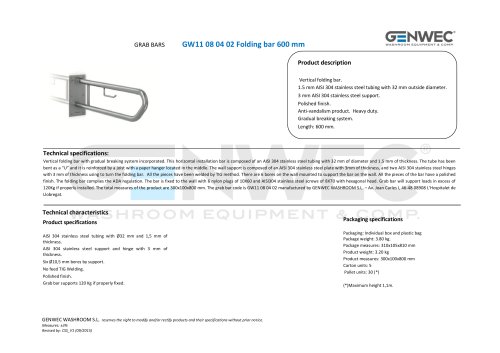 GW11 08 04 02
3 Pages
 GW11 09 03 00
3 Pages
 GW11 09 04 01
3 Pages
 GW11 09 04 02
3 Pages
 GW11 22 04 01
2 Pages
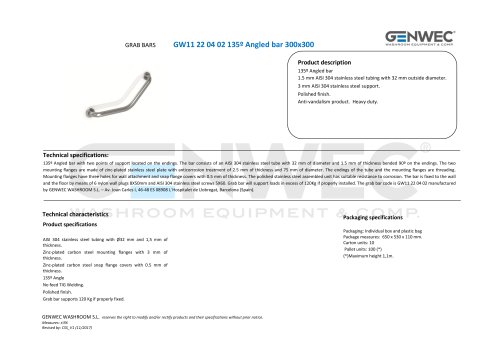 GW11 22 04 02
2 Pages
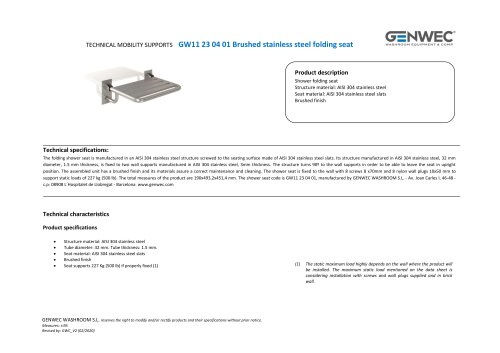 GW11 23 04 01
3 Pages
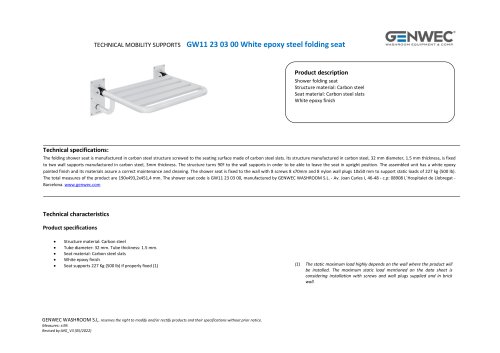 GW11 23 03 00
3 Pages
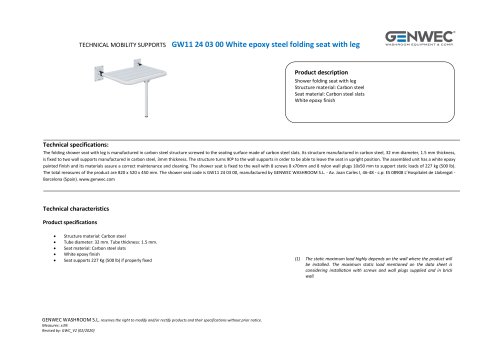 GW11 24 03 00
3 Pages
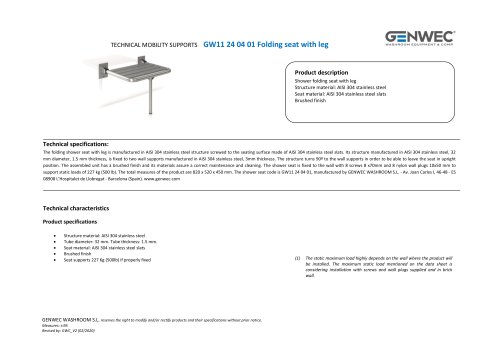 GW11 24 04 01
3 Pages
 GW11 24 11 00
3 Pages
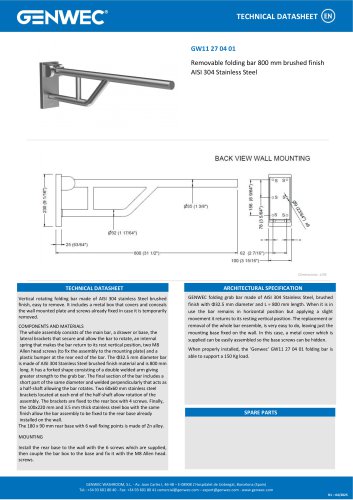 GW11 27 04 01
1 Page
 GW11 32 09 00
2 Pages
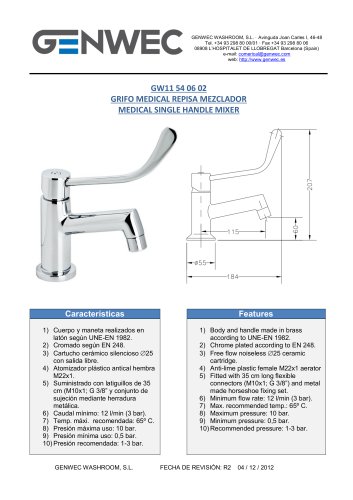 GW11 54 06 02
1 Page
 GW09 01 04 01
8 Pages
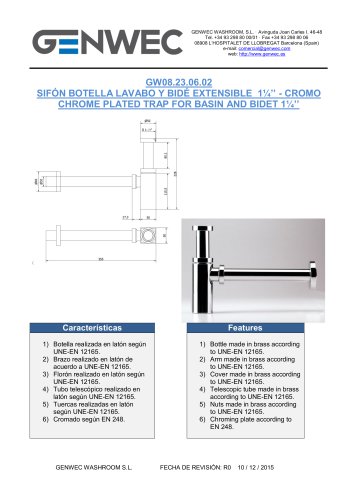 GW08 23 06 02
1 Page
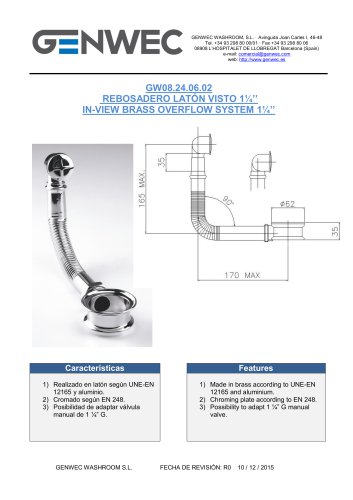 GW08 24 06 02
1 Page
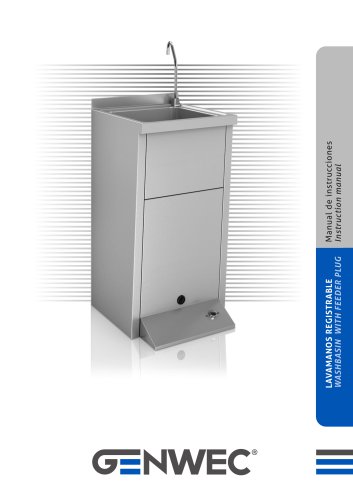 GW08 50 04 01
12 Pages
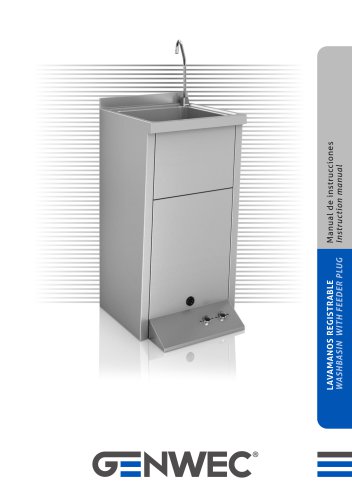 GW08 51 04 01
12 Pages
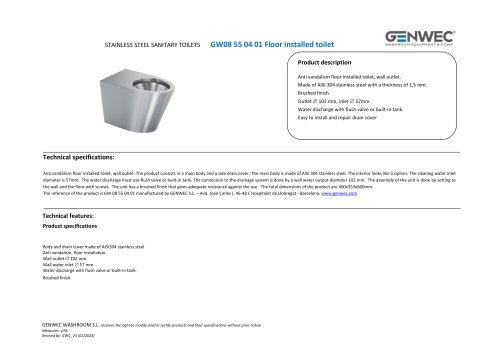 GW08 55 04 01
2 Pages
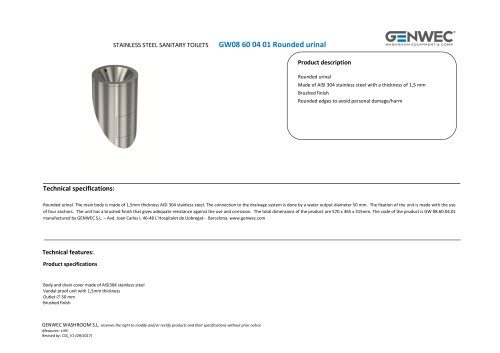 GW08 60 04 01 Rounded urinal
2 Pages
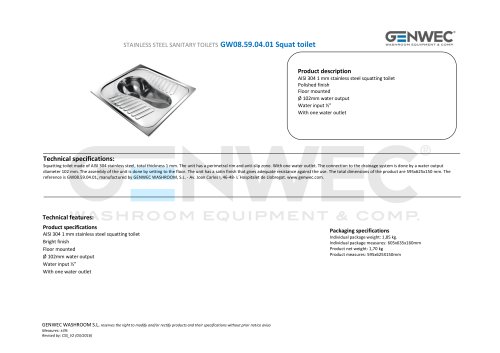 GW08.59.04.01 Squat toilet
2 Pages
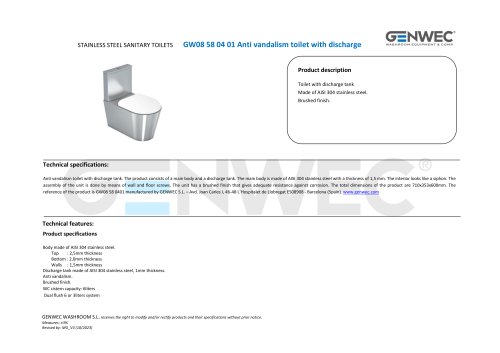 GW08 58 04 01
2 Pages
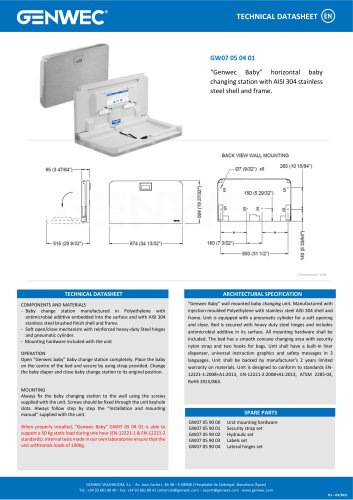 GW07 05 04 01
1 Page
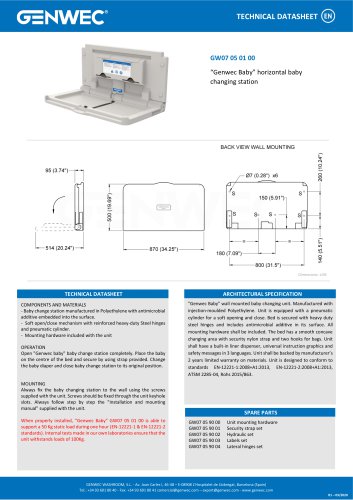 GW07 05 01 00
1 Page
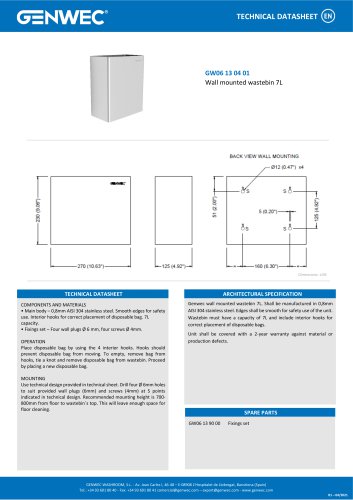 GW06 13 04 01
1 Page
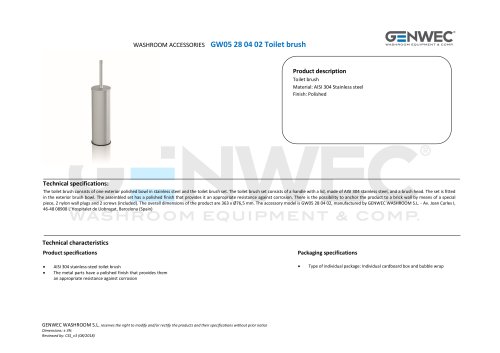 GW05 28 04 02 Toilet brush
2 Pages
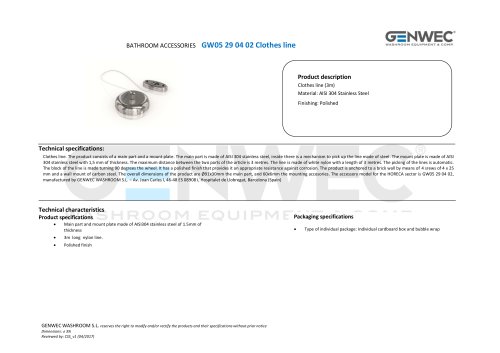 GW05 29 04 02 Clothes line
2 Pages
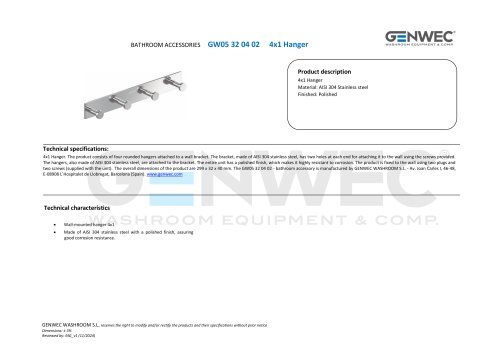 GW05 32 04 02
2 Pages
 GW04 20 04 01
8 Pages
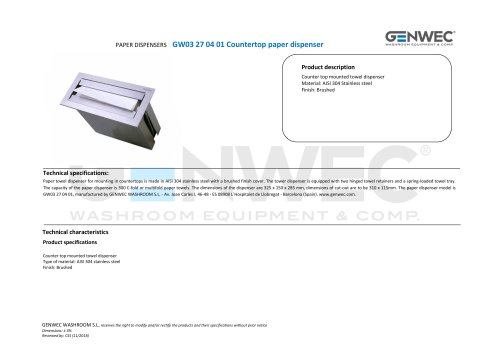 GW03 27 04 01
2 Pages
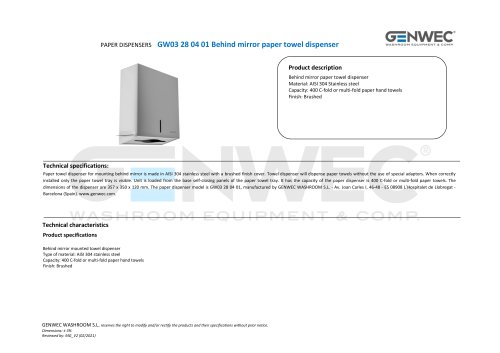 GW03 28 04 01
2 Pages
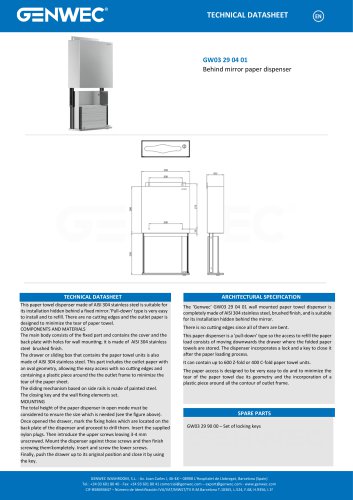 GW03 29 04 01
1 Page
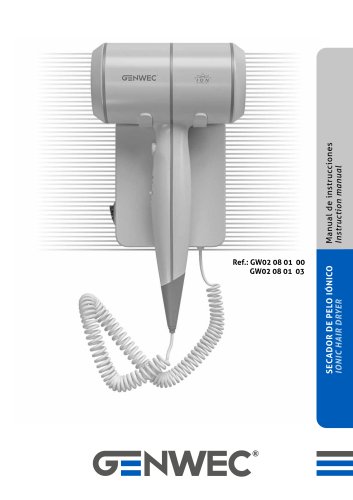 GW02 08 01 03
8 Pages
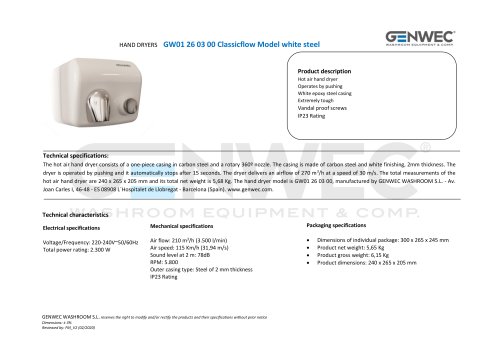 GW01 26 03 00
2 Pages
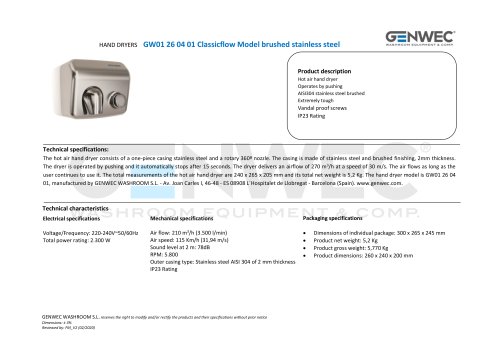 GW01 26 04 01
2 Pages
 GW01 26 04 02
2 Pages
 GW01 17 Installation Manual
71 Pages
 GW01 16 01 00
20 Pages
 GW03 20 01 00 ABS
2 Pages
 GW03 19 01 04 ABS
2 Pages
 GW03 19 01 00 ABS
2 Pages
 GW03 19 01 00
2 Pages
 GW03 18 01 04
2 Pages
 GW03 18 01 00
2 Pages
 GW03 27 04 01
2 Pages
 GW03 16 04 02
2 Pages
 GW03 24 04 01
2 Pages
 GW03 04 04 02
2 Pages
 GW03 04 04 01
2 Pages
 GW03 11 04 02
2 Pages
 GW03 10 04 02
2 Pages
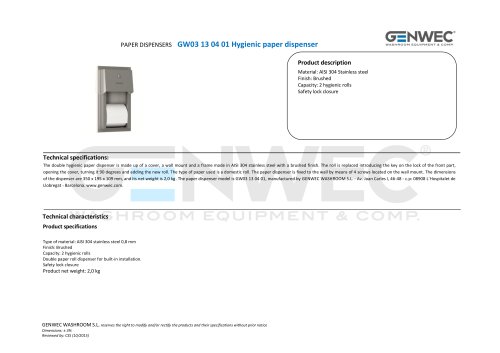 GW03 13 04 01
2 Pages
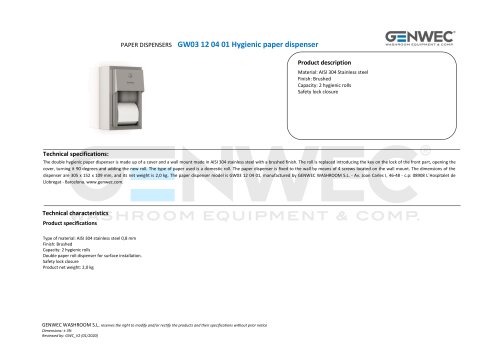 GW03 12 04 01
2 Pages
 GW03 10 04 01
2 Pages
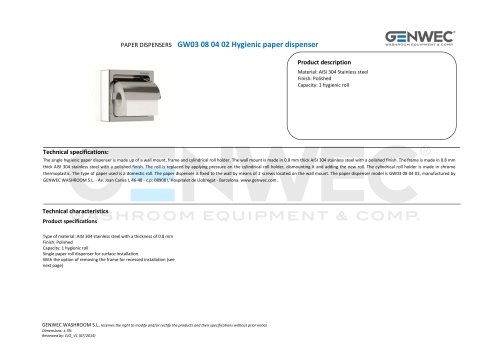 GW03 08 04 02
2 Pages
 GW03 28 04 01
2 Pages
 GW02 01 01 00 Hair dryer
1 Page
 GW01 40 FALCON series
2 Pages
 gw03 02
1 Page
 gw03 05
1 Page
 GW04 16 01 00SM
1 Page
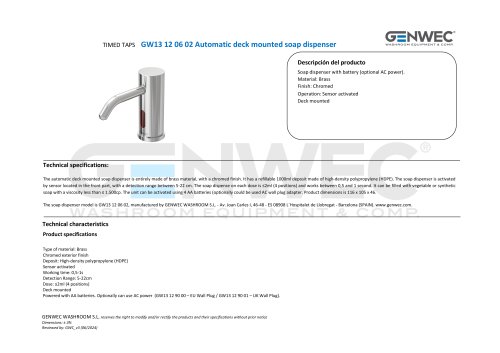
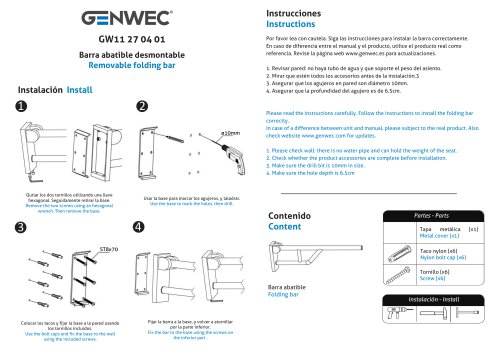
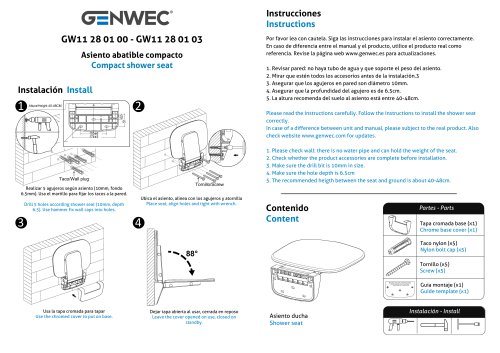



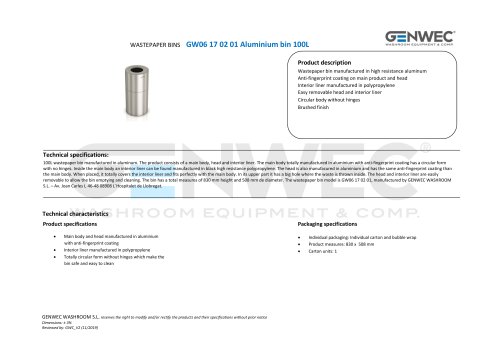
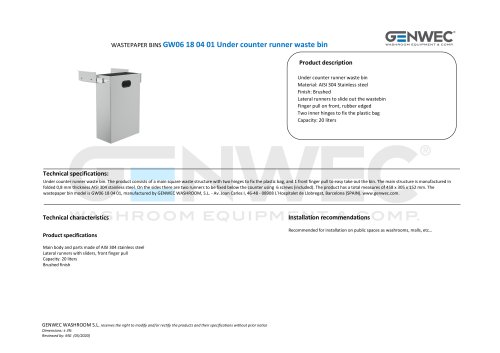
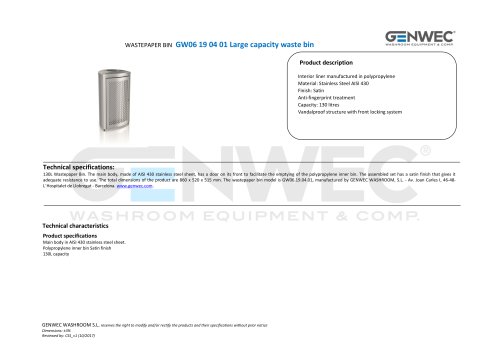
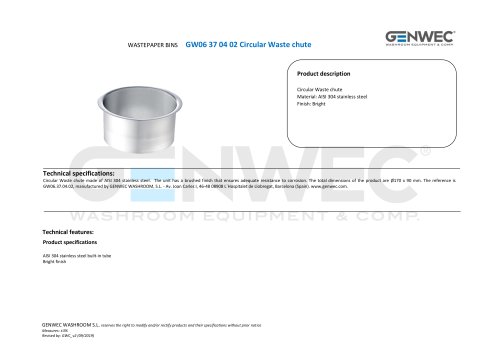




- Industrial tap
- Mixer faucet
- Indoor mixer tap
- Wash stand
- Contemporary wash basin
- Bathroom single-handle faucet
- Metal mixer tap
- Contemporary single-handle mixer tap
- Washbasin tap
- 1-hole single-handle faucet
- Countertop single-handle mixer tap
- Lavatory mixer tap
- Lever mixer tap
- Industrial dust-bin
- Shelves
- Contemporary litter bin
- Contemporary shelves
- Rectangular sink
- Commercial bin
- Commercial mixer tap