

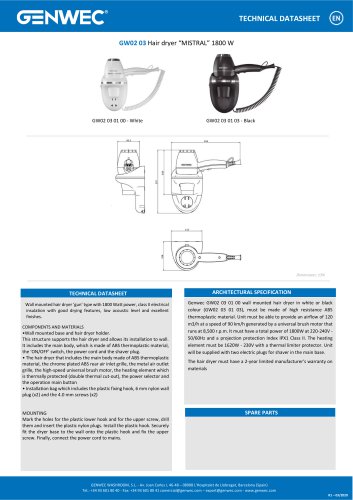
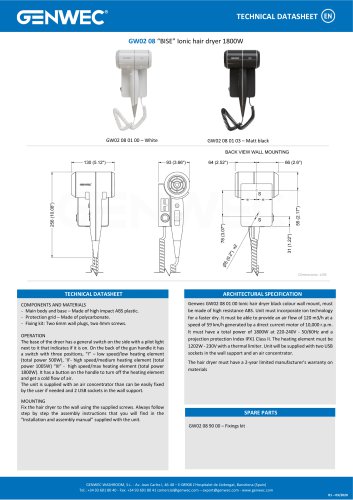
GW02 03 01 00 ,GW02 03 01 03 nstruction manual
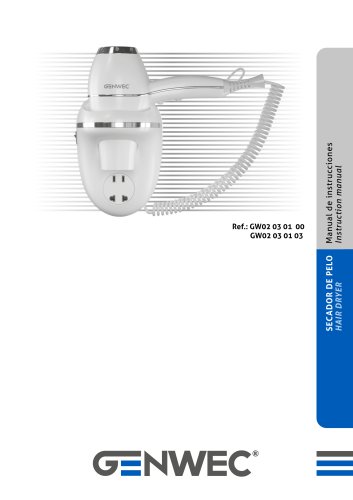
GW02 03 01 00 ,GW02 03 01 03 nstruction manual
Introduction and Main Features
This wall-mounted hair dryer is designed for individual use, focusing on safety, convenience, and energy efficiency. It operates at an input voltage of 220-240 V, 50/60 Hz, with a maximum power of 1800 W. The device features Class II electrical insulation and includes a main ON/OFF switch located on the lateral side of the base, a push button that must be held during operation, and a selector for three power levels. Additionally, it provides two power sockets for electric shavers.
Safety Instructions
- Installation, adjustment, and maintenance must be performed only by qualified technicians.
- Electrical supply must be disconnected before any manipulation.
- Disconnection means with at least 3 mm contact separation must be integrated into the fixed wiring, complying with legal standards.
- The device is not intended for use by children under 8 years or persons with reduced physical, sensory, or mental capabilities unless supervised.
- Children must be supervised to prevent playing with the appliance.
- If the power cord is damaged, it must be replaced by the manufacturer or qualified personnel to avoid hazards.
Components and Installation
The package includes the hair dryer body, base unit, power level selector switch, push button, main ON/OFF switch, shaver sockets, three fixing screws, three wall plugs, and a rear hook.
Installation steps:
- Mark the fixing hole positions on the wall and drill 6 mm holes.
- Insert wall plugs and fix the rear hook with screws.
- Mount the base unit on the hook and secure it with screws.
Operating Instructions
- Connect the power cord and switch on the main ON/OFF switch located on the base.
- Select the desired power level using the selector switch.
- Hold down the push button continuously during drying.
- Do not use near water sources or with wet hands.
- The hair dryer includes thermal protection that automatically switches off the device if overheating occurs; unplug and allow to cool before reuse.
Maintenance and Cleaning
- Always disconnect the appliance before cleaning.
- Clean the body and base with a slightly damp cloth, then dry with a soft cloth.
- Do not immerse the device in water or liquids.
Warnings and Recommendations
- Do not use the appliance if the power cord or plug is damaged or if the device malfunctions or is physically damaged.
- Do not let the power cord hang over edges or contact hot surfaces.
- Only use accessories supplied by the manufacturer to avoid fire, electric shock, or damage.
- The hair dryer must be installed out of reach of persons bathing or showering.
Environmental and Disposal Information
At the end of its life, the hair dryer must not be disposed of as regular urban waste. It should be taken to designated collection points for electrical and electronic equipment recycling. Proper recycling prevents environmental and health hazards and allows recovery of raw materials, conserving natural resources and energy. The product is marked with a crossed-out wheeled bin symbol as a reminder.
Catalog excerpts
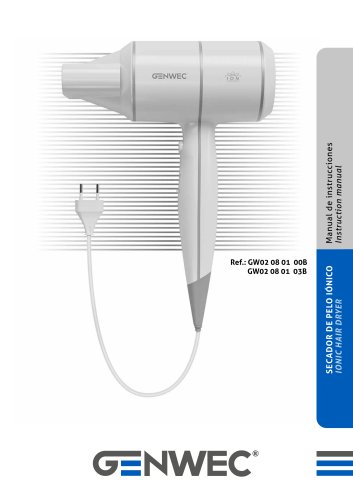
SECADOR DE PELO HAIR DRYER Manual de instrucciones Instruction manual
Open the catalog to page 1
INSTRUCCIONES DE SEGURIDAD Antes de realizar cualquier operación, lea cuidadosamente estas instrucciones y aplíquelas. • Sólo un técnico cualificado puede realizar tareas de instalación, ajuste y mantenimiento de este aparato. • Antes de realizar cualquier manipulación eléctrica, debe cortarse el suministro eléctrico que proporciona la tensión que alimenta el secador. • Se deben prever medios de desconexión de la red de alimentación, con una separación de contacto de al menos 3 mm (0.12”), en todos los polos. Dichos medios de desconexión deben ser incorporados a la red fija, de acuerdo con la...
Open the catalog to page 2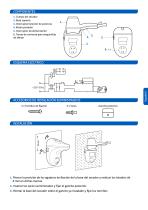
6. Tomas de corriente para maquinillas de afeitar ACCESORIOS DE INSTALACION SUMINISTRADOS Espanol 3 x Tornillos de fijacion 3 x Tacos Gancho posterior 1. Marcar la posicion de los agujeros de fijacion de la base del secador y realizar los taladros de 6 mm en dichas marcas2. Insertar los tacos suministrados y fijar el gancho posterior.3. Montar la base del secador sobre el gancho ya instalado y fijar los tornillos
Open the catalog to page 3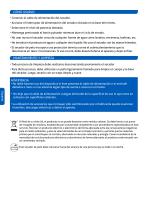
CÓMO USARLO • Conectar el cable de alimentación del secador. • Accionar el interruptor de alimentación del secador ubicado en la base del mismo. • Seleccione el nivel de potencia deseado. • Mantenga presionado el botón pulsador mientras dure el ciclo de secado. • No usar nunca el secador cerca de cualquier fuente de agua como lavabos, encimeras, bañeras, etc. • No introducir el producto en agua o cualquier otro líquido. No usar el secador con las manos húmedas. • El secador de pelo incorpora una protección térmica contra el sobrecalentamiento que lo desconecta en tales circunstancias. Si eso...
Open the catalog to page 4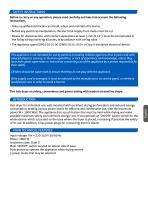
SAFETY INSTRUCTIONS Before to carry on any operation, please read carefully and take into account the following instructions. • Only a qualified technician can install, adjust and maintain this device. • Before any electrical manipulation, the electrical supply from mains must be cut. • Means for disconnection, with contact separations at least 3 mm (0.12”), must be incorporated in the fixing wiring involving all poles, in accordance with wiring rules. • The appliance typed GW02 03 01 00 (GW02 03 01 03) is a Class II insulation electrical device. This appliance is not intended for use by persons...
Open the catalog to page 5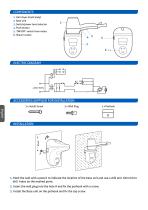
1. Hair dryer (main body) 3. Switch/power level selector 5. ‘ON/OFF' switch from mains ACCESSORIES SUPPLIED FOR INSTALLATION 3 x Install Screw 3 x Wall Plug 1 x Pothook 1. Mark the wall with a pencil to indicate the location of the base unit and use a drill and 6mm bit to drill holes on the marked point. 2. Insert the wall plug into the hole A and fix the pothook with a screw. 3. Install the Base unit on the pothook and fix the top screw.
Open the catalog to page 6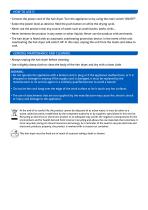
• Connect the power cord of the hair dryer. Turn the appliance on by using the main switch 'ON/OFF'. • Select the power level as desired. Held the push button on while the drying cycle. • Never use the product near any source of water such as wash basins, baths, sinks... • Never immerse the product in any water or other liquids. Never use the product with wet hands. • The hair dryer is fitted with an automatic overheating protection device. In the event of the unit overheating the hair dryer will switch off. In this case, unplug the unit from the mains and allow to cool. • Always unplug the hair...
Open the catalog to page 7
WASHROOM EQUIPMENT & COMP. Av. Joan Carles I, 46-48 08908 L´Hospitalet de Llobregat - Barcelona - (SPAIN) www.genwec.com
Open the catalog to page 8All Genwec catalogs and technical brochures
 CATALOG 4.0
198 Pages
 BATHROOM ACCESORIES BROCHURE
24 Pages
 GW13 01 06 02
1 Page
 GW13 02 06 02
1 Page
 GW13 03 06 02
1 Page
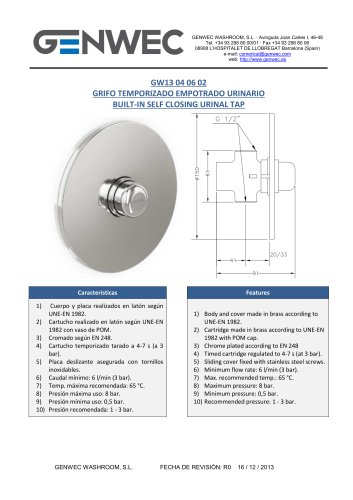 GW13 04 06 02
1 Page
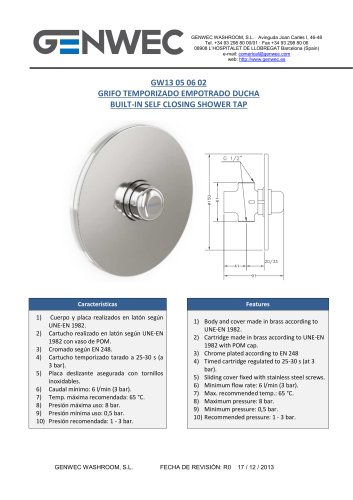 GW13 05 06 02
1 Page
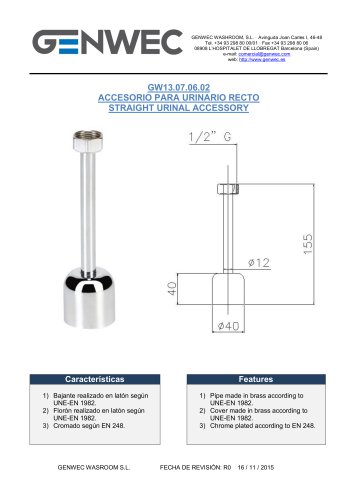 GW13 06 06 02
1 Page
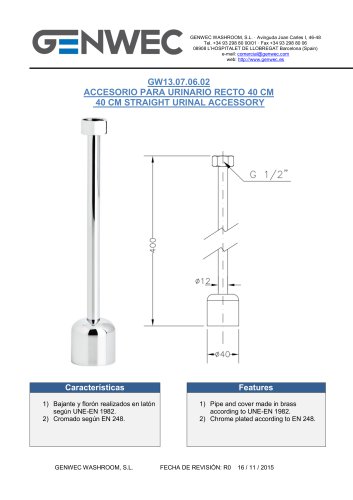 GW13 07 06 02
1 Page
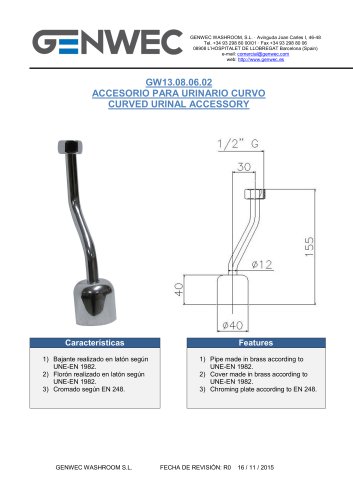 GW13 08 06 02
1 Page
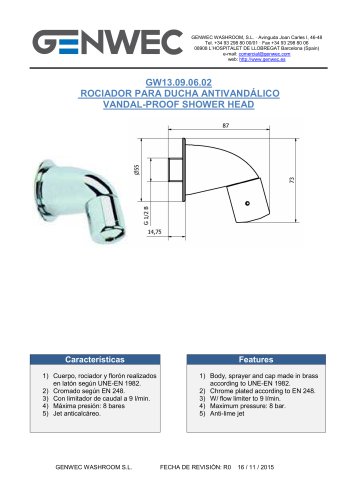 GW13 09 06 02
1 Page
 GW13 12 06 02
16 Pages
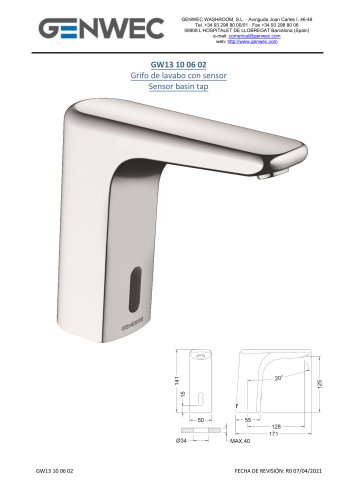 GW13 10 06 02
5 Pages
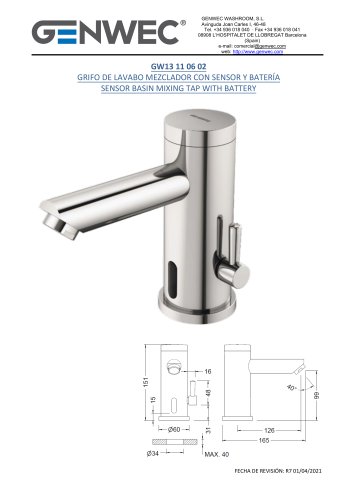 GW13 11 06 02
7 Pages
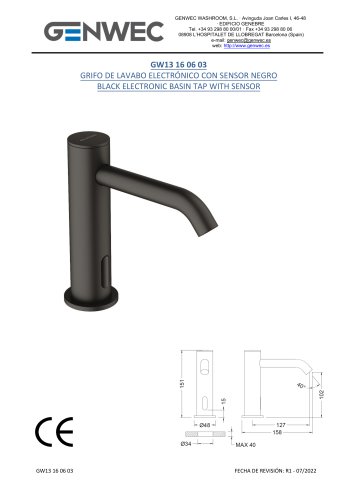 GW13 16 06 03
6 Pages
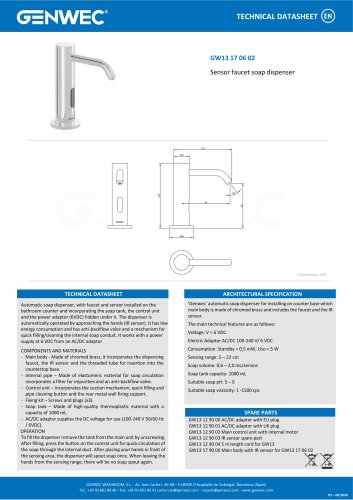 GW13 17 06 02
1 Page
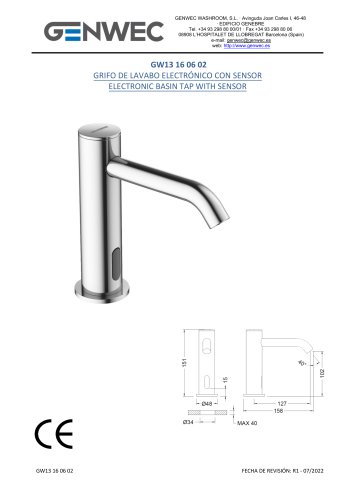 GW13 16 06 02
6 Pages
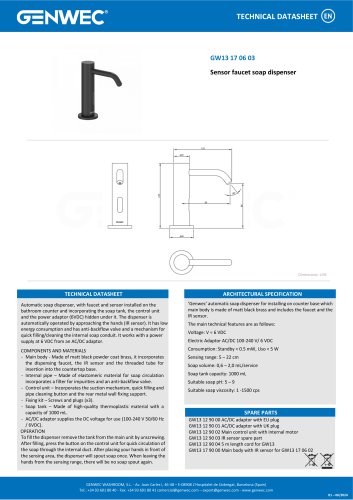 GW13 17 06 03
1 Page
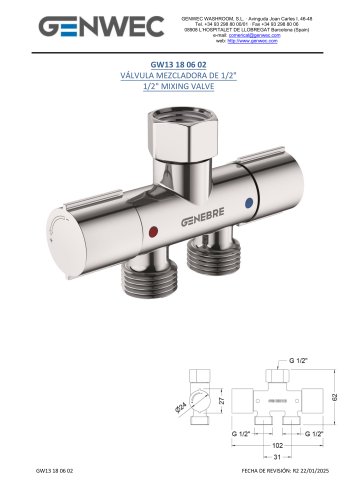 GW13 18 06 02
5 Pages
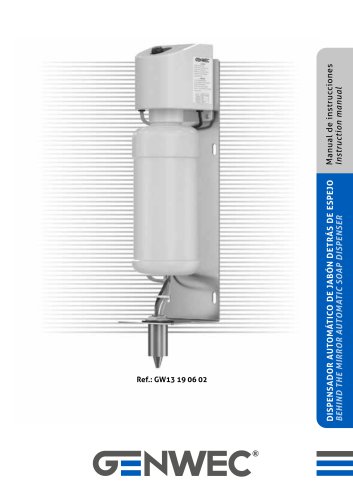 nstruction manual GW13 19 06 02
12 Pages
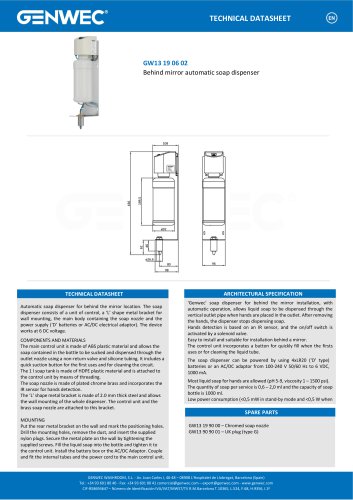 GW13 19 06 02
1 Page
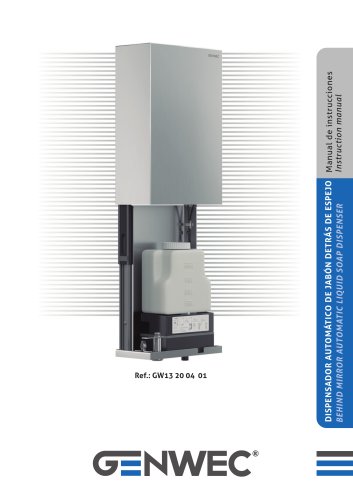 GW13 20 04 01
12 Pages
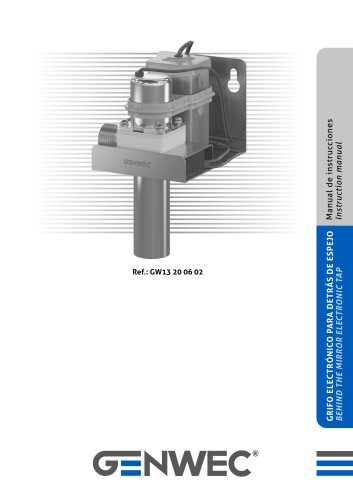 GW13 20 06 02
8 Pages
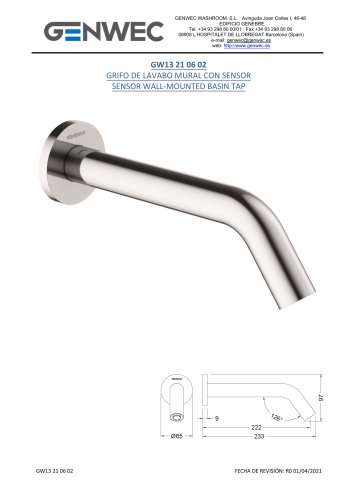 GW13 21 06 02
6 Pages
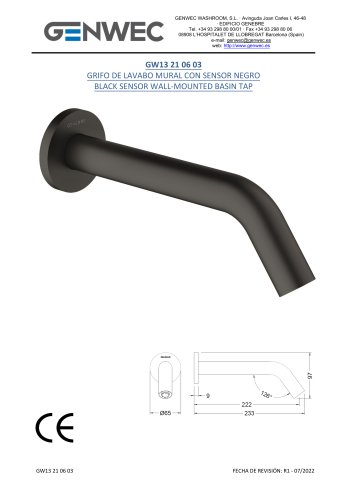 GW13 21 06 03
6 Pages
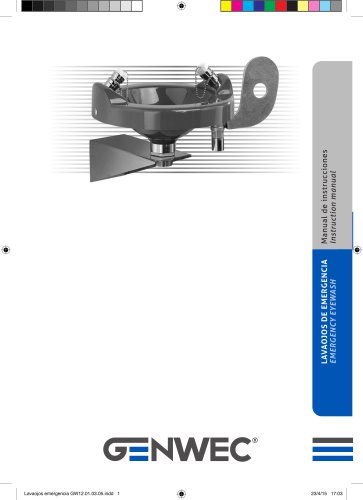 GW12 01 04 05
8 Pages
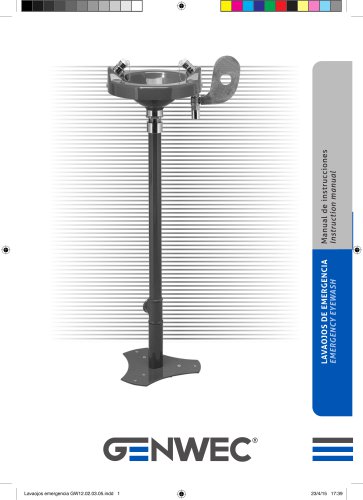 GW12 02 04 05
8 Pages
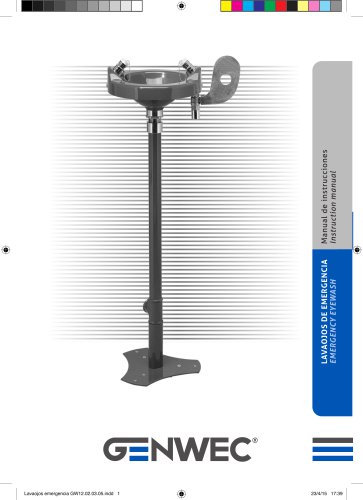 GW12 02 03 05
8 Pages
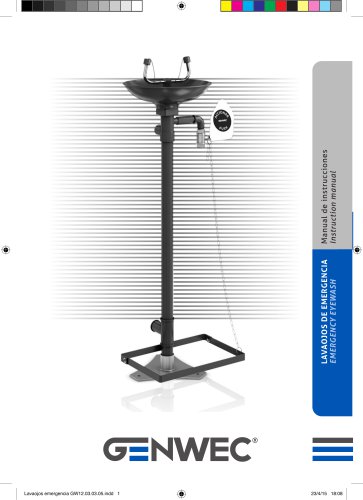 GW12 03 03 05
8 Pages
 GW12 03 04 05
8 Pages
 GW12 04 03 05
12 Pages
 GW12 04 04 05
12 Pages
 GW12 05 03 05
12 Pages
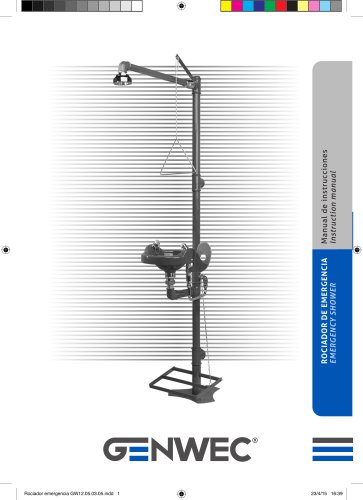 nstruction manual GW12 05 04 05
12 Pages
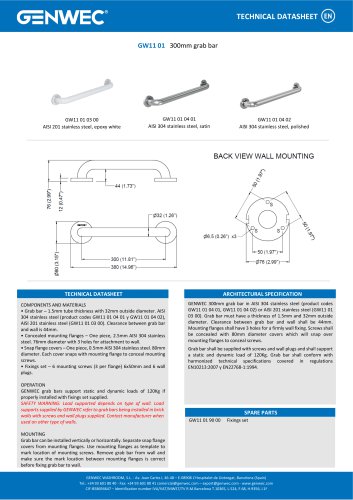 GW11 01 300mm grab bar
1 Page
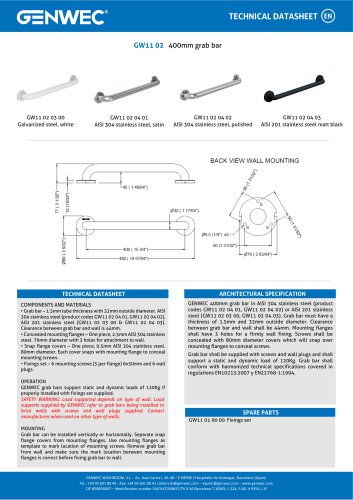 GW11 02 400mm grab bar
1 Page
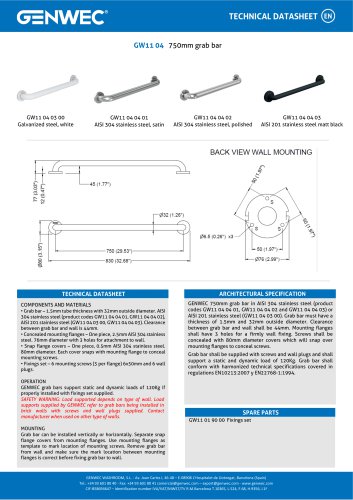 GW11 04 04 03
1 Page
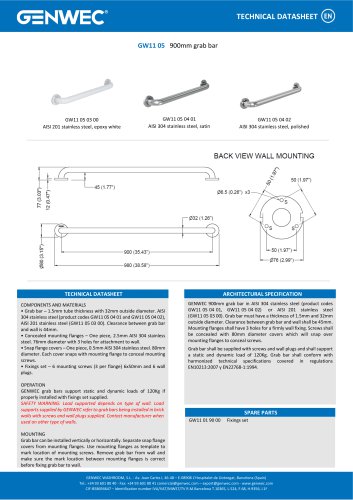 GW11 05 900mm grab bar
1 Page
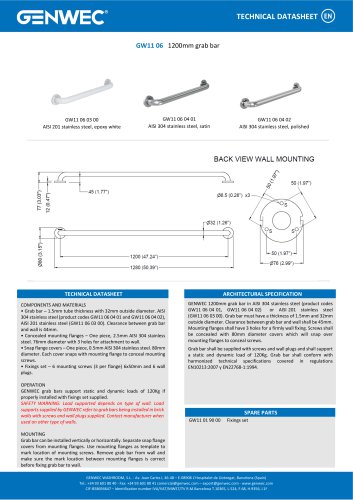 GW11 06 03 00
1 Page
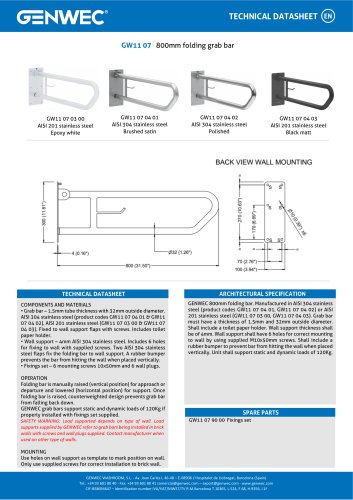 GW11 07 04 02
1 Page
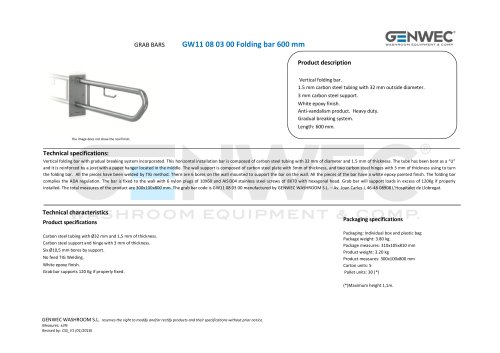 GW11 08 03 00
3 Pages
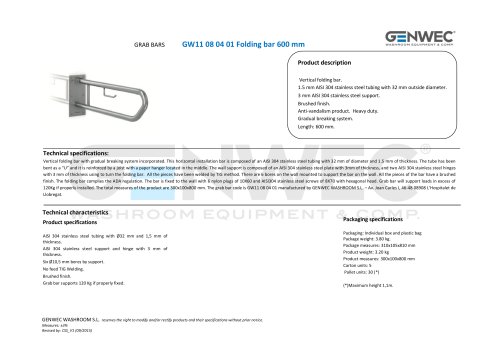 GW11 08 04 01
3 Pages
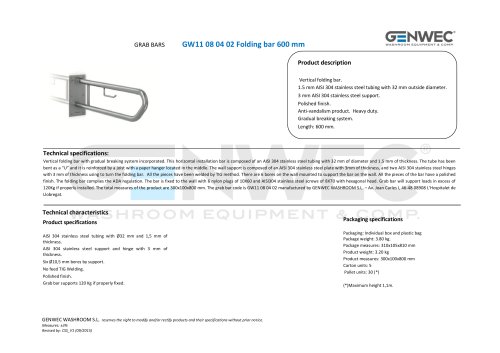 GW11 08 04 02
3 Pages
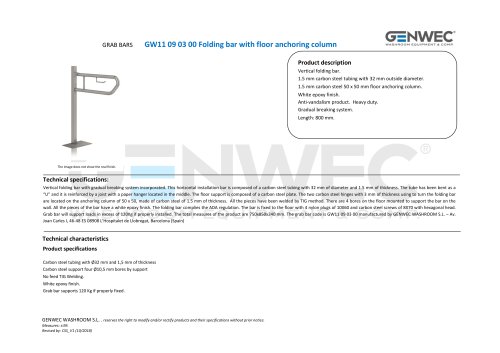 GW11 09 03 00
3 Pages
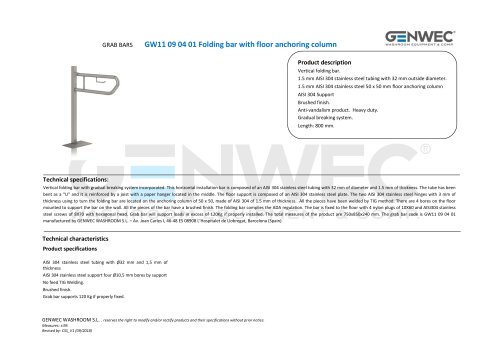 GW11 09 04 01
3 Pages
 GW11 09 04 02
3 Pages
 GW11 22 04 01
2 Pages
 GW11 22 04 02
2 Pages
 GW11 23 04 01
3 Pages
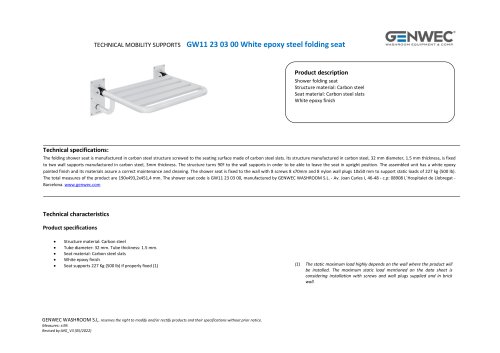 GW11 23 03 00
3 Pages
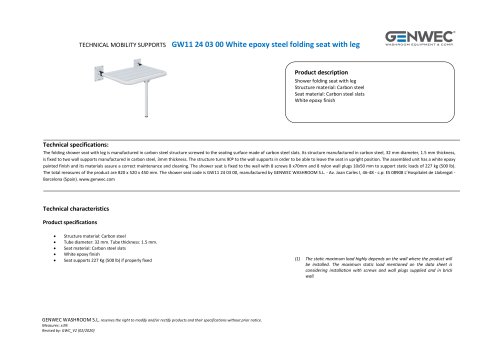 GW11 24 03 00
3 Pages
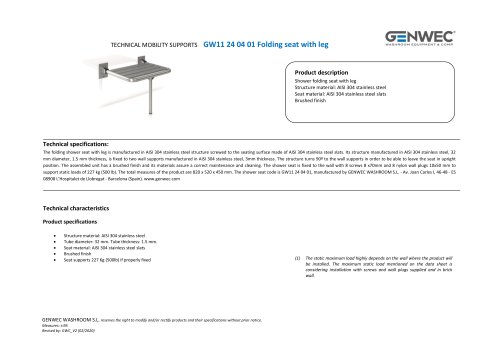 GW11 24 04 01
3 Pages
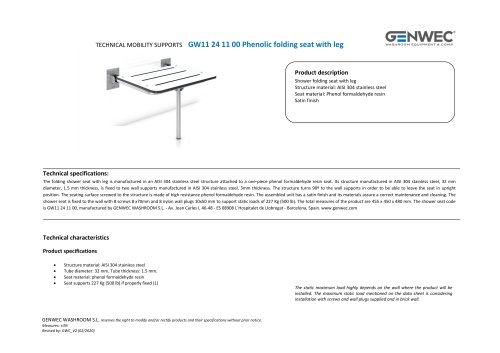 GW11 24 11 00
3 Pages
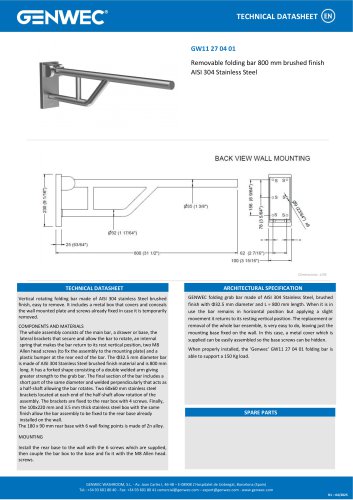 GW11 27 04 01
1 Page
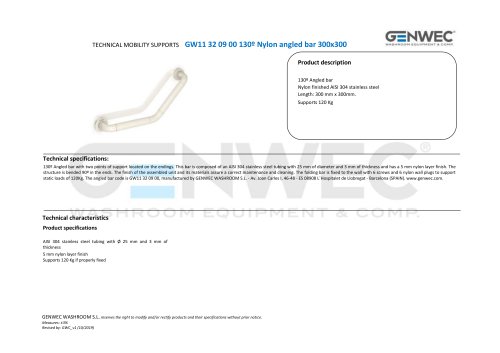 GW11 32 09 00
2 Pages
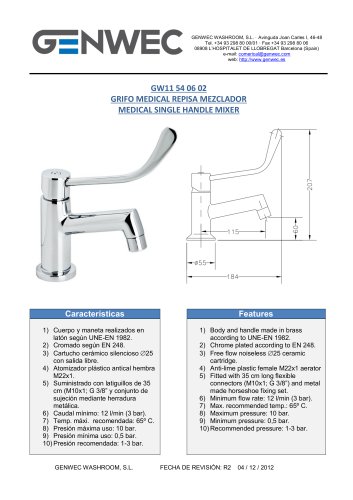 GW11 54 06 02
1 Page
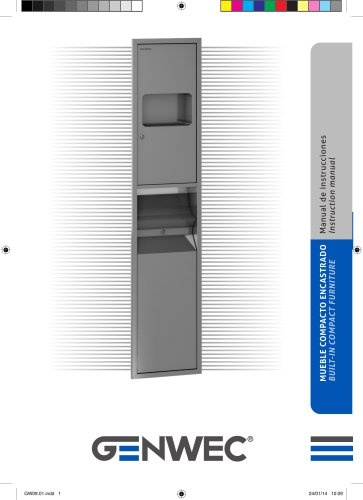 GW09 01 04 01
8 Pages
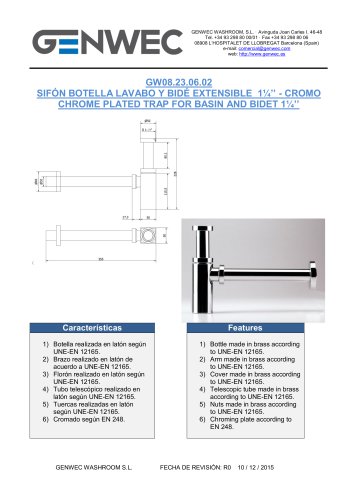 GW08 23 06 02
1 Page
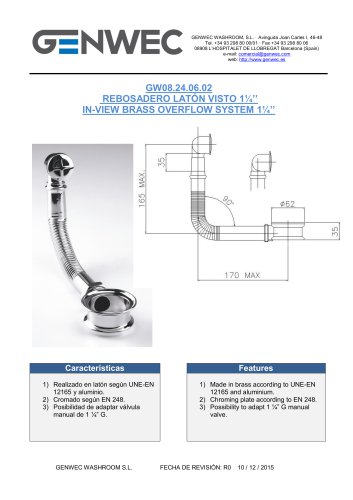 GW08 24 06 02
1 Page
 GW08 50 04 01
12 Pages
 GW08 51 04 01
12 Pages
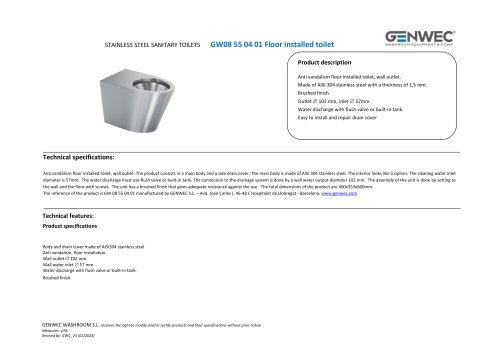 GW08 55 04 01
2 Pages
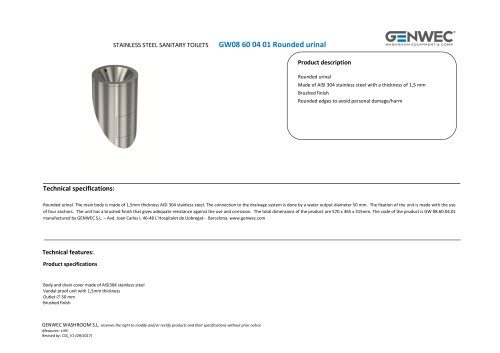 GW08 60 04 01 Rounded urinal
2 Pages
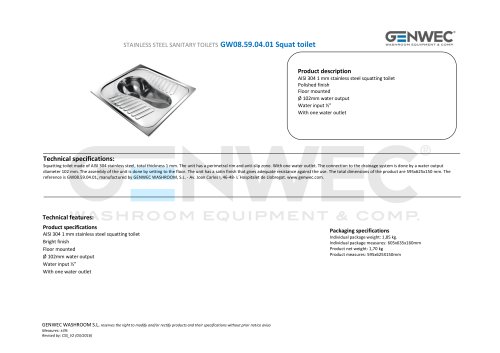 GW08.59.04.01 Squat toilet
2 Pages
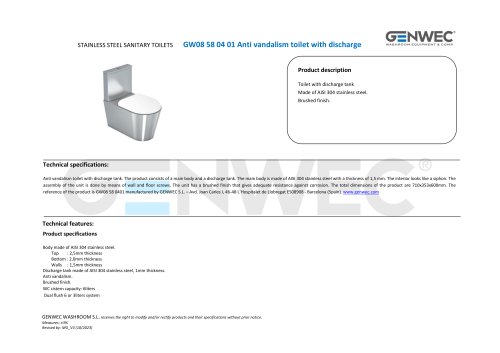 GW08 58 04 01
2 Pages
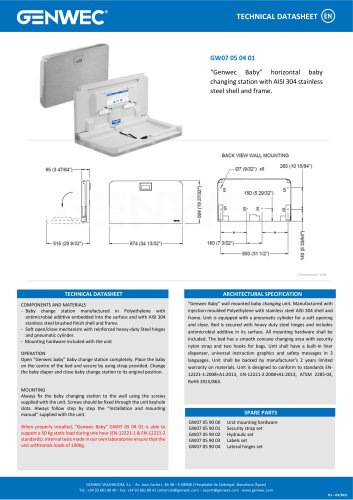 GW07 05 04 01
1 Page
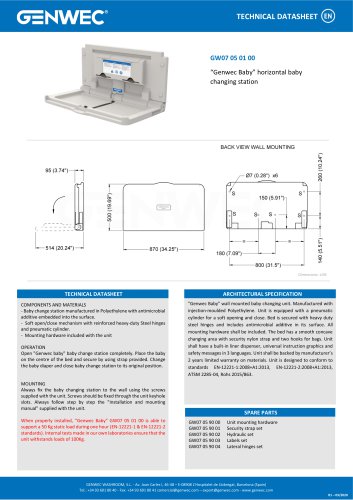 GW07 05 01 00
1 Page
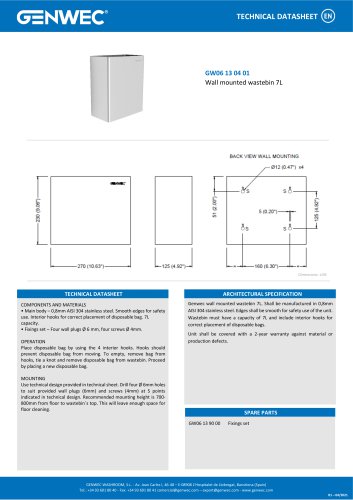 GW06 13 04 01
1 Page
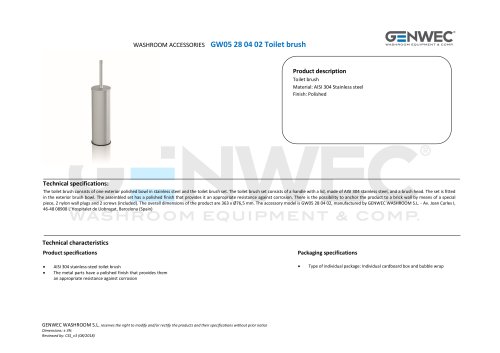 GW05 28 04 02 Toilet brush
2 Pages
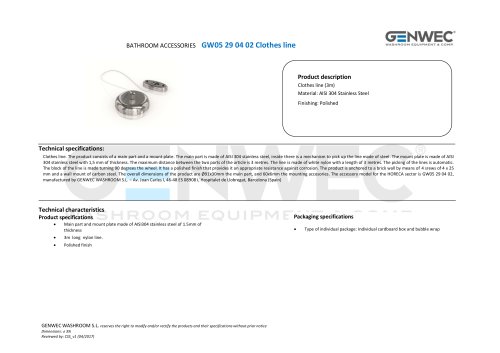 GW05 29 04 02 Clothes line
2 Pages
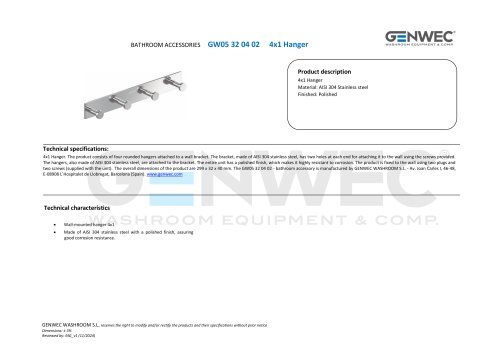 GW05 32 04 02
2 Pages
 GW04 20 04 01
8 Pages
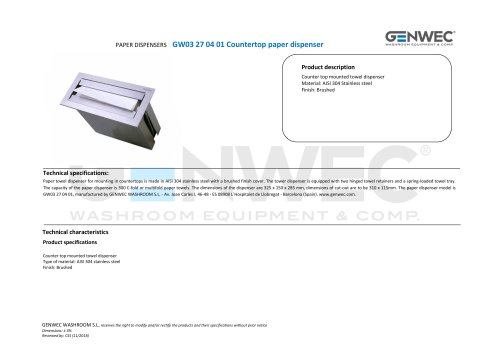 GW03 27 04 01
2 Pages
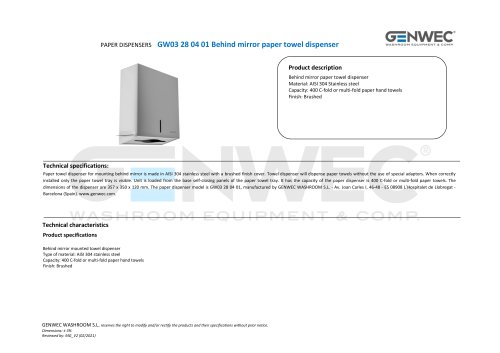 GW03 28 04 01
2 Pages
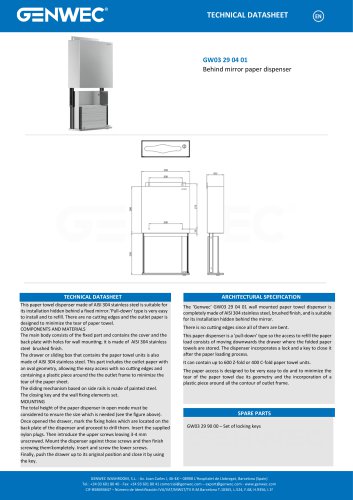 GW03 29 04 01
1 Page
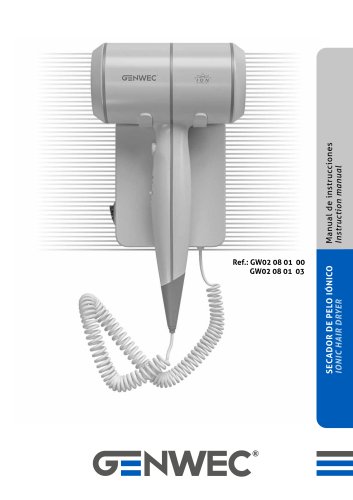 GW02 08 01 03
8 Pages
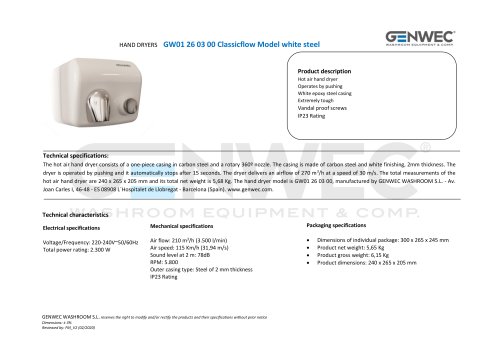 GW01 26 03 00
2 Pages
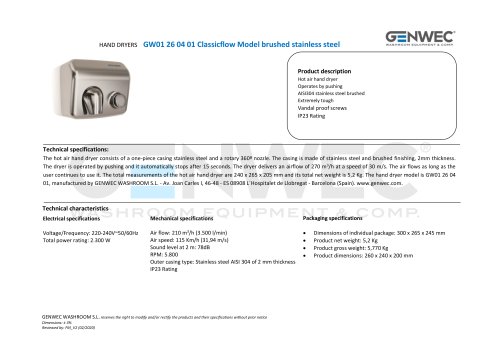 GW01 26 04 01
2 Pages
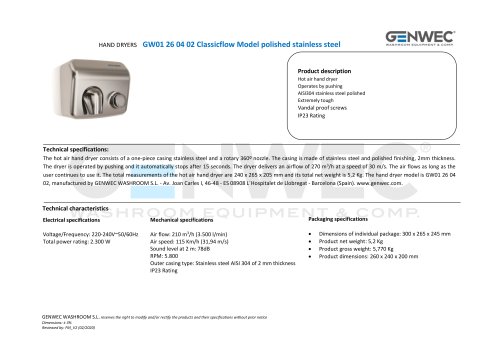 GW01 26 04 02
2 Pages
 GW01 17 Installation Manual
71 Pages
 GW01 16 01 00
20 Pages
 GW03 20 01 00 ABS
2 Pages
 GW03 19 01 04 ABS
2 Pages
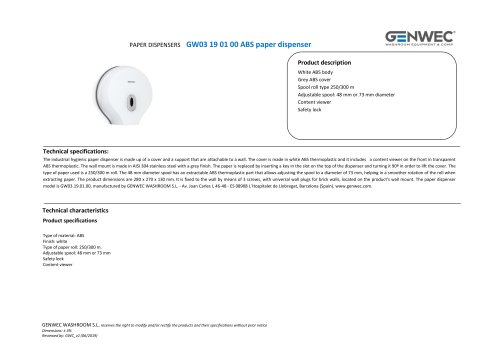 GW03 19 01 00 ABS
2 Pages
 GW03 19 01 00
2 Pages
 GW03 18 01 04
2 Pages
 GW03 18 01 00
2 Pages
 GW03 27 04 01
2 Pages
 GW03 16 04 02
2 Pages
 GW03 24 04 01
2 Pages
 GW03 04 04 02
2 Pages
 GW03 04 04 01
2 Pages
 GW03 11 04 02
2 Pages
 GW03 10 04 02
2 Pages
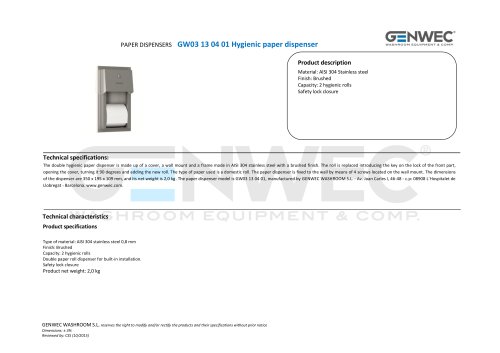 GW03 13 04 01
2 Pages
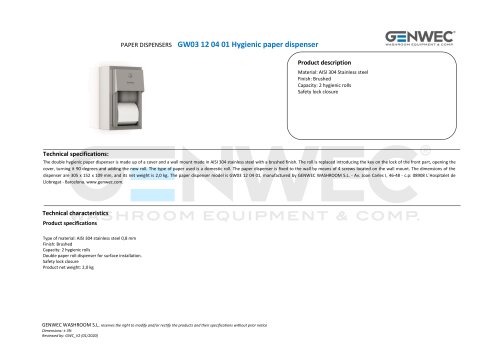 GW03 12 04 01
2 Pages
 GW03 10 04 01
2 Pages
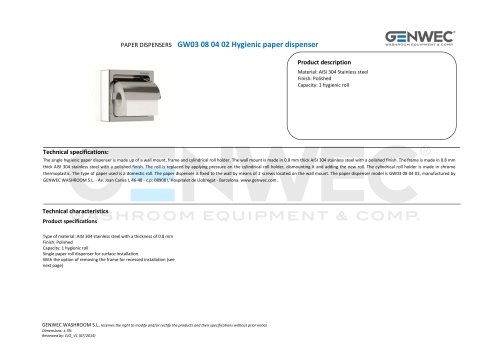 GW03 08 04 02
2 Pages
 GW03 28 04 01
2 Pages
 GW02 01 01 00 Hair dryer
1 Page
 GW01 40 FALCON series
2 Pages
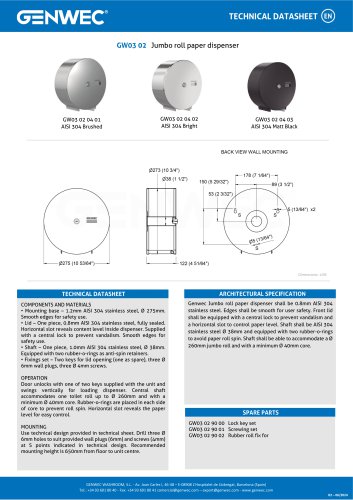
 gw03 02
1 Page
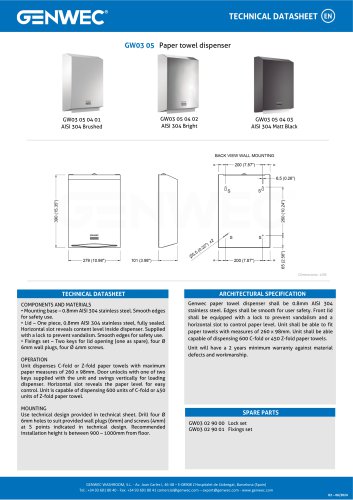
 gw03 05
1 Page
 GW04 16 01 00SM
1 Page
- Industrial tap
- Mixer faucet
- Indoor mixer tap
- Wash stand
- Contemporary wash basin
- Bathroom single-handle faucet
- Metal mixer tap
- Contemporary single-handle mixer tap
- Washbasin tap
- 1-hole single-handle faucet
- Countertop single-handle mixer tap
- Lavatory mixer tap
- Lever mixer tap
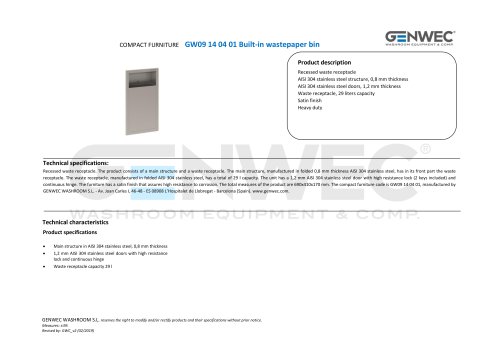
- Industrial dust-bin
- Shelves
- Contemporary litter bin
- Contemporary shelves
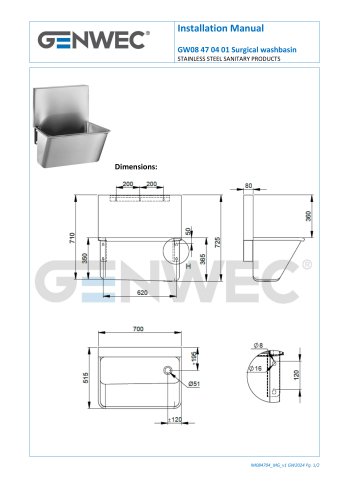
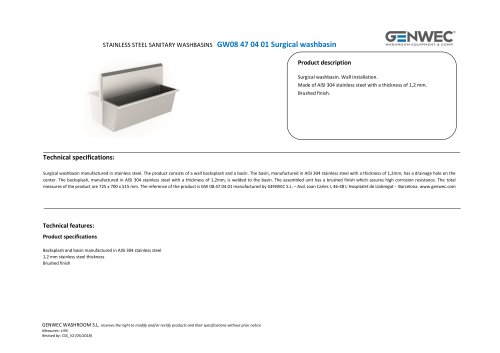
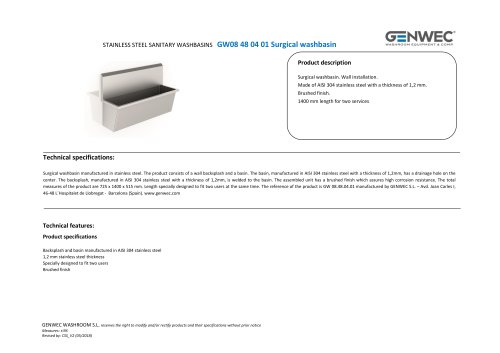
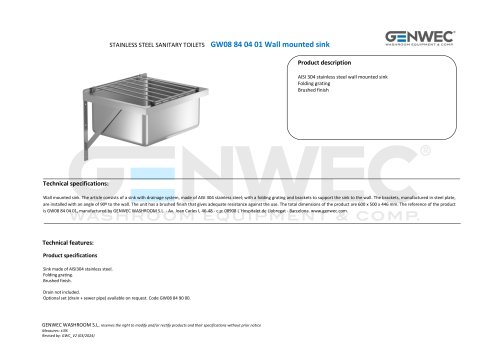
- Rectangular sink
- Commercial bin
- Commercial mixer tap