

GW01 17 Installation Manual
GW01 17 Installation Manual
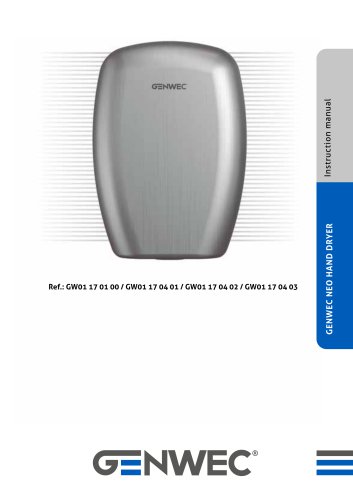
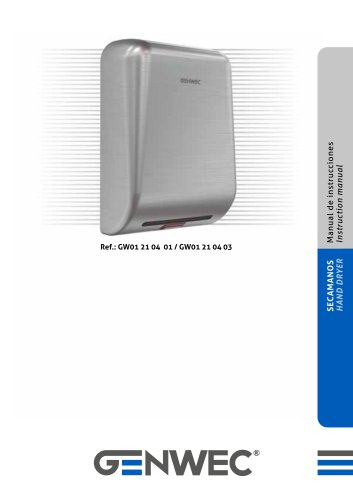
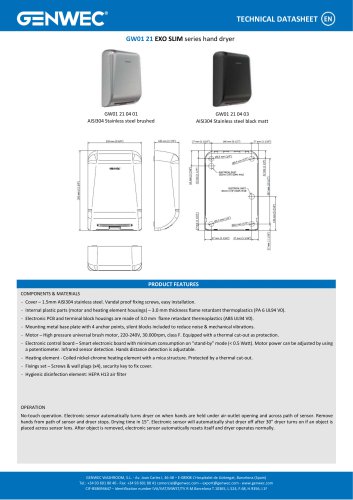
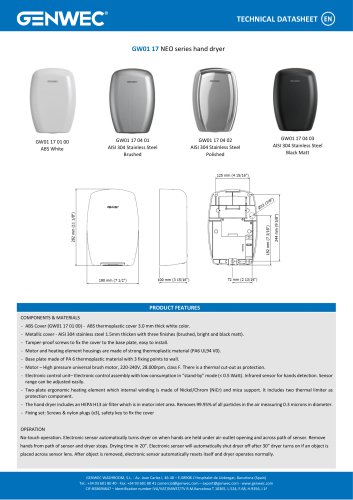
The GENWEC NEO hand dryer series offers efficient and compact hand dryers with a one-piece casing available in stainless steel or ABS thermoplastic material. The models come in various finishes, including brushed, bright, matte black stainless steel, and white ABS plastic.
Installation and maintenance should only be performed by qualified technicians. The dryer should not be connected to external switching devices like timers and is not suitable for unsupervised use by individuals with reduced capabilities. It should not be used near water sources, and any damaged power cables must be replaced by qualified personnel.
The dryers operate on a 220-240V power supply with 800W power consumption. They feature a universal high-pressure motor, HEPA filter H13, and have an IP24 protection grade. The design allows for quick installation, adjustable sensitivity, and is environmentally friendly due to low noise and limited electrical consumption.
The dryer operates automatically with infrared sensors. Users should rinse hands properly before drying. The maximum continuous run time is 30 seconds, after which hands must be moved away to reset the cycle.
Installation involves securing the dryer to the wall using provided templates and screws. The power connection must be handled by an authorized technician. Recommended installation heights are provided for convenient access.
Regular cleaning is advised to prevent dust accumulation. The air filter should be replaced every 6 months or more frequently in high-traffic areas. Cleaning involves disconnecting the power and using a soft cloth for the casing and internal parts.
Spare parts include covers, heating elements, motors, HEPA filters, IR sensors, and electronic boards, each with specific codes for replacement.
Electrical devices should not be disposed of in household rubbish but in designated collection facilities to prevent environmental hazards.
The GENWEC NEO hand dryer features quick and easy installation, adjustable detection distance, HEPA H13 filter, and a maximum continuous use duration of 30 seconds. It is made from flame-retardant plastic materials and operates automatically via infrared sensors that activate the motor and heating element when hands are near. The dryer emits a high-speed, homogeneous air layer for efficient drying, with reduced noise levels and limited power consumption.
- Power Supply: 220-240 V, 50/60 Hz
- Power: 800 W
- Electrical Insulation: Class II
- Protection Degree: IP24
- Motor: Universal high-pressure brush motor
- Motor Power: 400 W
- Heating Element: 400 W
- Speed: 250 km/h
- Airflow: 80 m3/h
- Sound Level: 75 dBA (at 2 m)
- Air Temperature (at 10 cm): 48°C
- Dimensions: 282 x 190 x 100 mm
- Weight: 1.7/2.3 kg
- Detection Range: 6 to 15 cm
The hand dryer should be installed on a closed and compact surface, with a minimum height of 400 mm from any shelf below. Installation involves removing the casing, securing the unit to the wall, and connecting it to the power supply by a qualified technician. The detection distance can be adjusted using a potentiometer.
The air filter should be replaced every 6 months, or more frequently in high-traffic areas. Cleaning involves cutting off the power, removing the casing, and using a soft cloth with soapy water to clean the exterior and air intake. The sensor screen should also be cleaned gently.
- The device should not be used by individuals with reduced physical, sensory, or mental capabilities without supervision.
- It should not be used near water sources like bathtubs or showers.
- Damaged power cables must be replaced by qualified personnel.
- The device should not be powered by external switching devices like timers.
Do not dispose of electrical appliances with unsorted household waste. Use designated collection centers to prevent hazardous substances from contaminating groundwater and the food chain.
Catalog excerpts
GENWEC NEO HAND DRYER
Open the catalog to page 1
SAFETY INSTRUCTIONS Before operation, read these instructions carefully and apply them. • Only a qualified technician should perform installation, adjustment and maintenance of this appliance. • Be aware that, when removing the dryer casing, active parts of the dryer may be exposed and may result in risking electrocution. • Before any electrical handling, the power supply providing the voltage supply to the dryer must be cut off. • Means of disconnecting from mains power must be planned, with a contact separation of at least 3 mm (0.12”), on all terminals. This means of disconnection must be...
Open the catalog to page 2
The models of this dryer are Class II appliances based on their electrical insulation and must not be connected to the earthing terminal of the building since they have double electrical insulation. The dryer operates automatically, incorporating infrared sensors that activate the motor and heating element when the user's hands approach it. Drying is based on the emission one homogeneous high-speed jet of air covering the width of both hands. The low noise level and limited electrical consumption make it a range of efficient and environmentally friendly dryers. The most relevant technical features...
Open the catalog to page 3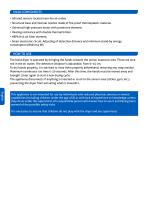
MAIN COMPONENTS • Infrared sensors located near the air outlet. • Structural base and internal nozzles made of fire-proof thermoplastic material. • Universal high-pressure motor with protective element. • Heating resistance with double thermal limiter. • HEPA H13 air filter element. • Smart electronic circuit. Adjusting of detection distance and minimum stand-by energy consumption (Wsb<0,5 W). HOW TO USE The hand dryer is operated by bringing the hands towards the sensor exposure area. These are located in the air outlet. The detection distance is adjustable, from 6–15 cm. To dry hands properly,...
Open the catalog to page 4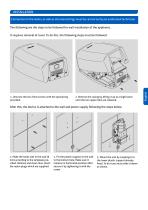
INSTALLATION Connection to the mains, as well as internal settings must be carried out by an authorised technician. The following are the steps to be followed for wall installation of the appliance. 1. Unscrew the two front screws with the special key provided. 2. Remove the casing by lifting it up at a slight slant until the two upper tabs are released. After this, the device is attached to the wall and power supply following the steps below. 1. Make the holes (x3) in the wall (6 mm) according to the template provided. Remove and clean dust. Insert the nylon plugs which are supplied. 2. Fix...
Open the catalog to page 5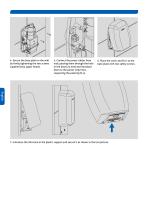
4. Secure the base plate to the wall by firmly tightening the two screws supplied (two upper holes). 5. Connect the power cables from wall, passing them through the hole in the base (22 mm) and introduce them to the power strip lines, respecting the polarity (N, L). 6. Place the cover and fix it to the base plate with two safety screws. English 7. Introduce the third one in the plastic support and secure it as shown in the last picture.
Open the catalog to page 6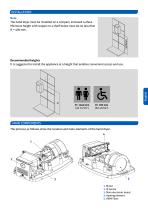
Note The hand dryer must be installed on a compact, enclosed surface. Minimum height with respect to a shelf below must be no less than H = 400 mm. Recommended heights It is suggested to install the appliance at a height that enables convenient access and use. MAIN COMPONENTS The pictures as follows show the location and main elements of the hand dryer. 5 1. Motor 2. IR sensor 3. Main electronic board 4. Heating element 5. HEPA Filte
Open the catalog to page 7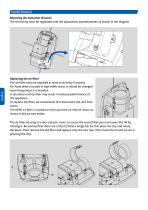
MAINTENANCE Adjusting the detection distance The sensitivity must be regulated with the adjustment potentiometer, as shown in the diagram. Replacing the air filter The air filter must be replaced at least once every 6 months. For hand dryers located in high traffic areas, it should be changed more frequently (3–4 months). A saturated or dirty filter may result in reduced performance of the appliance. To replace the filter, we recommend first disconnect the unit from mains. The HEPA 13 filter is located on the top at the air inlet of motor as shown in the picture below. The air filter housing...
Open the catalog to page 8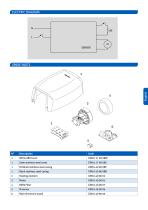
SPARE PARTS English
Open the catalog to page 9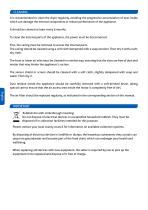
CLEANING It is recommended to clean the dryer regularly, avoiding the progressive accumulation of dust inside which can damage the internal components or reduce performance of the appliance. It should be cleaned at least every 6 months. To clean the internal parts of the appliance, the power must be disconnected. First, the casing must be removed to access the internal parts. The casing should be cleaned using a soft cloth dampened with a soap solution. Then dry it with a soft, dry cloth. The front or lower air inlet must be cleaned in a similar way, ensuring that the slots are free of dust and...
Open the catalog to page 10
دﻟﯾل اﻟﺗﻌﻠﯾﻣﺎت ﻣﺟﻔف اﻟﯾدﯾن GENWEC NEO
Open the catalog to page 11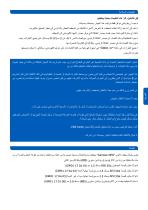
تعليمات السالمة قبل التشغيل ،اقرأ هذه التعليمات بعناية وطبقها. • يجب أن يقوم فني مؤهل فقط بتركيب هذا الجهاز وضبطه وصيانته. • انتبه إلى أنه عند إزالة غطاء المجفف ،قد تتعرض األجزاء النشطة من المجفف للخطر وقد تؤدي إلى خطر الصعق بالكهرباء. • قبل أي مناولة كهربائية ،يجب فصل مصدر الطاقة الذي يوفر مصدر الجهد الكهربائي إلى المجفف. • يجب التخطيط لوسائل الفصل عن مصدر الطاقة الرئيسي ،مع فصل تالمس ال يقل عن 3مم ( 0.12بوصة) ،على جميع األطراف .يجب دمج وسيلة الفصل هذه في مصدر الطاقة الرئيسي ،وفًقًا للوائح القانونية المعمول بها. • جميع الطرازات في عائلة " "GW01 17هي...
Open the catalog to page 12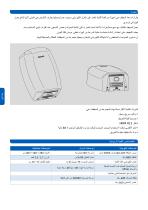
مقدمة طرازات هذا المجفف هي أجهزة من الفئة الثانية تعتمد على العزل الكهربائي ،ويجب عدم توصيلها بطرف التأريض في المبنى ألنها تتمتع بعزل كهربائي مزدوج. يعمل المجفف تلقائًيًا ،مع دمج مستشعرات األشعة تحت الحمراء التي تنشط المحرك وعنصر التسخين عند اقتراب أيدي المستخدم منه. يعتمد التجفيف على انبعاث رشاشة متجانسة عالية السرعة من الهواء تغطي عرض كلتا اليدين. إن مستوى الضوضاء المنخفض واالستهالك الكهربائي المحدود يجعلها مجموعة من المجففات الفعالة والصديقة للبيئة. الميزات الفنية األكثر صلة بهذه المجموعة من المجففات هي: • تركيب سريع وسهل. • حساسية قابلة للضبط. • فلتر .HEPA...
Open the catalog to page 13
المكونات الرئيسية • توجد مستشعرات األشعة تحت الحمراء بالقرب من مخرج الهواء. • قاعدة هيكلية وفوهات داخلية مصنوعة من مادة حرارية بالستيكية مقاومة للحريق. • محرك ضغط عا ٍٍل عالمي مزود بعنصر وقائي. • مقاومة التسخين باستخدام محدد حراري. • عنصر فلتر الهواء .HEPA H13 • الدائرة اإللكترونية الذكية .ضبط مسافة الكشف والحد األدنى من الطاقة االحتياطية االستهالك ( 0,5
Open the catalog to page 14All Genwec catalogs and technical brochures
 CATALOG 4.0
198 Pages
 BATHROOM ACCESORIES BROCHURE
24 Pages
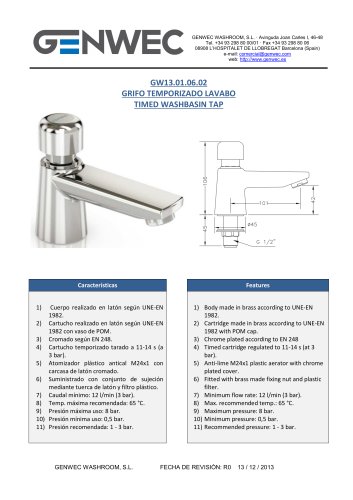 GW13 01 06 02
1 Page
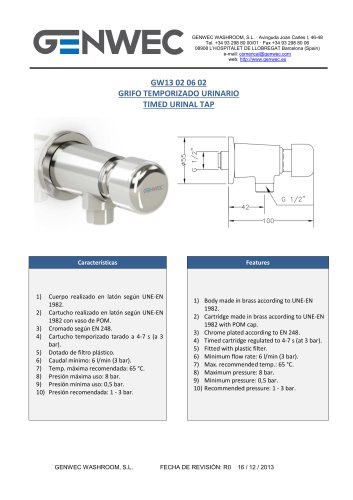 GW13 02 06 02
1 Page
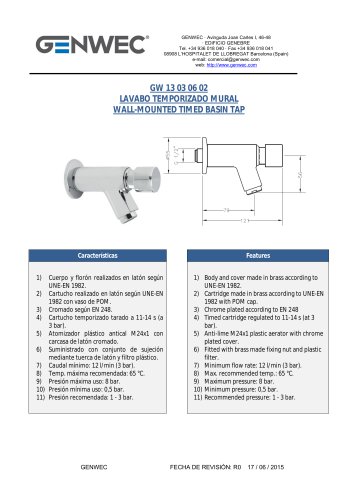 GW13 03 06 02
1 Page
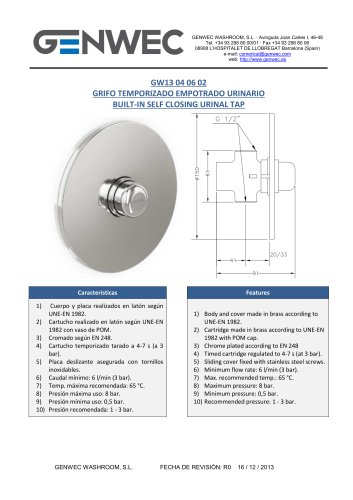 GW13 04 06 02
1 Page
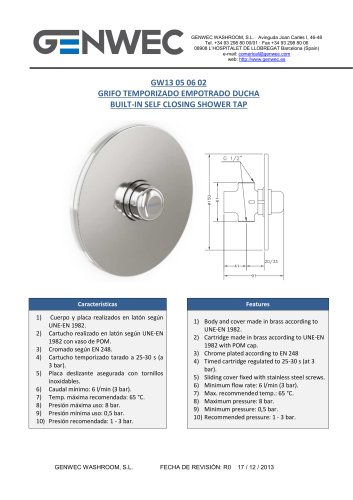 GW13 05 06 02
1 Page
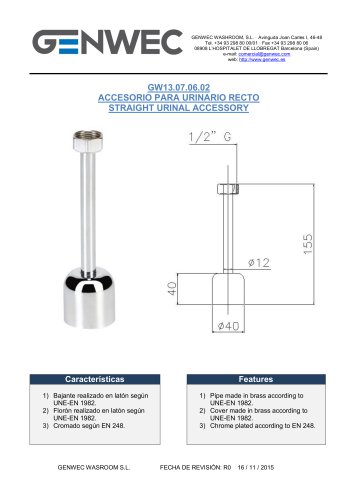 GW13 06 06 02
1 Page
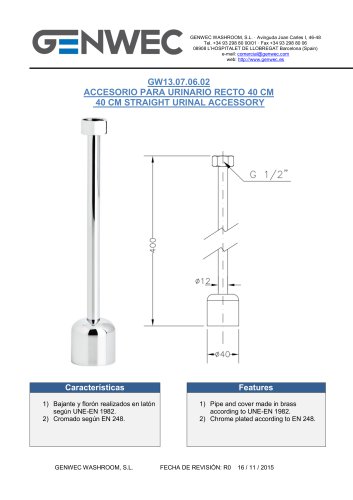 GW13 07 06 02
1 Page
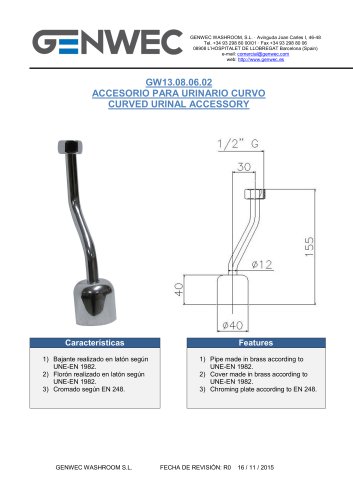 GW13 08 06 02
1 Page
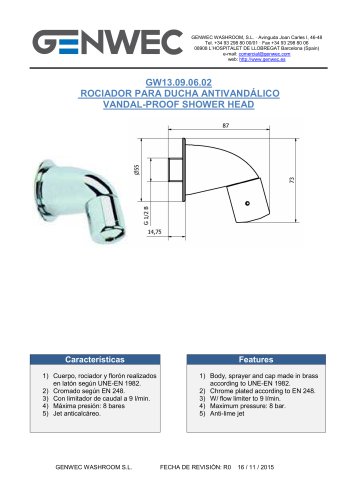 GW13 09 06 02
1 Page
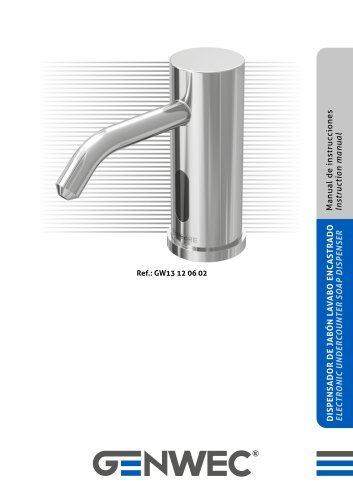 GW13 12 06 02
16 Pages
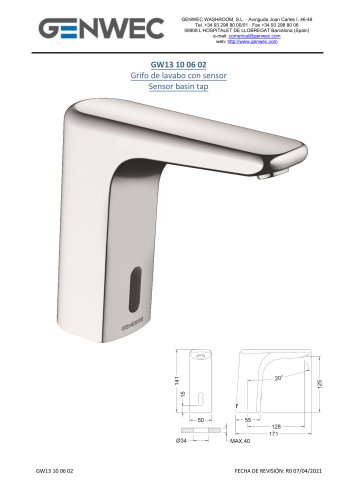 GW13 10 06 02
5 Pages
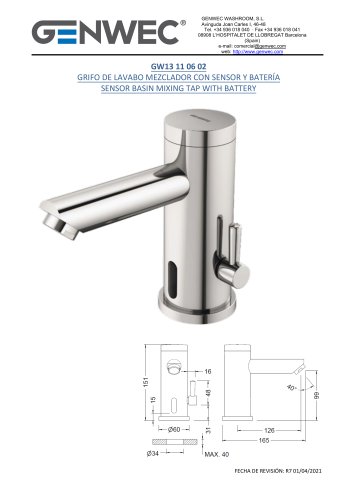 GW13 11 06 02
7 Pages
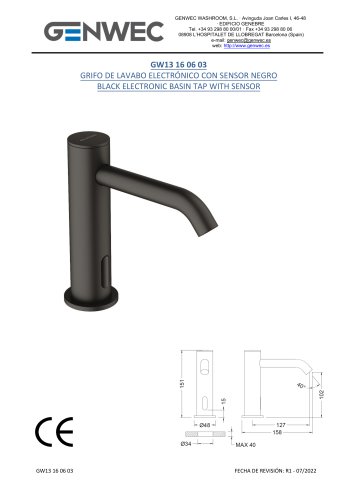 GW13 16 06 03
6 Pages
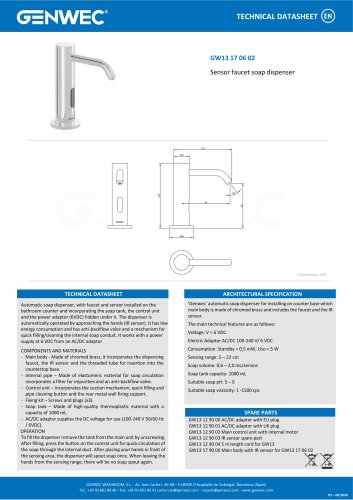 GW13 17 06 02
1 Page
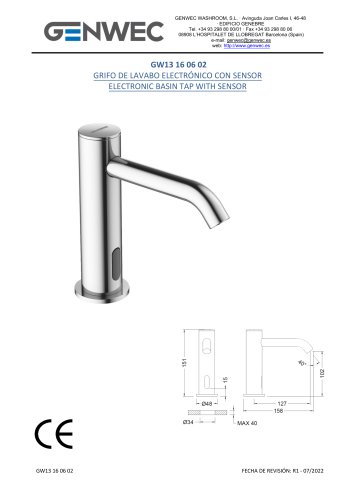 GW13 16 06 02
6 Pages
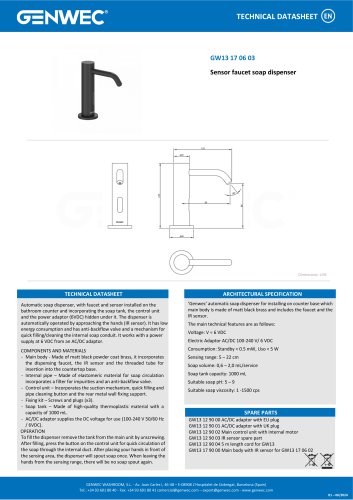 GW13 17 06 03
1 Page
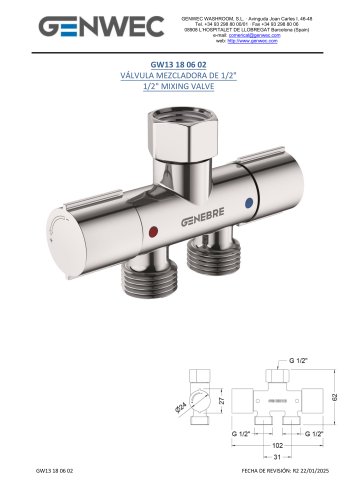 GW13 18 06 02
5 Pages
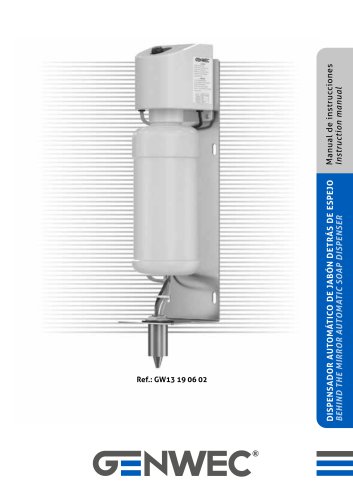 nstruction manual GW13 19 06 02
12 Pages
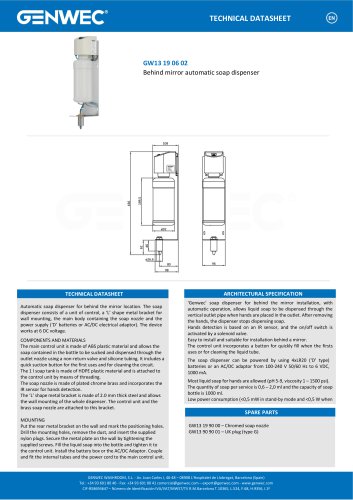 GW13 19 06 02
1 Page
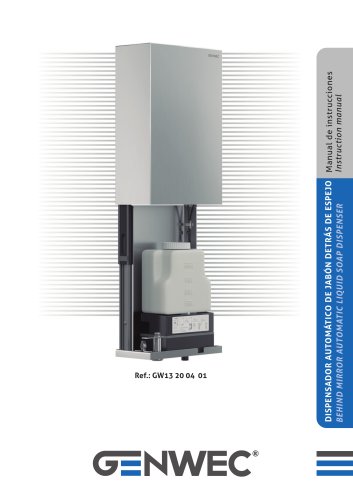 GW13 20 04 01
12 Pages
 GW13 20 06 02
8 Pages
 GW13 21 06 02
6 Pages
 GW13 21 06 03
6 Pages
 GW12 01 04 05
8 Pages
 GW12 02 04 05
8 Pages
 GW12 02 03 05
8 Pages
 GW12 03 03 05
8 Pages
 GW12 03 04 05
8 Pages
 GW12 04 03 05
12 Pages
 GW12 04 04 05
12 Pages
 GW12 05 03 05
12 Pages
 nstruction manual GW12 05 04 05
12 Pages
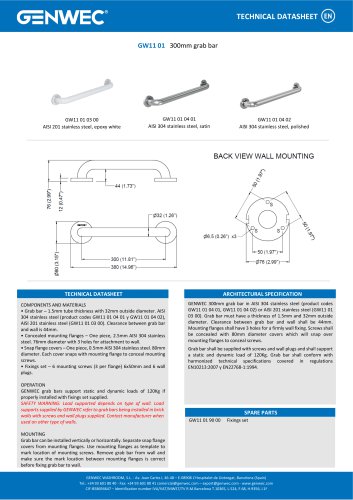 GW11 01 300mm grab bar
1 Page
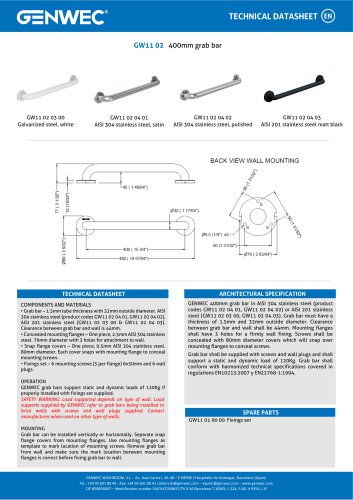 GW11 02 400mm grab bar
1 Page
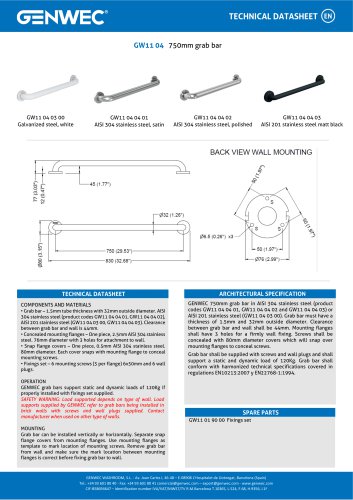 GW11 04 04 03
1 Page
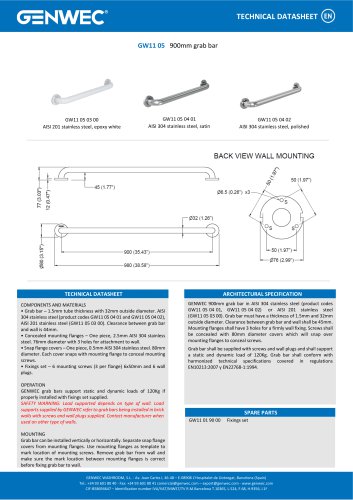 GW11 05 900mm grab bar
1 Page
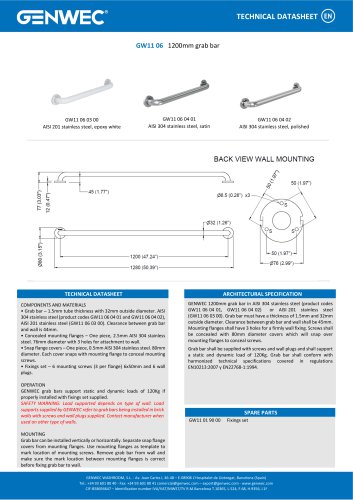 GW11 06 03 00
1 Page
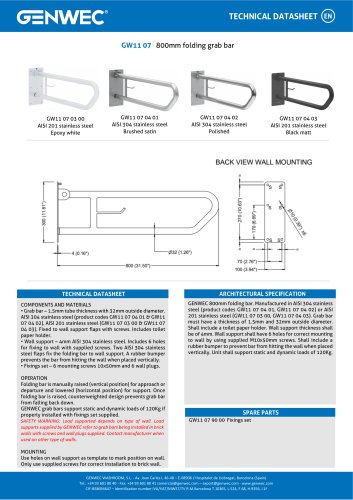 GW11 07 04 02
1 Page
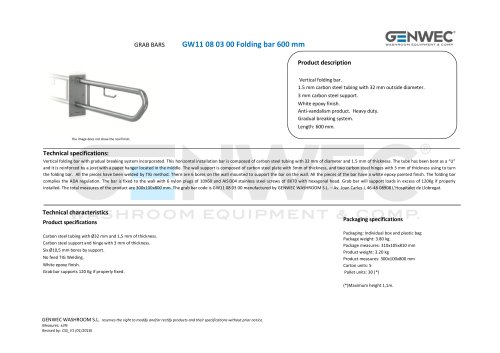 GW11 08 03 00
3 Pages
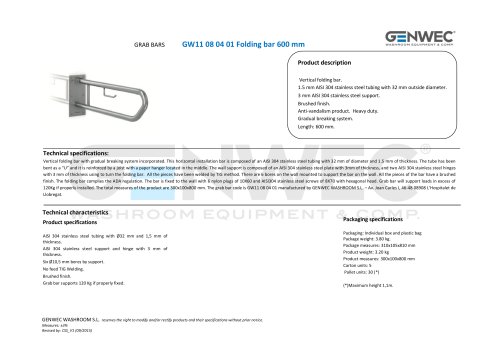 GW11 08 04 01
3 Pages
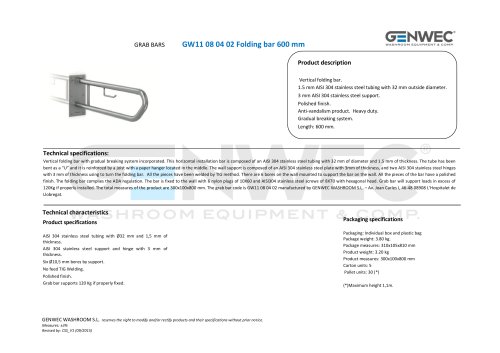 GW11 08 04 02
3 Pages
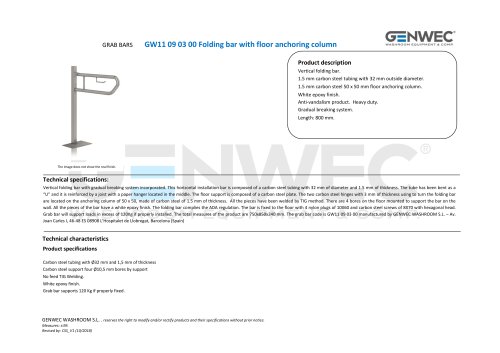 GW11 09 03 00
3 Pages
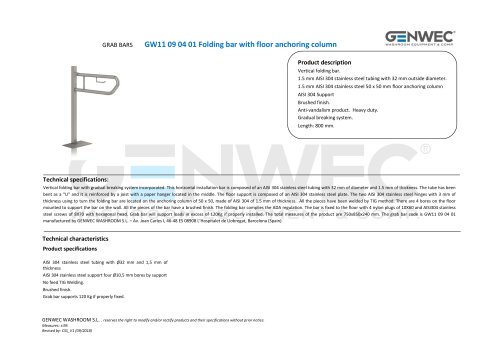 GW11 09 04 01
3 Pages
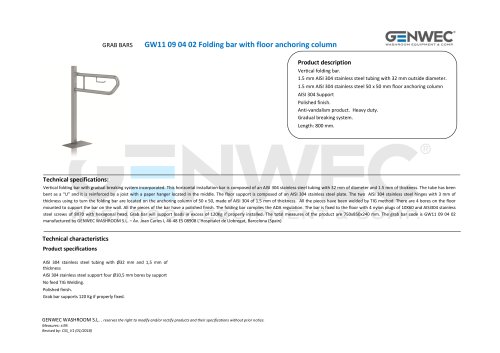 GW11 09 04 02
3 Pages
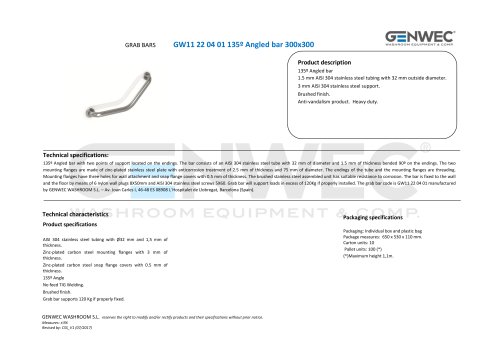 GW11 22 04 01
2 Pages
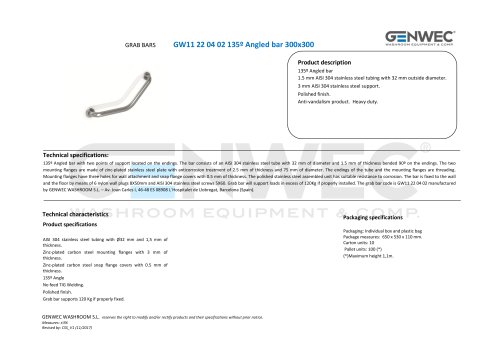 GW11 22 04 02
2 Pages
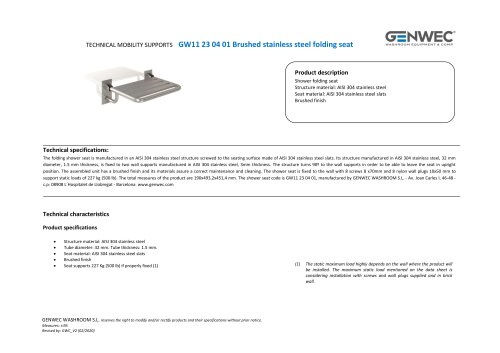 GW11 23 04 01
3 Pages
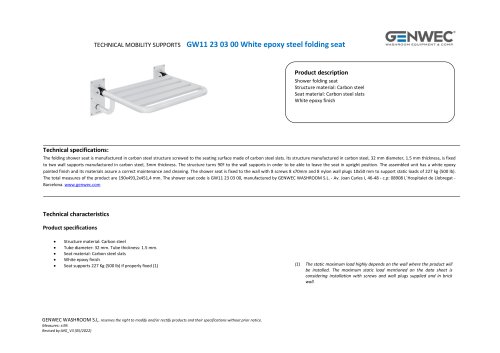 GW11 23 03 00
3 Pages
 GW11 24 03 00
3 Pages
 GW11 24 04 01
3 Pages
 GW11 24 11 00
3 Pages
 GW11 27 04 01
1 Page
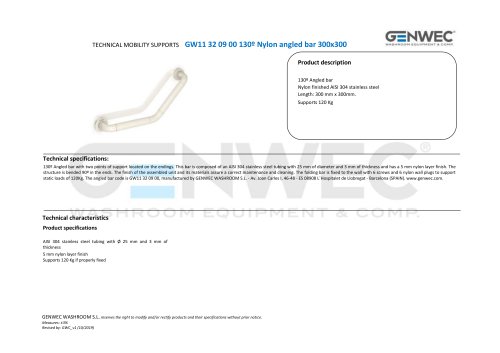 GW11 32 09 00
2 Pages
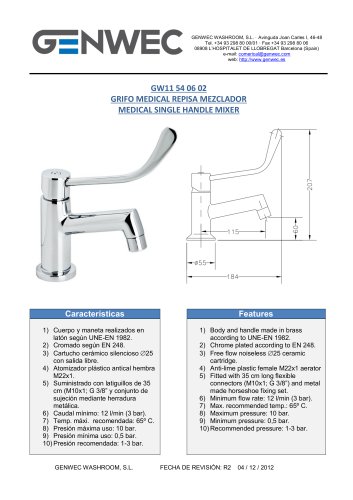 GW11 54 06 02
1 Page
 GW09 01 04 01
8 Pages
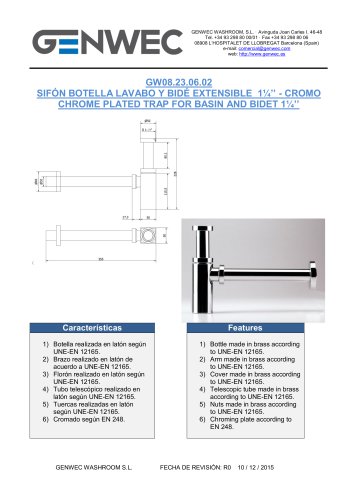 GW08 23 06 02
1 Page
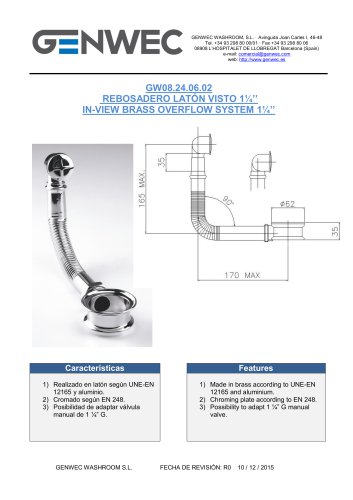 GW08 24 06 02
1 Page
 GW08 50 04 01
12 Pages
 GW08 51 04 01
12 Pages
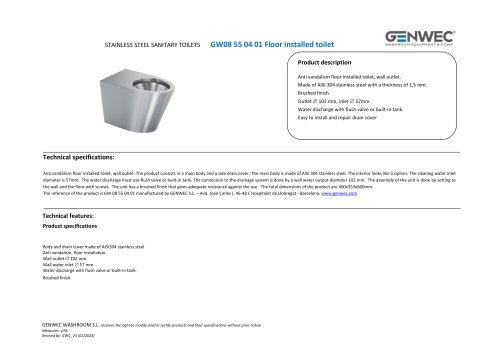 GW08 55 04 01
2 Pages
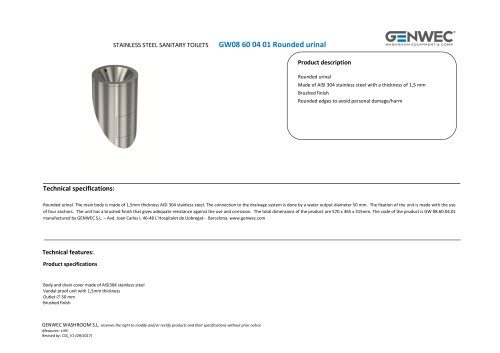 GW08 60 04 01 Rounded urinal
2 Pages
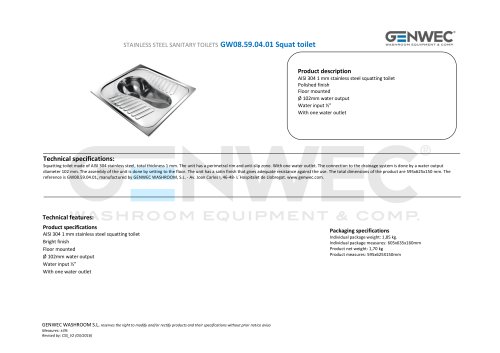 GW08.59.04.01 Squat toilet
2 Pages
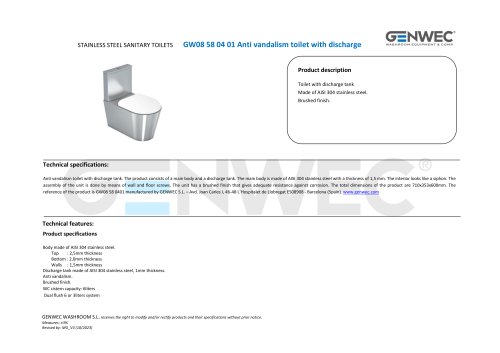 GW08 58 04 01
2 Pages
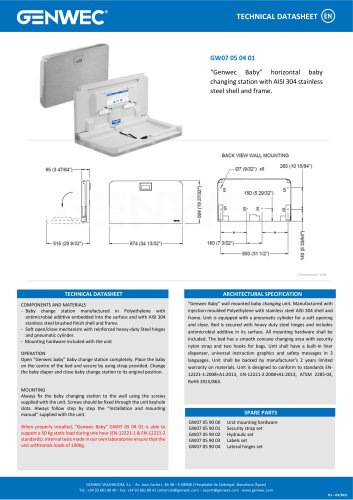 GW07 05 04 01
1 Page
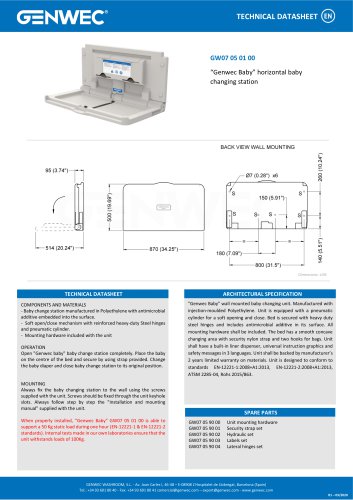 GW07 05 01 00
1 Page
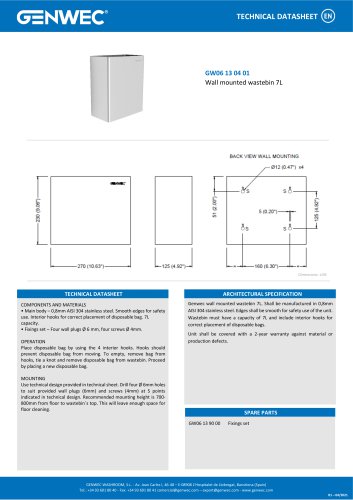 GW06 13 04 01
1 Page
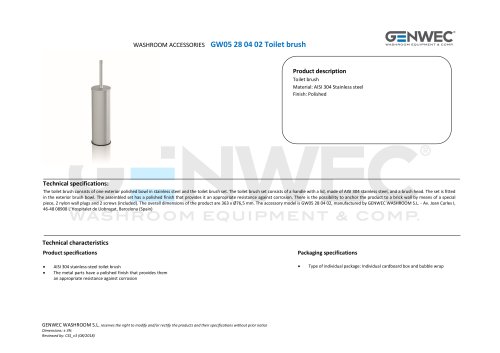 GW05 28 04 02 Toilet brush
2 Pages
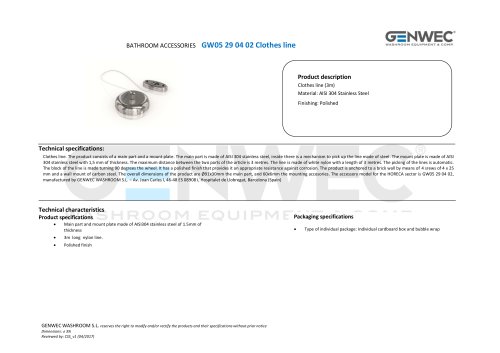 GW05 29 04 02 Clothes line
2 Pages
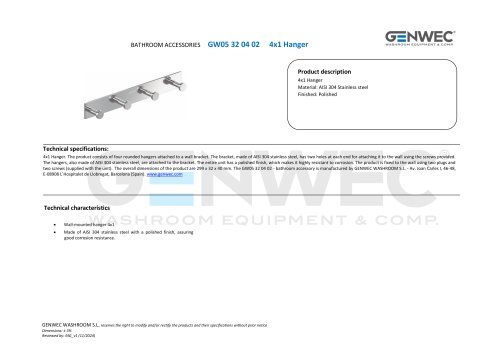 GW05 32 04 02
2 Pages
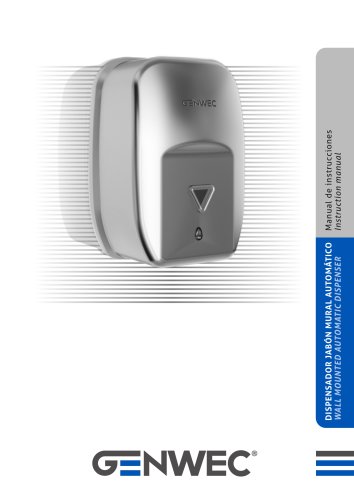 GW04 20 04 01
8 Pages
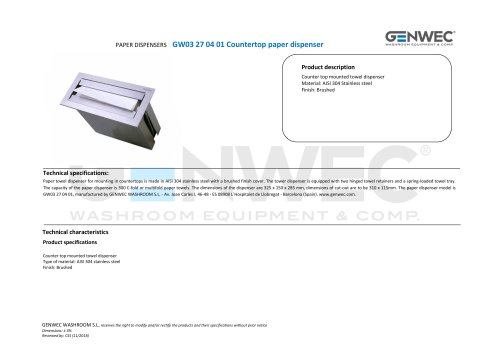 GW03 27 04 01
2 Pages
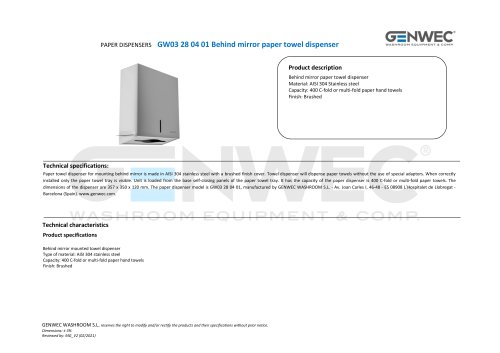 GW03 28 04 01
2 Pages
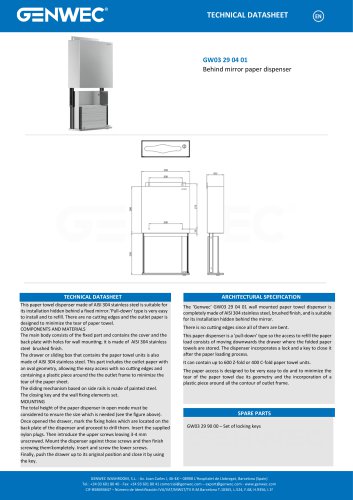 GW03 29 04 01
1 Page
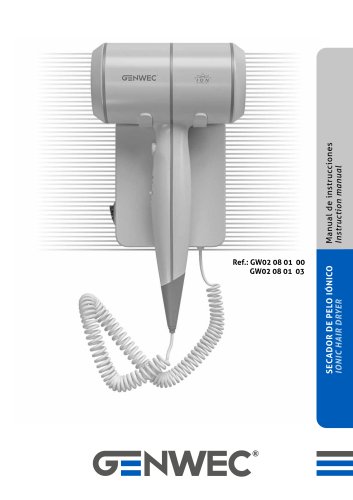 GW02 08 01 03
8 Pages
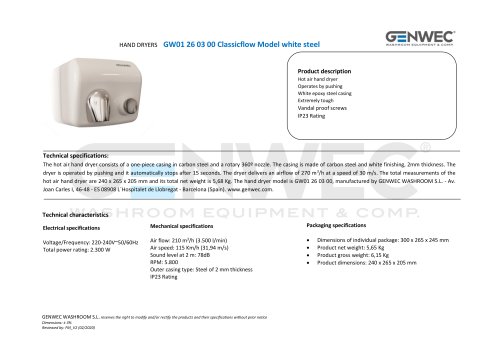 GW01 26 03 00
2 Pages
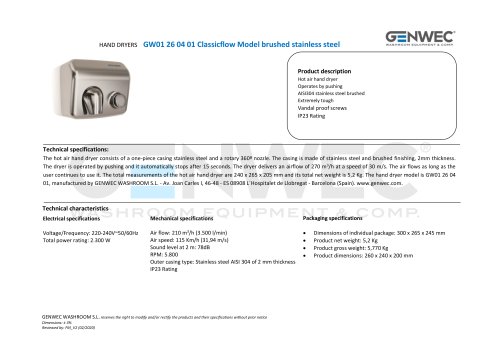 GW01 26 04 01
2 Pages
 GW01 26 04 02
2 Pages
 GW01 16 01 00
20 Pages
 GW03 20 01 00 ABS
2 Pages
 GW03 19 01 04 ABS
2 Pages
 GW03 19 01 00 ABS
2 Pages
 GW03 19 01 00
2 Pages
 GW03 18 01 04
2 Pages
 GW03 18 01 00
2 Pages
 GW03 27 04 01
2 Pages
 GW03 16 04 02
2 Pages
 GW03 24 04 01
2 Pages
 GW03 04 04 02
2 Pages
 GW03 04 04 01
2 Pages
 GW03 11 04 02
2 Pages
 GW03 10 04 02
2 Pages
 GW03 13 04 01
2 Pages
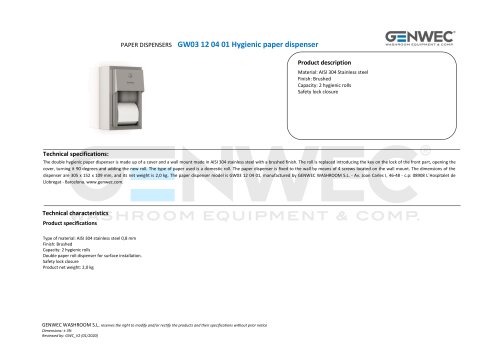 GW03 12 04 01
2 Pages
 GW03 10 04 01
2 Pages
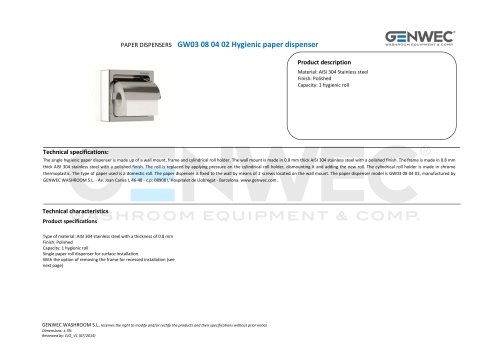 GW03 08 04 02
2 Pages
 GW03 28 04 01
2 Pages
 GW02 01 01 00 Hair dryer
1 Page
 GW01 40 FALCON series
2 Pages
 gw03 02
1 Page
 gw03 05
1 Page
 GW04 16 01 00SM
1 Page
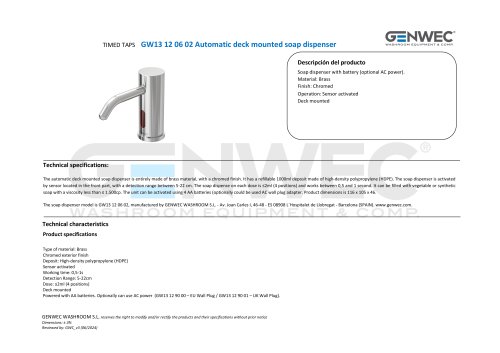
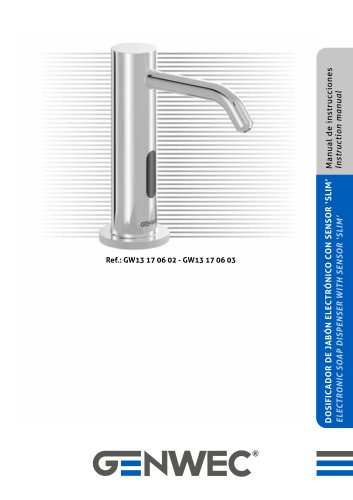
- Industrial tap
- Mixer faucet
- Indoor mixer tap
- Wash stand
- Contemporary wash basin
- Bathroom single-handle faucet
- Metal mixer tap
- Contemporary single-handle mixer tap
- Washbasin tap
- 1-hole single-handle faucet
- Countertop single-handle mixer tap
- Lavatory mixer tap
- Lever mixer tap
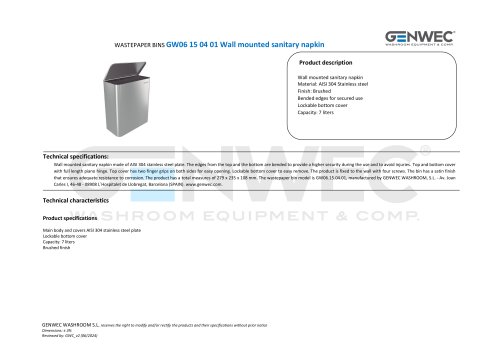
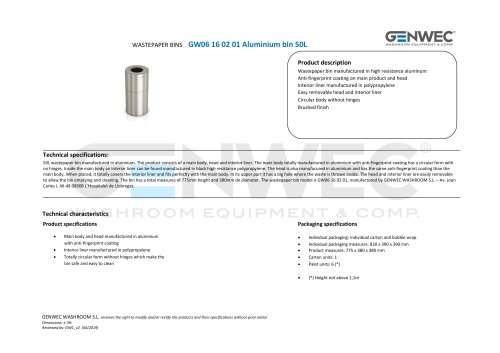
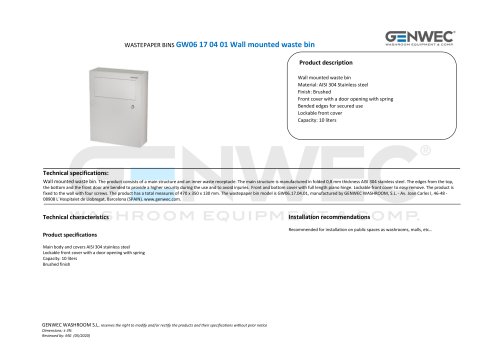
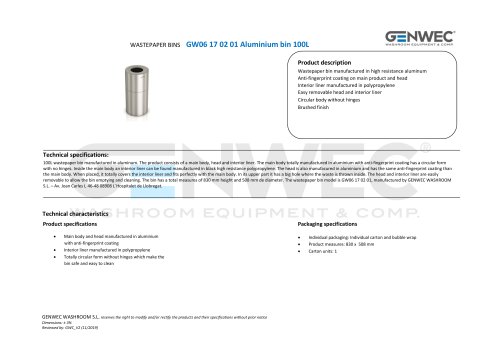
- Industrial dust-bin
- Contemporary litter bin
- Contemporary shelves
- Rectangular sink
- Commercial bin
- Commercial mixer tap