
- Catalogs
- FontanaArte
- Botree

- Products
- Catalogs
- News & Trends
- Exhibitions
Botree

Botree
1. Secure the "branch" (19) to the mast (12) using two screws (20).
2. Make electrical connections by connecting cables to the appropriate terminal (17) and inserting it into the connection box (18).
3. For underground installations, cover the base with soil or other material. The visible pole height should be 5 m instead of 5.35 m.
1. Connect cables to box (2) through the corrugated tube (3).
2. In case of underground installation, cover the base with ground or other material. The visible pole height is 5 m, not 5.35 m.
1. Place bulb (28) into the lamp holder (29).
2. Fix the glass (27) to the "branch" (25) using four screws (26).
3. To replace the bulb, unscrew the four screws (26) and remove the glass (27) from the "branch" (25).
1. Adjust the mechanism (24) using the appropriate wrench to achieve the desired orientation of the "branch" (25).
Catalog excerpts
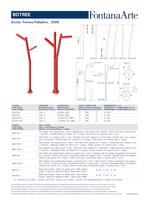
*.../F: versione con fusibile / version with fuse / version avec fusible / Version mit Schmelzsicherung / modelo con fusible FontanaArte si riserva di apportare tutte le modifiche necessarie al miglioramento del presente prodotto in qualsiasi momento e senza preavviso. FontanaArte reserves the right to introduce all changes required for the improvement of the present product at any time and without prior notice. FontanaArte se réserve d'apporter à n'importe quel moment et sans préavis toute modification nécessaire pour l'amélioration du produit. FontanaArte kann jederzeit und ohne Vorankündikung die technischen und die strukturellen Merkmale verandern, um ihre Produkte zu verbessern. FontanaArte se reserva el derecho de efectuar las modificaciones que considera puedan mejorar este producto en cualquier momento y sin aviso previo. 00940 1 900
Open the catalog to page 1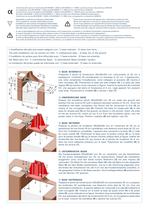
Conforme alla norma di riferimento EN 60598-1:2004 e EN 60598-2-1:1 989 e quindi conforme alla direttiva 2006/95 In compliance with EN 60598-1:2004 and EN 60598-2-1:1 989 and so with Directive 2006/95. Conforme à la norme de référence EN 60598-1:2004 et EN 60598-2-1:1 989 et donc à la Directive 2006/95 Der Norm EN 60598-1:2004 und EN 60598-2-1:1989 und dann den Rlchtllnlen 2006/95 entsprechend. Conforme a la norma EN 60598-1:2004 y EN 60598-2-1:1 989 y por consiguiente a la directiva 2006/95 Applicabile su superflcl normalmente Infiammabili. Prima dl ogni operazione sull'apparecchio, disinserire...
Open the catalog to page 2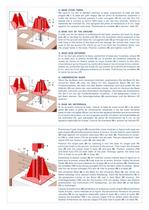
2) BASE FUORI TERRA Nel caso in cui non si desideri interrare la base, posizionare la base per palo singolo (4) o la base per palo doppio (5) sul plinto di fondazione preparato a livello del terreno facendo passare il tubo corrugato (3) da uno dei due fori laterali che si trovano al centro della base e non dal foro centrale. Inserire le estremità dei tirafondi (1), che sporgono dal plinto di fondazione di 5 cm, negli appositi fori presenti sulla base. Posizionare le rondelle (6) e serrare i dadi (7). In case you do not desire to underground the base, position the base for single pole (4) or the...
Open the catalog to page 3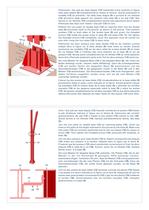
Posizionare i due pali per base doppia (12) inserendoli come mostrato in figura sulla base doppia (5) precedentemente fissata al terreno. Quindi posizionare le rondelle (13) da entrambi i lati della base doppia (5) e avvitare le viti filettate (14) all'interno degli appositi fori presenti sulla base (5) e sui pali (12). Non serrare le viti filettate (14) completamente poiché tale operazione dovrà essere effettuata solo dopo aver fissato i due pali (12) tra loro. Position the two poles for double base (12) by inserting them into the double base (5) previously fixed to the ground, as shown in the...
Open the catalog to page 4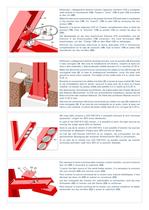
Effettuare i collegamenti elettrici tramite l'apposito morsetto (17) e annegarlo nella scatola di connessione (18). Fissare il "ramo" (19) al palo (12) avvitando Make the electrical connections to the proper terminal (17) and insert it completely in the junction box (18). Fix "branch" (19) to pole (12) by screwing the two Brancher à la borne adéquate (17) et l'insérer complètement dans la boîte de jonction (18). Fixer la "branche" (19) au poteau (12) en vissant les deux vis Die Speisekabel an der dazu bestimmten Klemme (17) anschlielSen und die Klemme in die Anschlussbox (18) einsetzen. Die zwei...
Open the catalog to page 5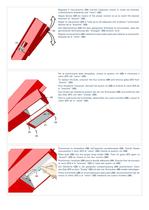
Regolare il meccanismo (24) tramite l'apposita chiave in modo da ottenere l'orientamento desiderato del "ramo" (25). Adjust device (24) by means of the proper wrench so as to reach the desired Régler le mécanisme (24) à l'aide de la clé adéquate afin d'obtenir l'orientation Den Mechanismus (24) mit dem geeigneten Schlüssel so einzustellen, dass die gewünschte Schwenkung des "Zweiges" (25) erreicht wird. Regular el mecanismo (24) mediante la llave adecuada para obtener la orientación Per la sostituzione della lampadina, svitare le quattro viti (26) e rimuovere il To replace the bulb, unscrew the...
Open the catalog to page 6All FontanaArte catalogs and technical brochures
 YUMI_
YUMI_1 Page
 CARTOCCIO
1 Page
 TAVOLO_CON_RUOTE_MEDIUM
1 Page
 TOUR
TOUR1 Page
 TESO_BOOKCASE
1 Page
 VERTIGO
1 Page
 LASOSPESA
1 Page
 OPTUNIA_MEDIUM
1 Page
 BILIA_
1 Page
 IO
IO1 Page
 BLOM
BLOM1 Page
 APEX
APEX1 Page
 FontanaArte 2016
472 Pages
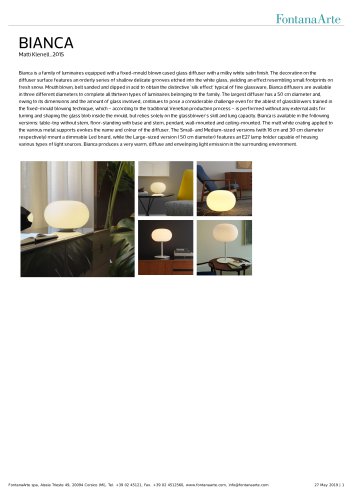 BIANCA Matti Klenell , 2015
5 Pages
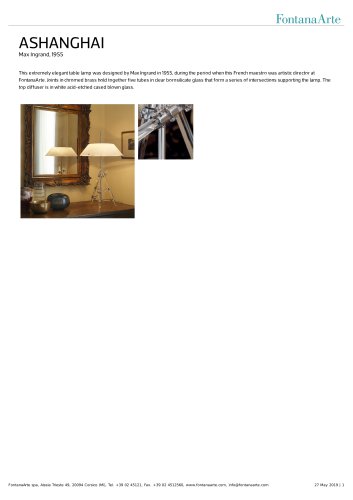 ASHANGHAI
2 Pages
 3247TA
3 Pages
 FONTANA Max Ingrand, 1954
7 Pages
 FONTANA
4 Pages
 TAVOLINO 1932
2 Pages
 TAVOLO CON RUOTE
2 Pages
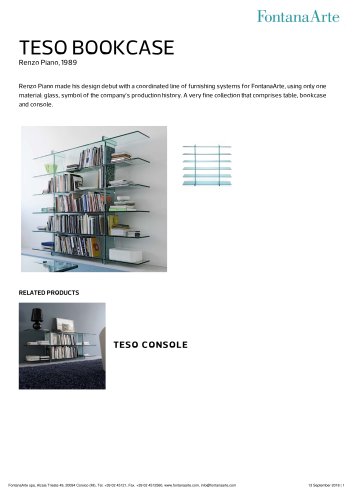 TESO BOOKCASE
2 Pages
 TOUR
TOUR2 Pages
 FontanaArte News Update 2016
86 Pages
 FontanaArte catalogue News 2017
86 Pages
 FontanaArte catalogue News 2018
89 Pages
 Fontana total black
8 Pages
 Apex,flex,kinx
8 Pages
 Bianca
11 Pages
 FontanaArte News
86 Pages
 The 2017 light collection
86 Pages
 OPTUNIA
4 Pages
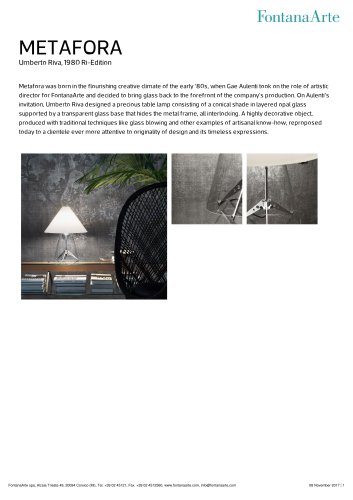 METAFORA
2 Pages
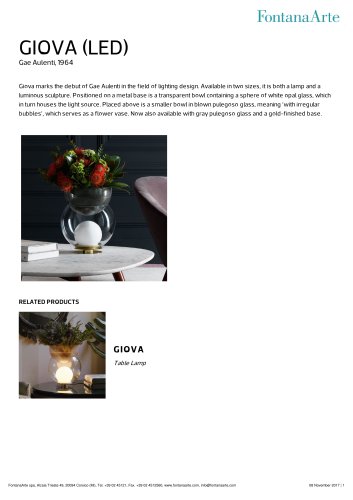 GIOVA (LED)
3 Pages
 EQUATORE
4 Pages
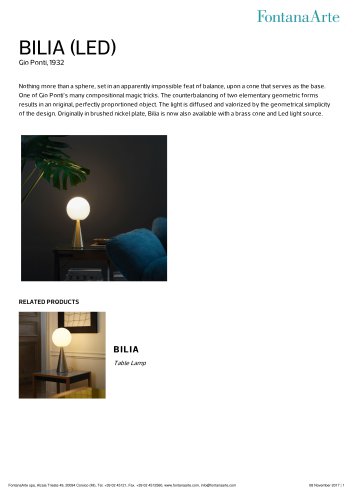 BILIA (LED)
2 Pages
 Volee
Volee8 Pages
 Milano
8 Pages
 IO
IO8 Pages
 Pinecone
8 Pages
 The 2015 lighting Collection
15 Pages
 Fontana Arte Book
496 Pages
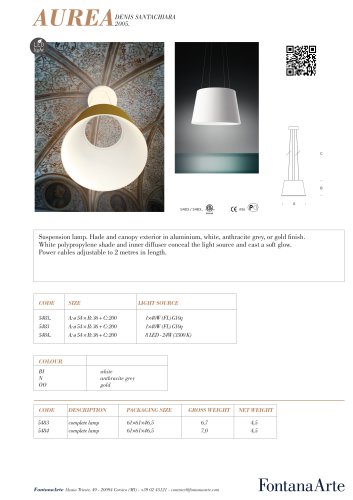 AURE
AURE1 Page
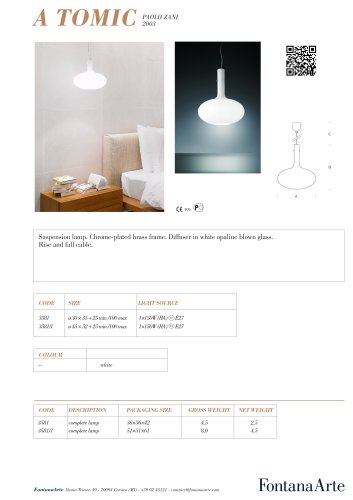 tomic
tomic1 Page
 CHESHIRE
8 Pages
 Igloo
Igloo8 Pages
 Igloo system
11 Pages
 UPDATE 2014 COLLECTION
23 Pages
 WHAT'S NEWS
11 Pages
 PROSPEKT YUMI
12 Pages
 CATALOGUE NEWS 2013
64 Pages
 Catalogue Master 2012
273 Pages
 New Collection 2012
21 Pages
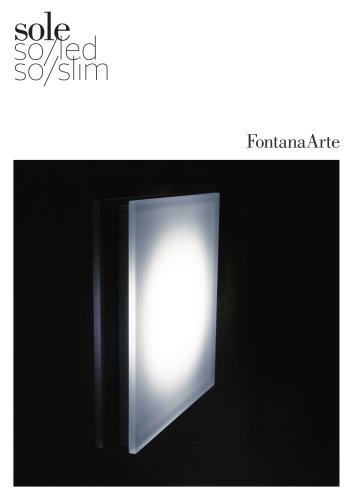 Sole Leaflet
8 Pages
 Folder News 2013
13 Pages
 WIG
WIG4 Pages
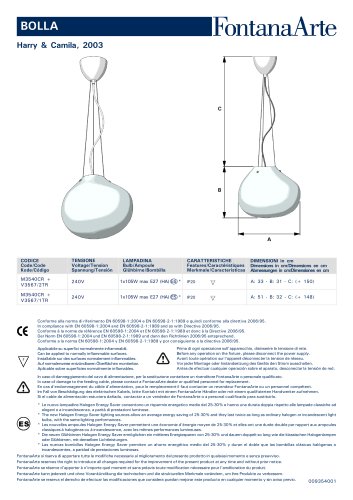 BOLLA
BOLLA3 Pages
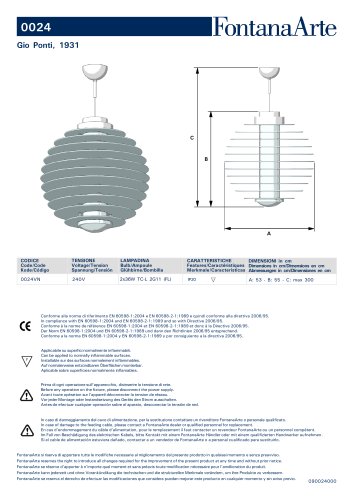 0024
00244 Pages
 Velo
Velo4 Pages
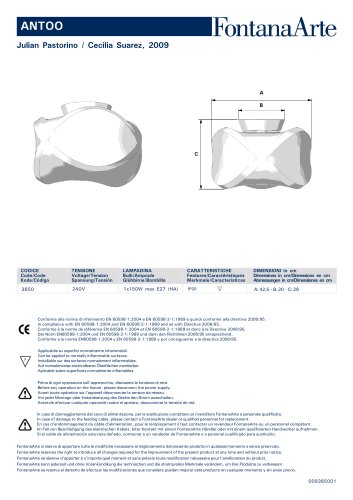 ANTOO
ANTOO2 Pages
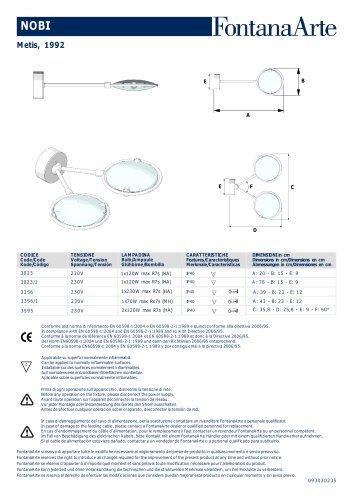 NOBI
NOBI4 Pages
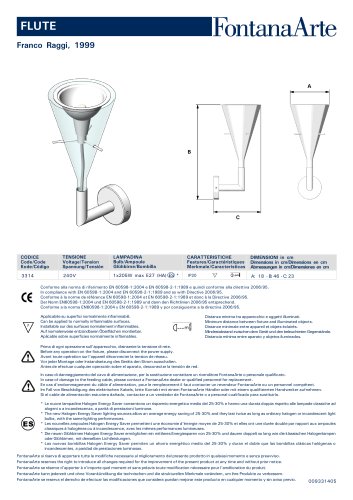 Flûte
Flûte2 Pages
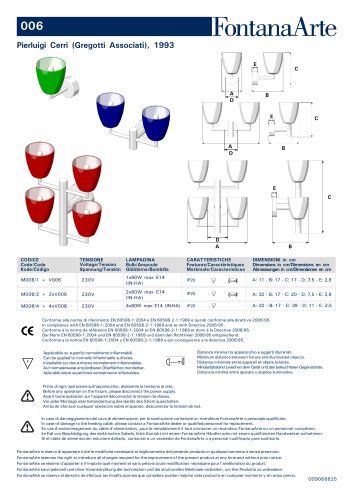 006
0062 Pages
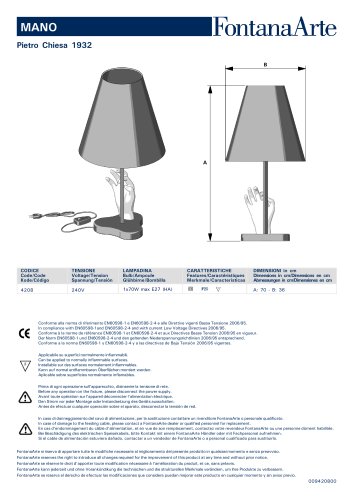 Mano
Mano2 Pages
 PRIMA SIGNORA
2 Pages
 PIRELLONE
2 Pages
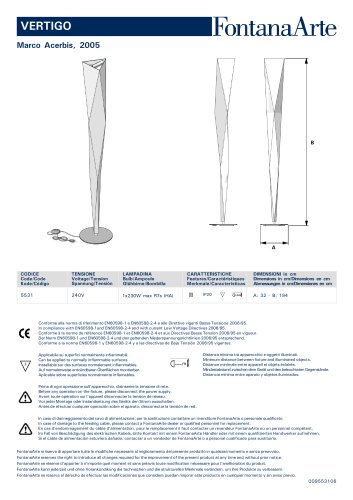 Vertigo
3 Pages
 Daruma
3 Pages
 Globo di Luce
2 Pages
 Carmen
4 Pages
 CHIGNON
4 Pages
 FACTORY
2 Pages


Archived catalogs
 pocket_catalogue_2012
244 Pages
 new_collections_poster
5 Pages
 Yumi Leaflet
12 Pages
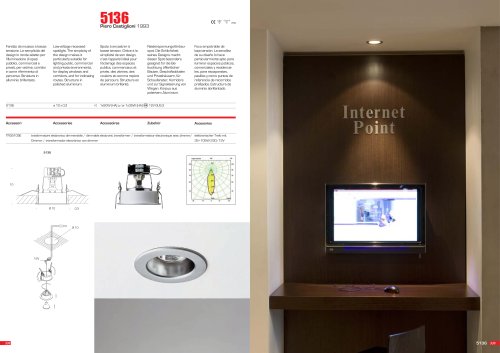 Lighting systems for indoor
74 Pages
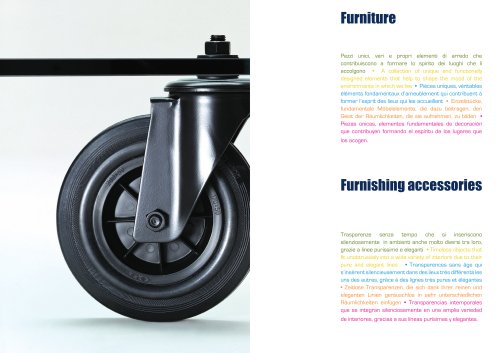 Furniture and accessories
13 Pages
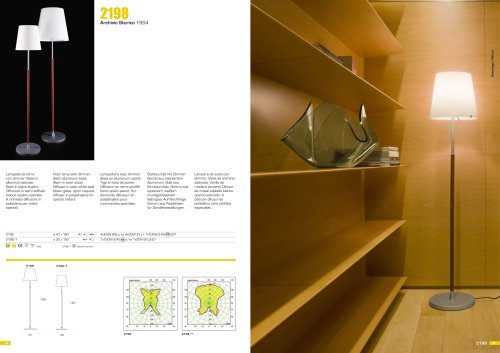 Floor lamps
28 Pages
 Wall lamps
38 Pages
 Wall/Ceiling lamps
10 Pages
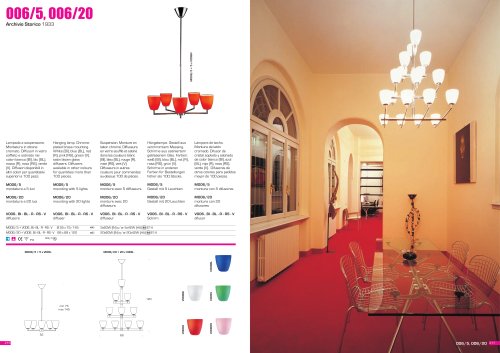 Hanging lamps
48 Pages
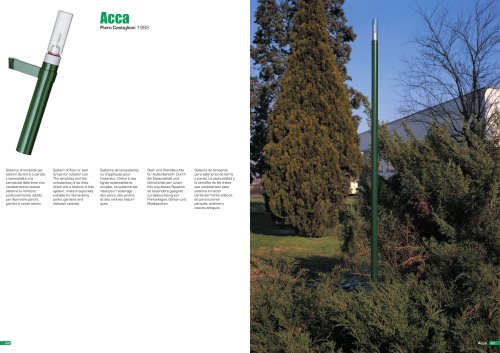 Lighting systems for outdoor
55 Pages
 Table lamps
32 Pages