


- Company
- Products
- Catalogs
- News & Trends
- Exhibitions
Installation Manual Stopper MR
Installation Manual Stopper MR
Catalog excerpts
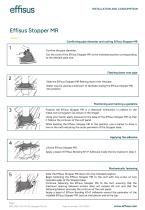
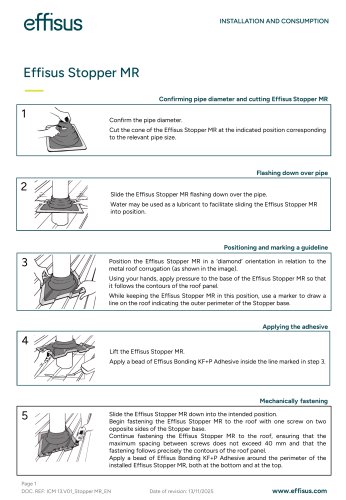
Confirming pipe diameter and cutting Effisus Stopper MR Confirm the pipe diameter. Cut the cone of the Effisus Stopper MR at the indicated position corresponding to the relevant pipe size. Flashing down over pipe Slide the Effisus Stopper MR flashing down over the pipe. Water may be used as a lubricant to facilitate sliding the Effisus Stopper MR into position. Positioning and marking a guideline Position the Effisus Stopper MR in a ‘diamond’ orientation in relation to the metal roof corrugation (as shown in the image). Using your hands, apply pressure to the base of the Effisus Stopper MR so that it follows the contours of the roof panel. While keeping the Effisus Stopper MR in this position, use a marker to draw a line on the roof indicating the outer perimeter of the Stopper base. 4 Lift the Effisus Stopper MR. Apply a bead of Effisus Bonding KF+P Adhesive inside the line marked in step 3. Mechanically fastening Slide the Effisus Stopper MR down into the intended position. Begin fastening the Effisus Stopper MR to the roof with one screw on two opposite sides of the Stopper base. Continue fastening the Effisus Stopper MR to the roof, ensuring that the maximum spacing between screws does not exceed 40 mm and that the fastening follows precisely the contours of the roof panel. Apply a bead of Effisus Bonding KF+P Adhesive around the perimeter of the installed Effisus Stopper MR, both at the bottom and at the top.
Open the catalog to page 1All Effisus catalogs and technical brochures
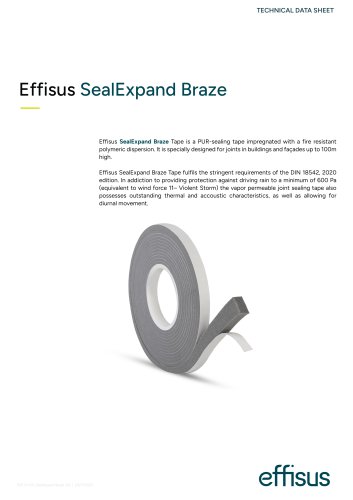 Technical Data Sheet Sealexpand
4 Pages
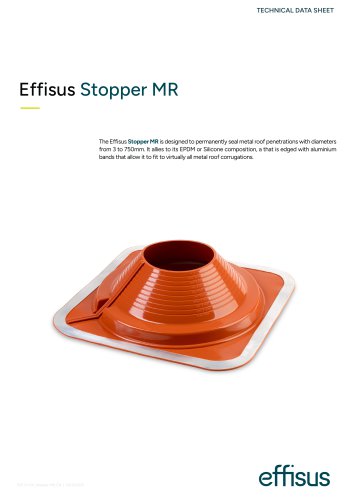 Technical Data Sheet Stopper MR
3 Pages
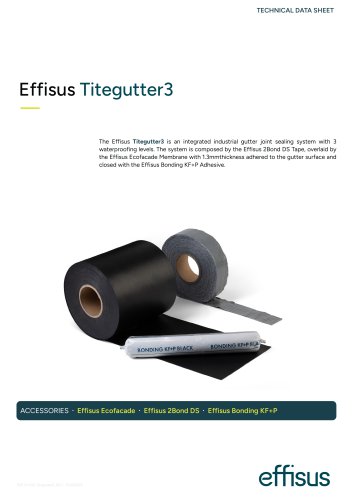 Technical Data Sheet TiteGutter3
6 Pages
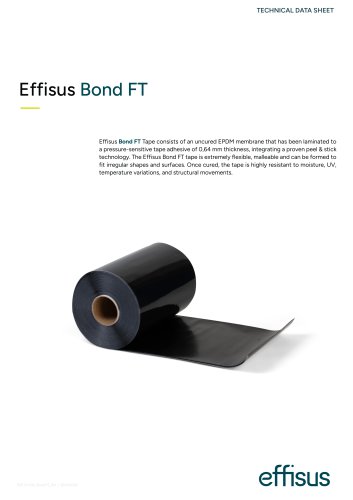 Technical Data Sheet Bond FT
3 Pages
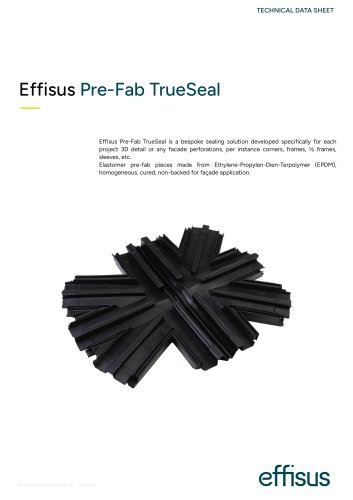 Technical Data TrueSeal
2 Pages
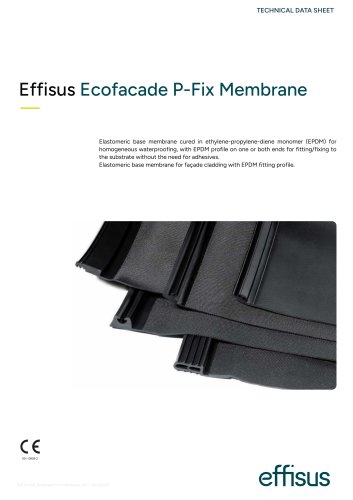 Technical Data Sheet P-Fix
2 Pages
 Effisus Facade Hot Climate
11 Pages
 Effisus Facade Cold Climate
11 Pages
Archived catalogs
 PROFLEX FR
2 Pages
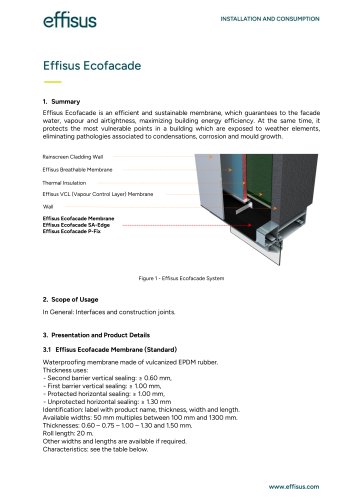
 EFFISUS ECOFACADE
1 Page
 EFFISUS ECOFACADE ENVELOPE
2 Pages
 EFFISUS BOND GF
1 Page
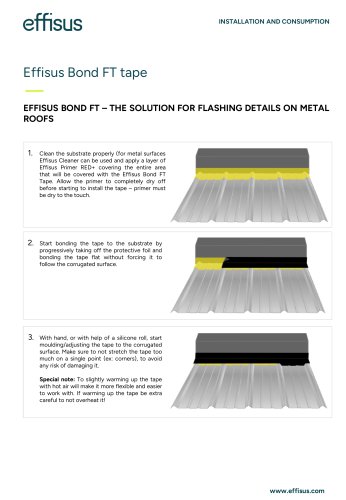
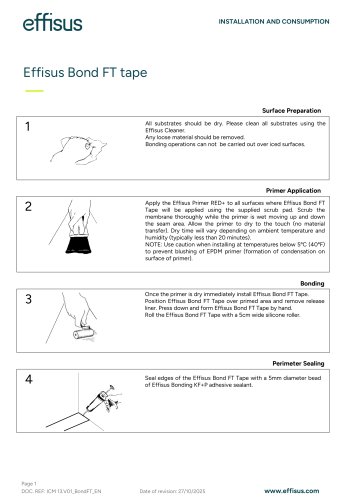
 EFFISUS BOND FT
1 Page
 EFFISUS BREATHER+
1 Page
 EFFISUS 2BOND DS
1 Page
 EFFISUS STOPPER MR
1 Page
 Ecofacade P-FIX
1 Page
 EFFISUS TITEGUTTER3
1 Page
 Product catalogue
51 Pages
 EFFISUS ECOFACADE BRAZE
1 Page
 EFFISUS 2BOND GO
1 Page
 EFFISUS BREATHER BRAZE
1 Page
 EFFISUS BREATHER B
1 Page
 EFFISUS ALLTITEGUTTER
1 Page
 EFFISUS SEALEXPAND XTRA
1 Page
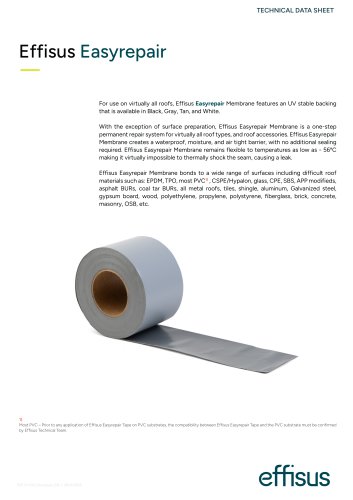
 EFFISUS EASYREPAIR
1 Page
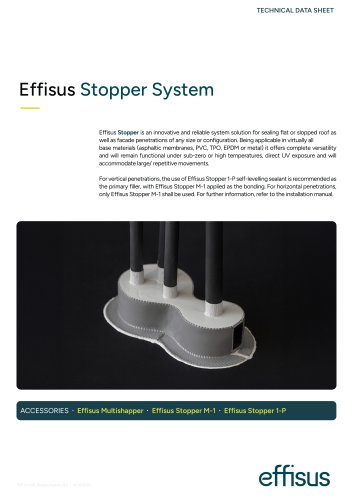
 EFFISUS STOPPER
1 Page
 EFFISUS - Certifications
7 Pages
 EFFISUS BRETAHER FR
5 Pages


- Effisus waterproofing membrane
- Roll waterproofing membrane
- Plastic waterproofing membrane
- Effisus protection waterproofing membrane
- Roof waterproofing membrane
- Sealant
- Flexible waterproofing membrane
- Adhesive waterproofing membrane
- Self-adhesive waterproofing membrane
- Waterproofing membrane with vapor barrier
- Wall waterproofing membrane
- Composite waterproofing membrane
- Waterproofing strip
- Synthetic waterproofing membrane
- Polypropylene waterproofing membrane
- UV-resistant waterproofing membrane
- Sustainable waterproofing membrane
- Elastomer waterproofing membrane
- Strip type waterproofing membrane
- Protection waterproofing strip