


- Company
- Products
- Catalogs
- News & Trends
- Exhibitions
Carisa1
1 /2Pages
Carisa1
1 /2Pages
Catalog excerpts
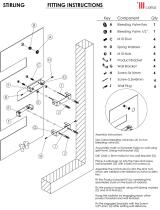
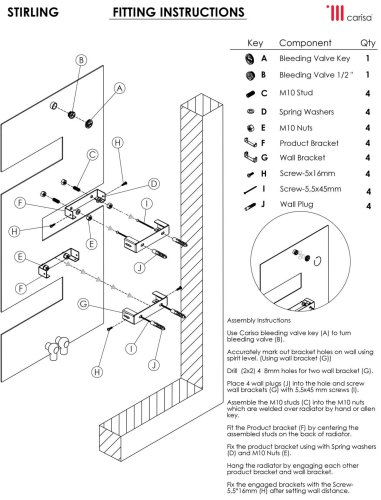
FITTING INSTRUCTIONS carisa Key Component Qty A Bleeding Valve Key 1 Assembly Instructions Use Carisa bleeding valve key (A) to turn bleeding valve (B). Accurately mark out bracket holes on wall using spirit level. (Using wall bracket (G)) Drill (2x2) 4 8mm holes for two wall bracket (G). Place 4 wall plugs (J) into the hole and screw wall brackets (G) with 5,5x45 mm screws (I). Assemble the Ml0 studs (C) into the M10 nuts which are welded over radiator by hand or alien key. Fit the Product bracket (F) by centering the assembled studs on the back of radiator. Fix the product bracket using with Spring washers (D) and M10 Nuts (E). Hang the radiator by engaging each other product bracket and wall bracket. Fix the engaged brackets with the Screw-5,5* 16mm (H) after setting wall distance.
Open the catalog to page 1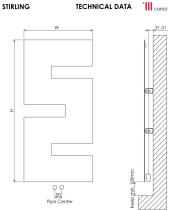
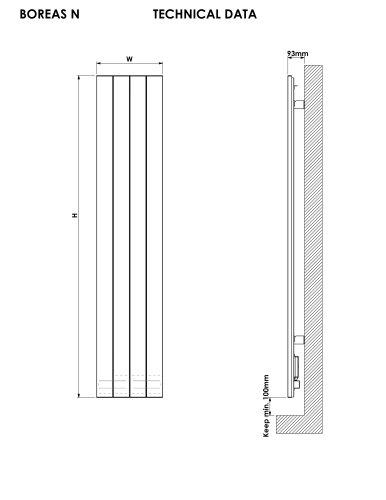
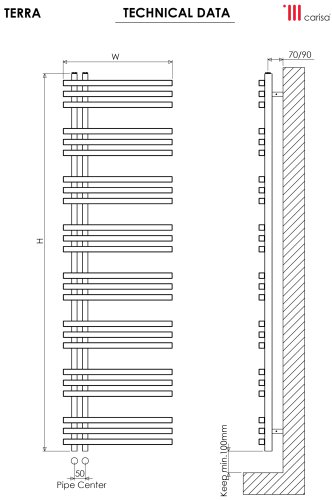
TECHNICAL DATA Pipe Center
Open the catalog to page 2All Carisa Designer Radiators catalogs and technical brochures
Archived catalogs
 Stainless Steel Radiators Catalog
136 Pages
 Convectors
52 Pages
 Carisa 2018 - Euro Catalogue
162 Pages
 Carisa ISH 2019
20 Pages
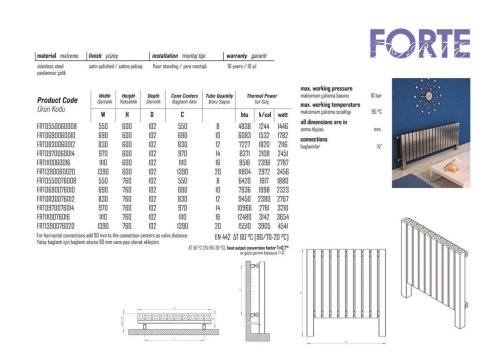 FORTE
FORTE1 Page
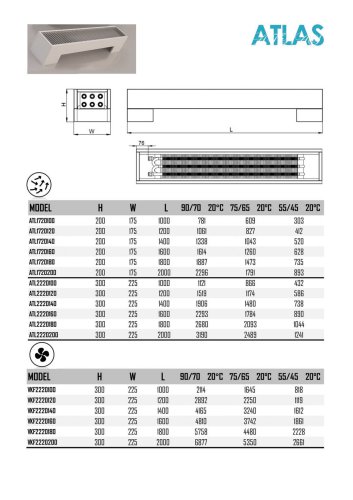 ATLAS
ATLAS1 Page
 Catalog 2021
152 Pages
 CATALOG GENERAL 2021
252 Pages
 Carisa Electric Collection
32 Pages
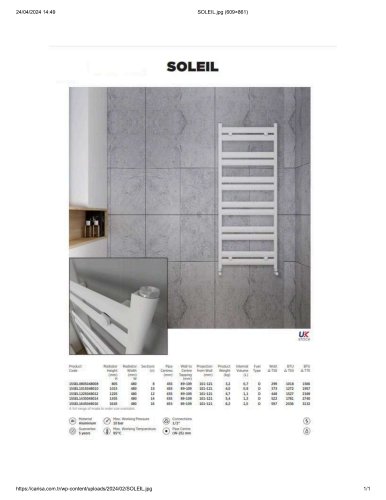 SOLEIL
1 Page
 Electric Radiators 2025
38 Pages
 Designer's Book 2025
288 Pages
 Catalog 2023
128 Pages
- Carisa towel radiator
- Carisa contemporary radiator
- Carisa wall-mounted towel radiator
- Carisa wall-mounted radiator
- Carisa contemporary towel radiator
- Carisa metal radiator
- Carisa metal towel radiator
- Carisa bathroom towel radiator
- Carisa vertical towel radiator
- Carisa hot water radiator
- Carisa residential radiator
- Carisa vertical radiator
- Carisa rectangular radiator
- Carisa hot water towel radiator
- Carisa 0...500 w towel radiator
- Carisa electric towel radiator
- Carisa living room radiator
- Carisa residential towel radiator
- Carisa tube towel radiator